Limewash a panel instead of the wall, and take the plaster look with you
You cannot limewash a wall you rent. So stop looking at the wall. The finish goes on a panel, and the panel leans.

By NoraRenter DIY · Checked Sep 19, 2026
Some links on this page go to Amazon. As an Amazon Associate I earn from qualifying purchases, which is how the site pays for itself. How this works
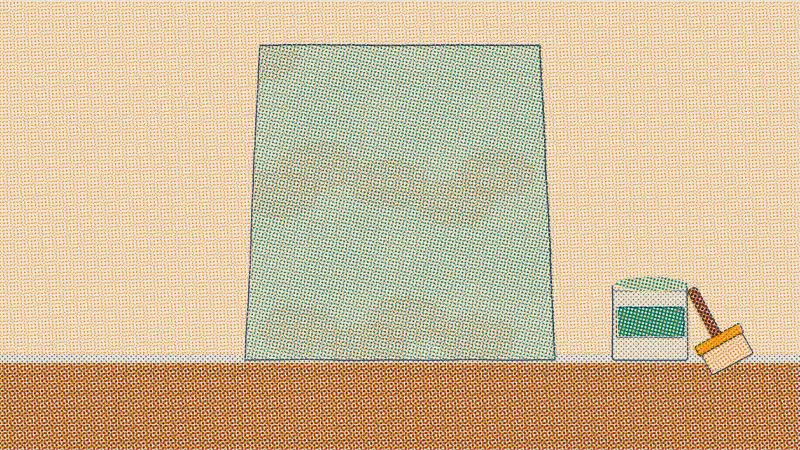
Weekend project 3 of 3 rolls
- Materials$70 to 140
- Takes3 hours over a day
- To undo20 minutes
- Deposit risk: low
- Drill: no
- Ladder: no
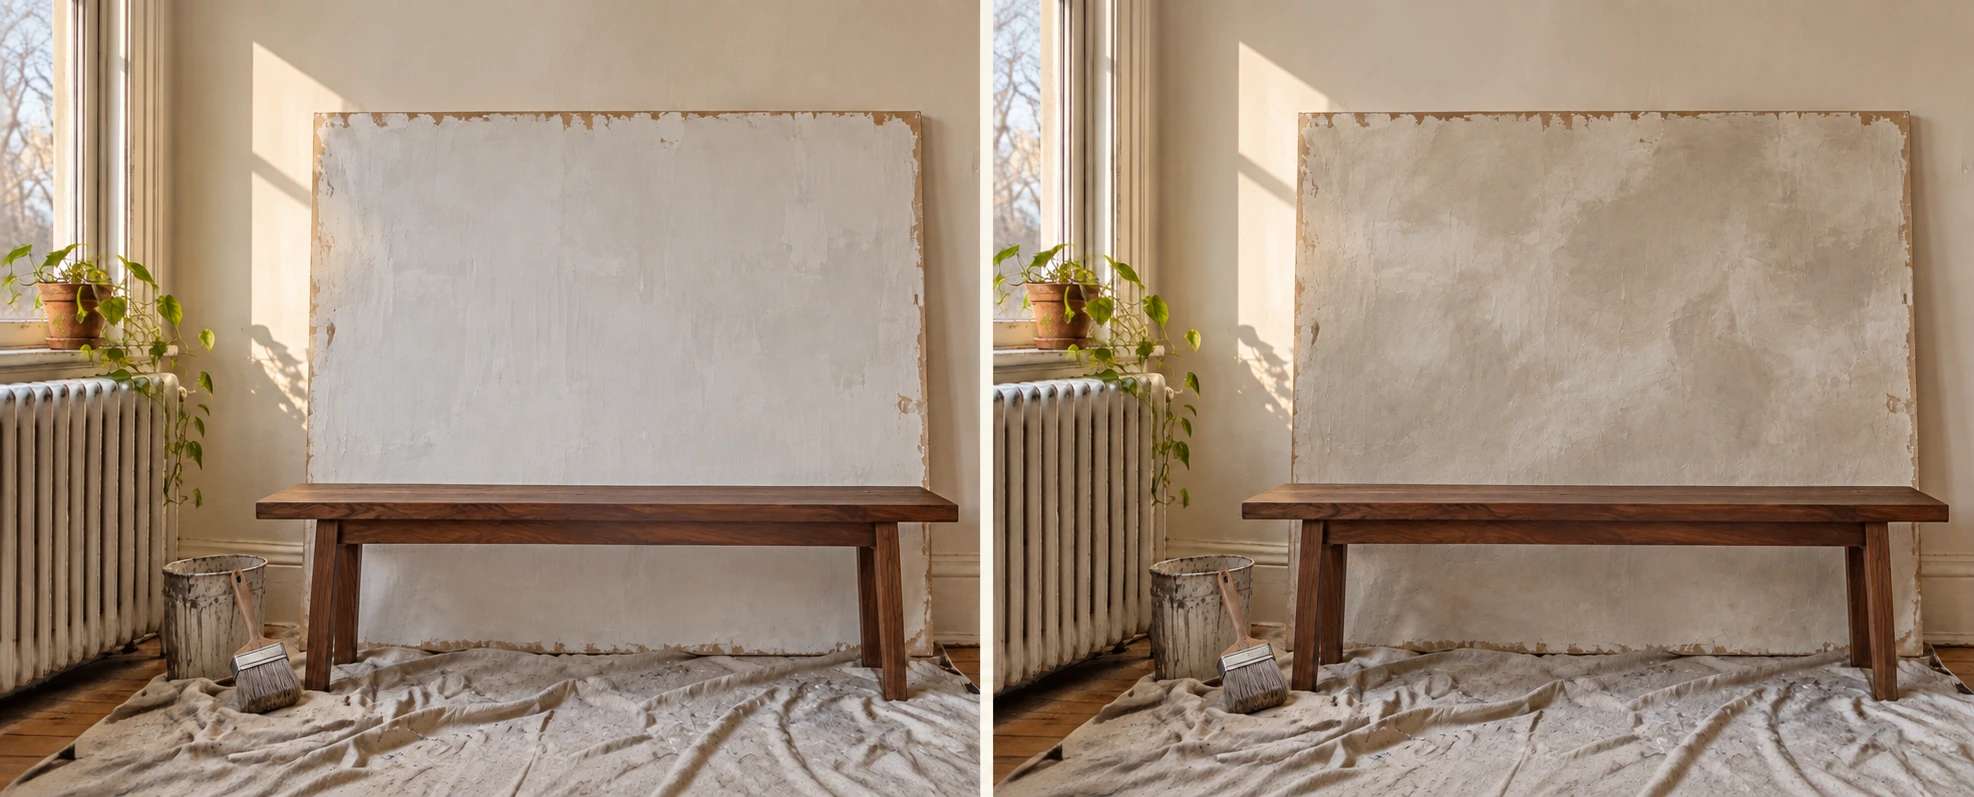
Limewash is the clouded, chalky, slightly moving surface behind every plaster room you have saved. It is also permanent and very hard to paint back over, which is a bad combination with a security deposit. On a cut panel it becomes a large object instead of a renovation: it dries against the wall, it leans behind a bench, and it goes in the back of a van in one piece.
Renter DIY · deposit risk: low · drill: no
The kit
What you need, and what you can skip
Quantities are for one panel up to 48 by 72 in. Two smaller panels use the same tin and the same brush.
-
1
A quarter inch plywood panel, cut to size
No link on this row, and there should not be one. Plywood ships badly, costs more to ship than to buy, and the store will cut a full sheet down while you wait. Ask for birch faced if they have it, because the smoother face takes primer with fewer passes.
Already have this? An old flush door or a sheet of hardboard from a previous tenant does the same job.
-
2.5 L
Limewash, in a white or a warm off white
Real slaked lime rather than a matte paint sold as a lime look, because the clouding comes from the way lime dries rather than from how you brush it. One tin at this size covers every panel in the table below with plenty spare.
See it above
-
1
A wide masonry brush
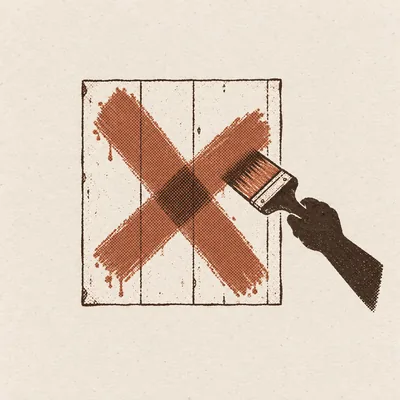
This is the one tool that changes the result. A block of bristle six or seven inches across lays the wash in broad crossing strokes; a narrow trim brush lays stripes, and stripes are what you are trying not to make. Lime is hard on bristle, so look for one built for it.
See the large masonry brush
-
4 pairs
Large picture hanging strips, if it is going on the wall
Only for the 24 by 36 in panel and only on a wall with sound paint on it. Strips pull off cleanly from a well painted wall and take a flake with them from a badly painted one, which is the only reason this project carries any deposit risk at all.
See the 15 lb strips
-
1
A canvas drop cloth, 6 by 9 ft
Lime is alkaline and it does not come out of carpet, so this is not the corner to improvise with newspaper. Canvas also stays where you put it, which plastic sheeting never does once you start moving a five foot panel around.
See the 6 by 9 ft cloth -
1 qt
Flat primer, plus 120 grit paper
Buy the primer at the same counter that cuts your panel. Any dead flat white will do and paint is heavy to ship. The sandpaper is two sheets, and you will use a quarter of one.
Already have this? Half a tin of flat white from the last project is exactly right.

Skip this
Do not buy a lime sealer or topcoat. They are sold next to the paint, they cost about as much again, and on a panel that lives indoors and gets touched roughly never, all a sealer does is flatten the depth you spent the afternoon building. Sealer belongs on a lime finish in a shower or on an exterior wall. Skip the four gallon size too. Lime does not keep well once it has been opened, and the small tin already covers more panel than you are going to make.
What goes wrong
You choose the panel by what feels solid in the aisle
Half inch fiberboard is the one everybody picks up, because it is flat, cheap and reassuringly heavy. Heavy is the problem. At three by five feet that board weighs roughly thirty pounds before a drop of paint goes on it, which means two people to carry it, a dent in the floor where it leans, and nothing damage-free on the market rated to put it on a wall.
The same panel in quarter inch plywood is nearer eleven pounds. The surface and the finish are the same at a third of the weight, and that is the difference between a piece you move with one hand and a piece that lives wherever you first set it down. Decide before you leave the store, because this is the only choice in the project you cannot reverse with a paintbrush.
Panel sizes, and what each one can do
Weights are quarter inch plywood with two coats on it. The hardware store cuts a sheet down for you, usually for a dollar or two a cut, and a full sheet gives you either one big panel or two smaller ones.
| Panel | Weight, painted | Where it goes | Sits behind |
|---|---|---|---|
| 24 × 36 in | About 4 lb | Hangs on adhesive strips | A console or a narrow chest |
| 36 × 48 in | About 8 lb | Hangs, or leans | A bench or a low sideboard |
| 48 × 72 in | About 18 lb | Leans, always | A bench, with the bench holding the foot |
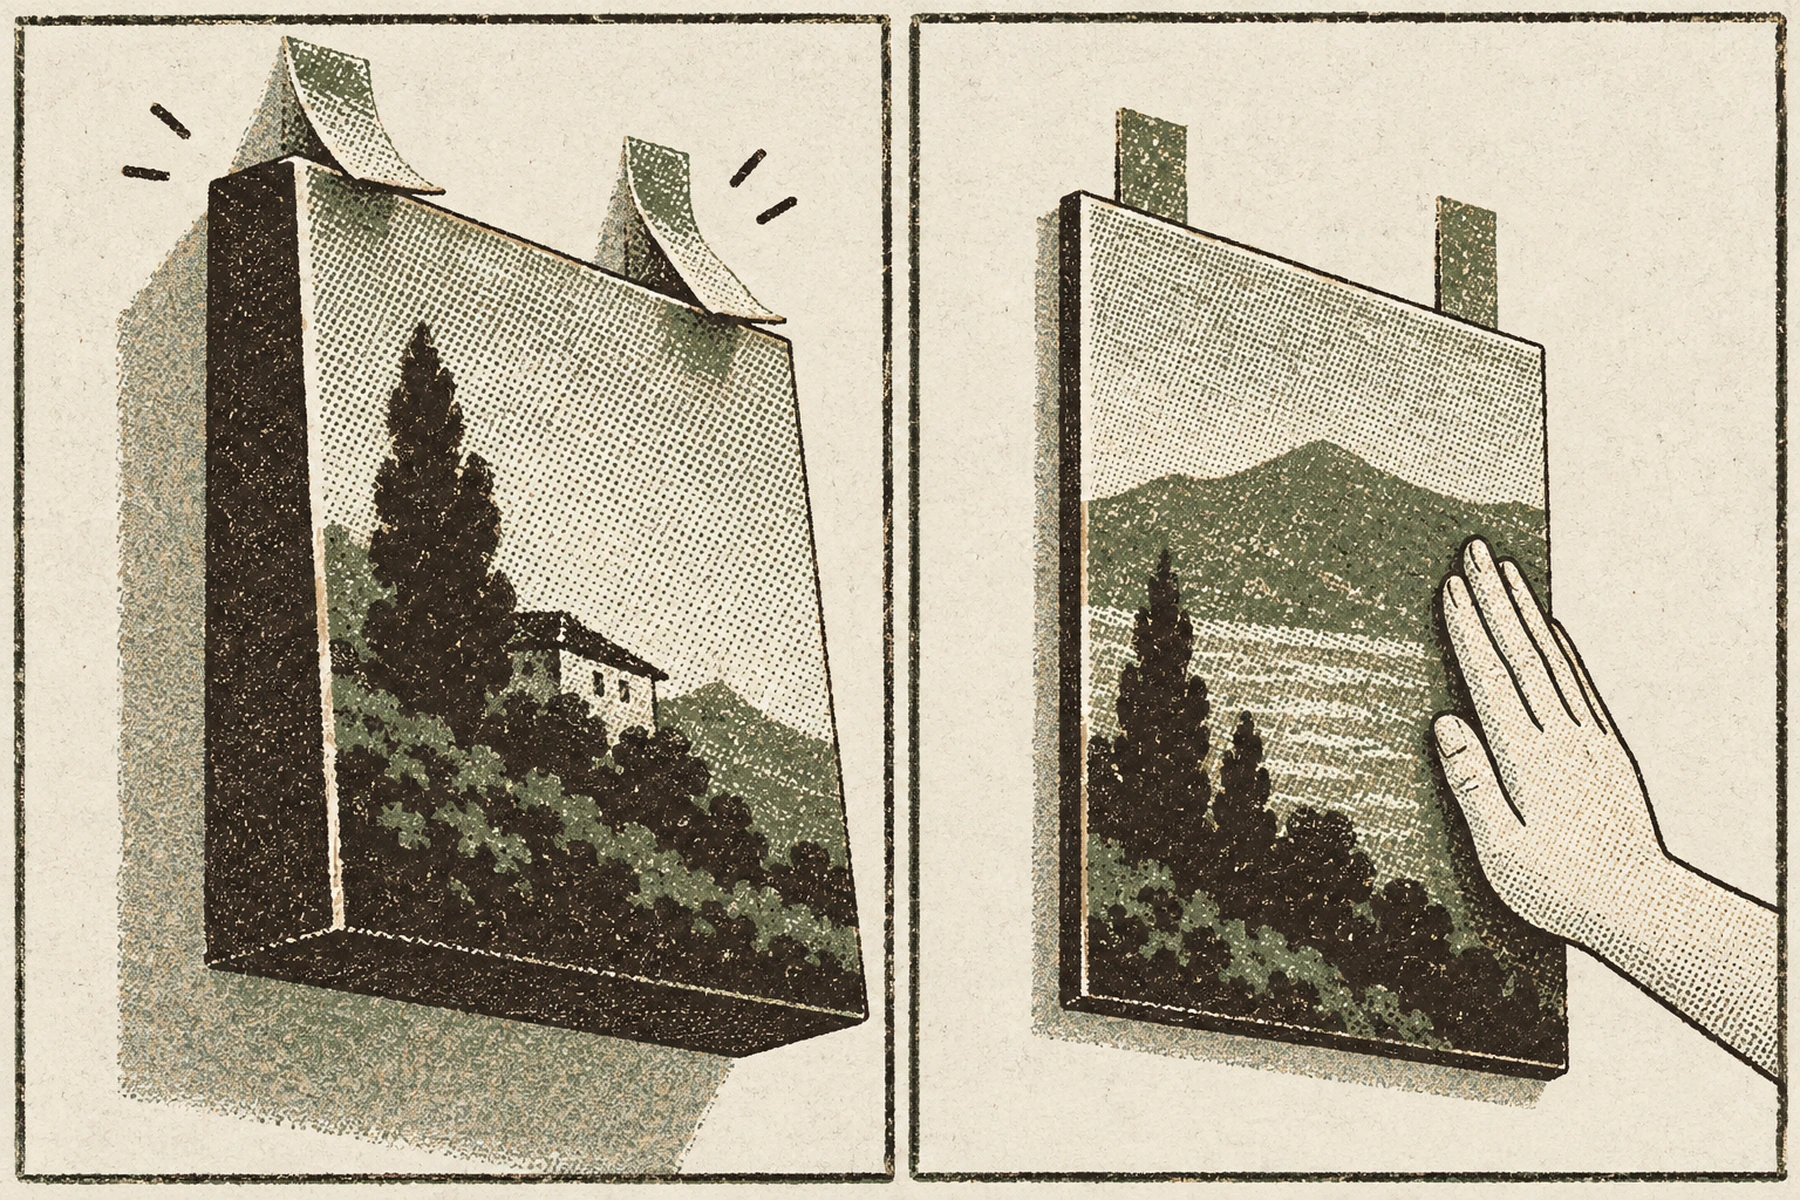
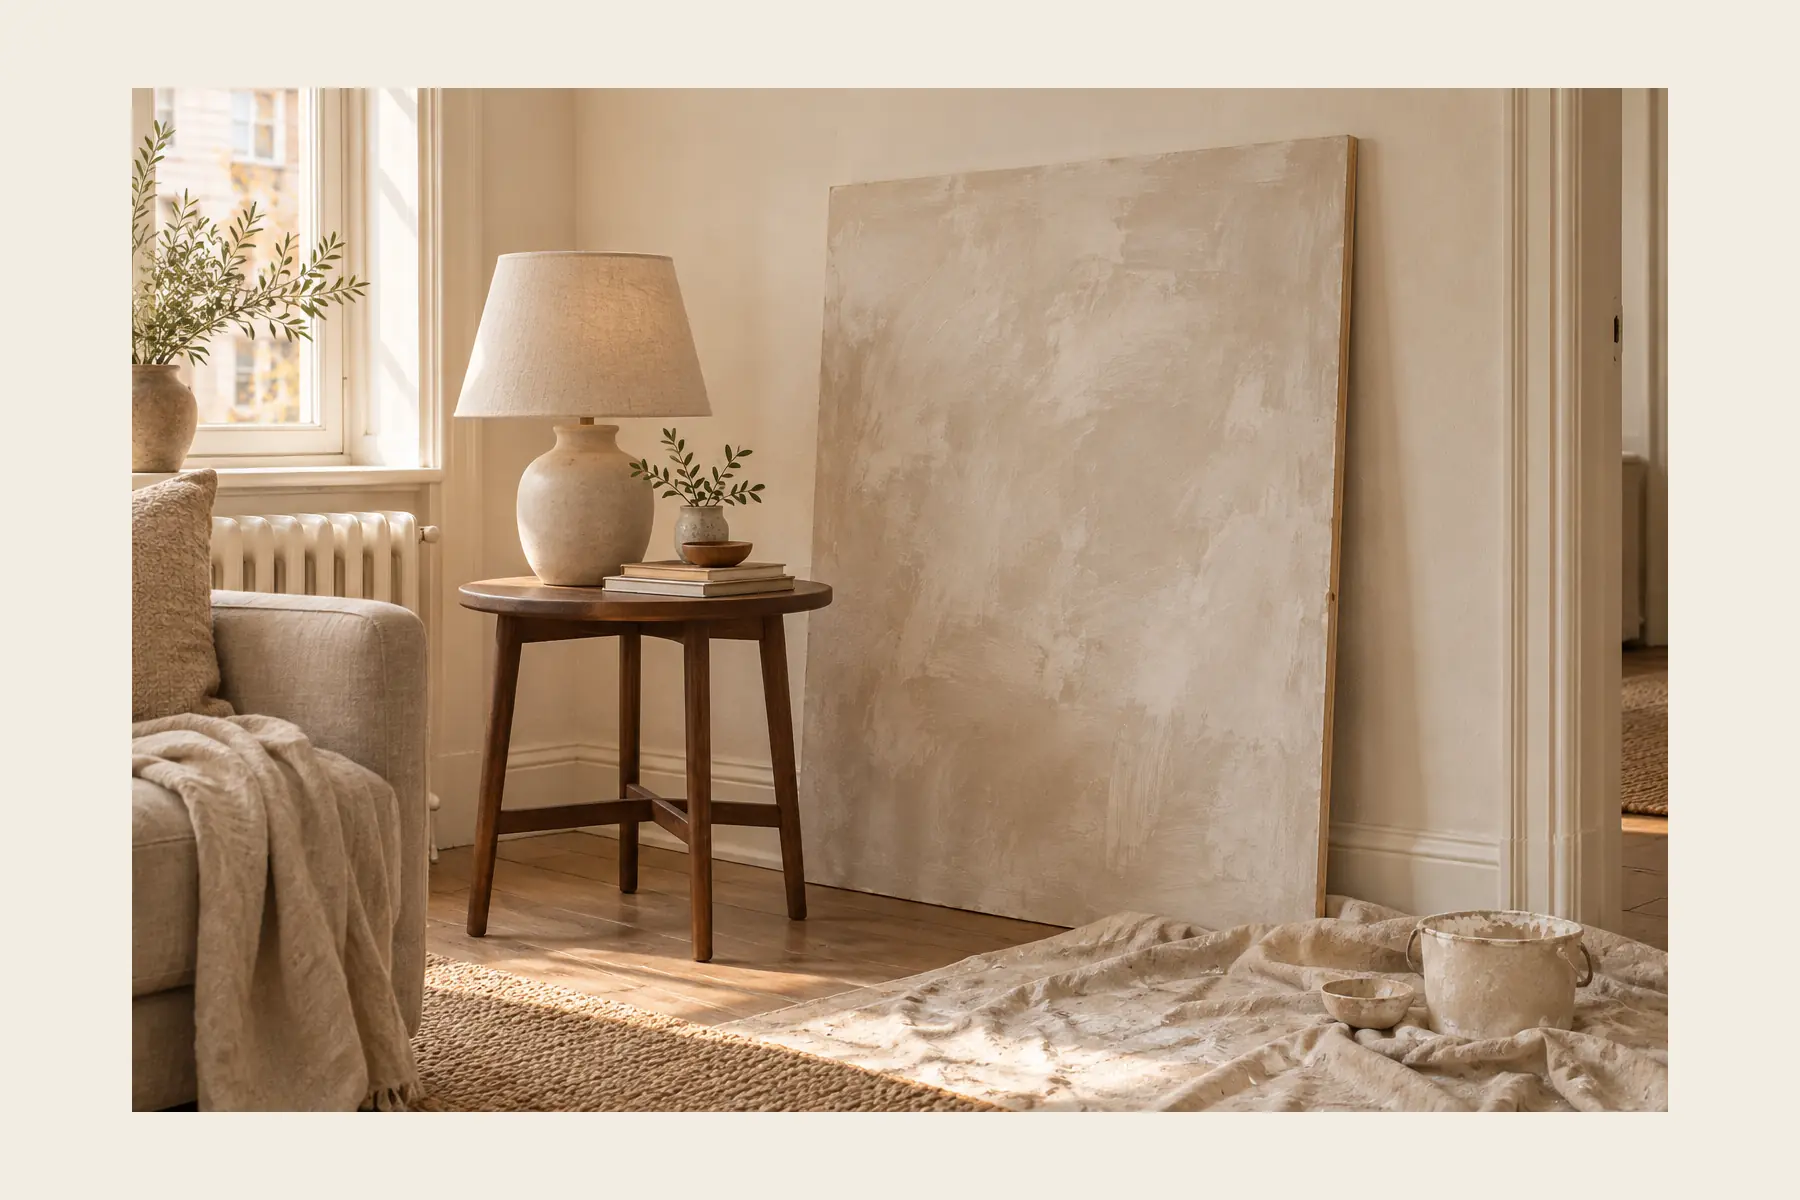
Large picture hanging strips are sold at a 15 lb rating for the pack, and a panel is an awkward, flat, wind catching thing rather than a framed print, so I stay well under it. Past about a third of the rating I lean the panel and let a bench hold the bottom edge, which is what the photographs on this page show.
The whole build
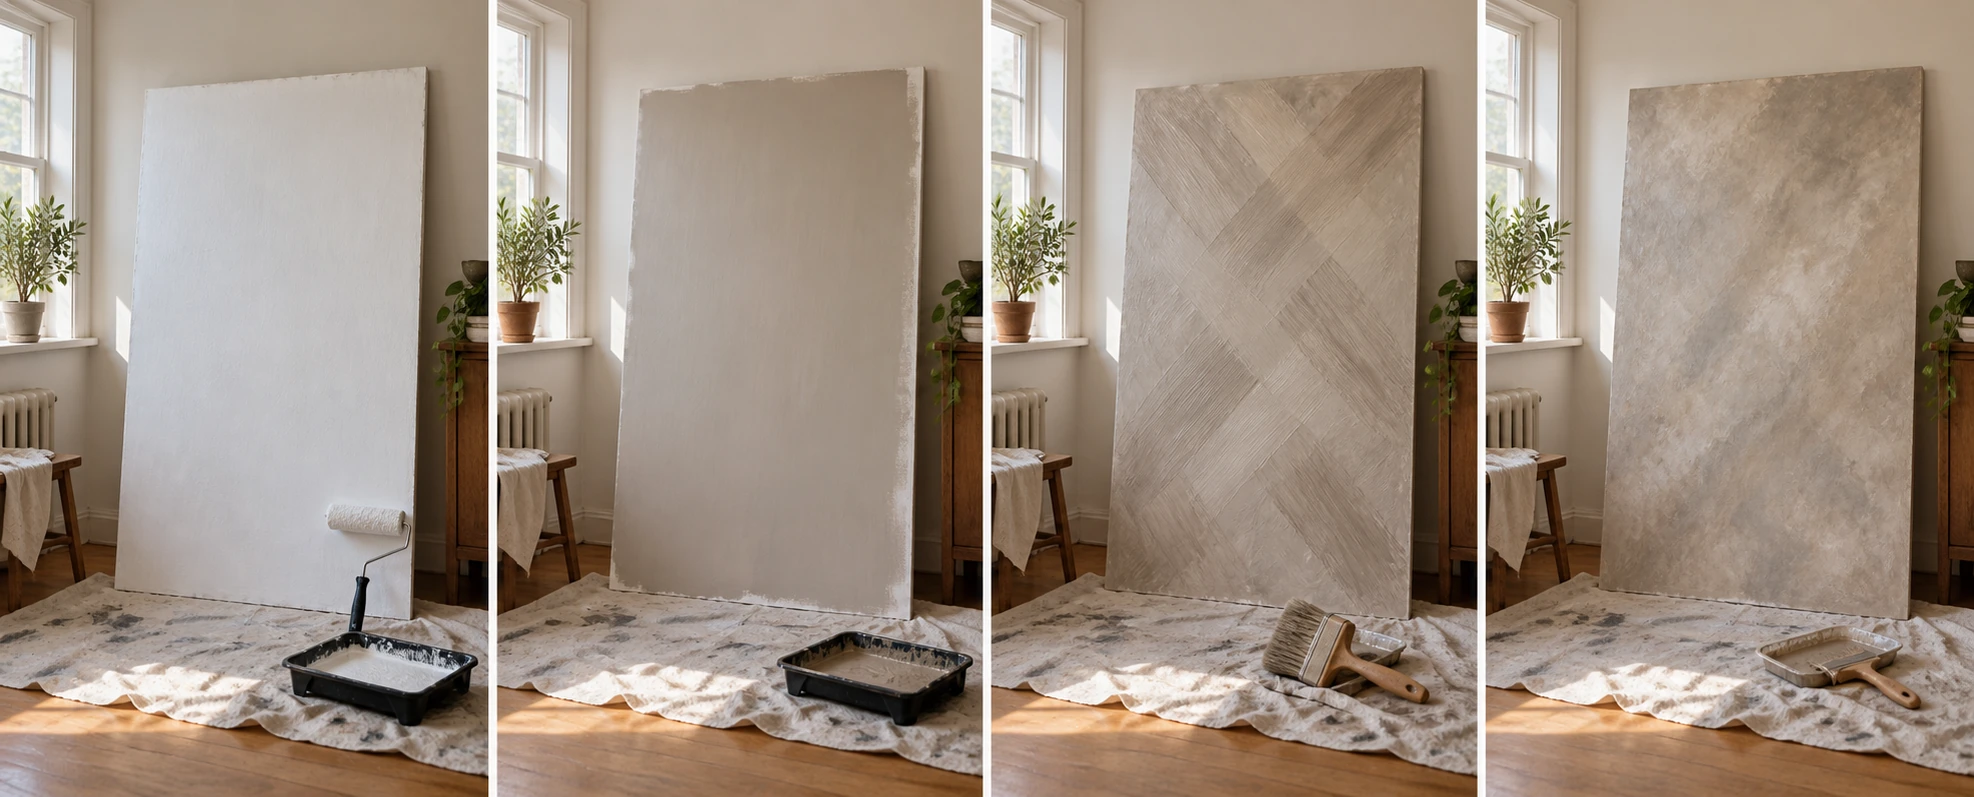
Five steps, and three of them are waiting
-
Cut it, then take the edges off
Have the sheet cut at the store and bring it home already the right size, because a full sheet does not go up a stairwell and neither does an unhappy neighbor. At home, run 120 grit along every edge until the corner is a soft round rather than a knife, and wipe the dust off with a damp cloth.
What goes wrong hereLeaving the factory edges sharp. A limewashed sharp edge chips the first time the panel is moved, and the chip is bright plywood.
-
Prime it twice, with a roller
Flat, not eggshell. Two rolled coats, the first to seal the plywood and the second in the base tone you want showing through the clouds later. Let each one dry all the way. This is the least interesting hour of the project and it is the hour that decides whether the limewash sits down or sits on top.
What goes wrong hereA primer with any sheen in it. Limewash needs a thirsty, dead flat surface to bite into, and on a satin base it chalks off onto your sleeve.
-
Mix the whole panel in one bucket
Stir the limewash rather than shaking it, and thin the first coat the way the tin tells you to. Then keep going until you have enough for the entire surface in one container. Lime moves color between batches, and a panel mixed in two goes on looking like a panel mixed in two.
What goes wrong hereRunning out at three quarters and mixing more. That join is permanent. You cannot sand a lime edge out and you cannot paint it back in.

this is the one bucket you do not get to redo
-
Brush it on in crossing strokes, without stopping
Wide brush, loose wrist, strokes about a foot long going one way and then across, working from one wet edge into the next until the whole panel is covered. Keep it thin. It will look streaky and dark while it is wet, and that is the correct appearance of wet limewash.
What goes wrong hereGoing back over a patch that has started to set. Limewash will not blend once it is drying, and the second pass leaves a hard lap line across the middle of the panel.
-
Let it dry all the way before you judge it
It dries far lighter than it looks wet, over several hours, and the clouding only appears at the end. Walk away, come back in the evening, and only then decide about a second coat. Most panels want one, brushed the same way with the strokes crossing the direction of the first.
What goes wrong hereJudging the color at hour one. That panic is what produces a thick rescue coat, and a thick coat of lime is a crust that powders off on whatever leans against it.

three of the five steps are waiting. i can help with those
Where it goes
Behind something low, and wider than you think
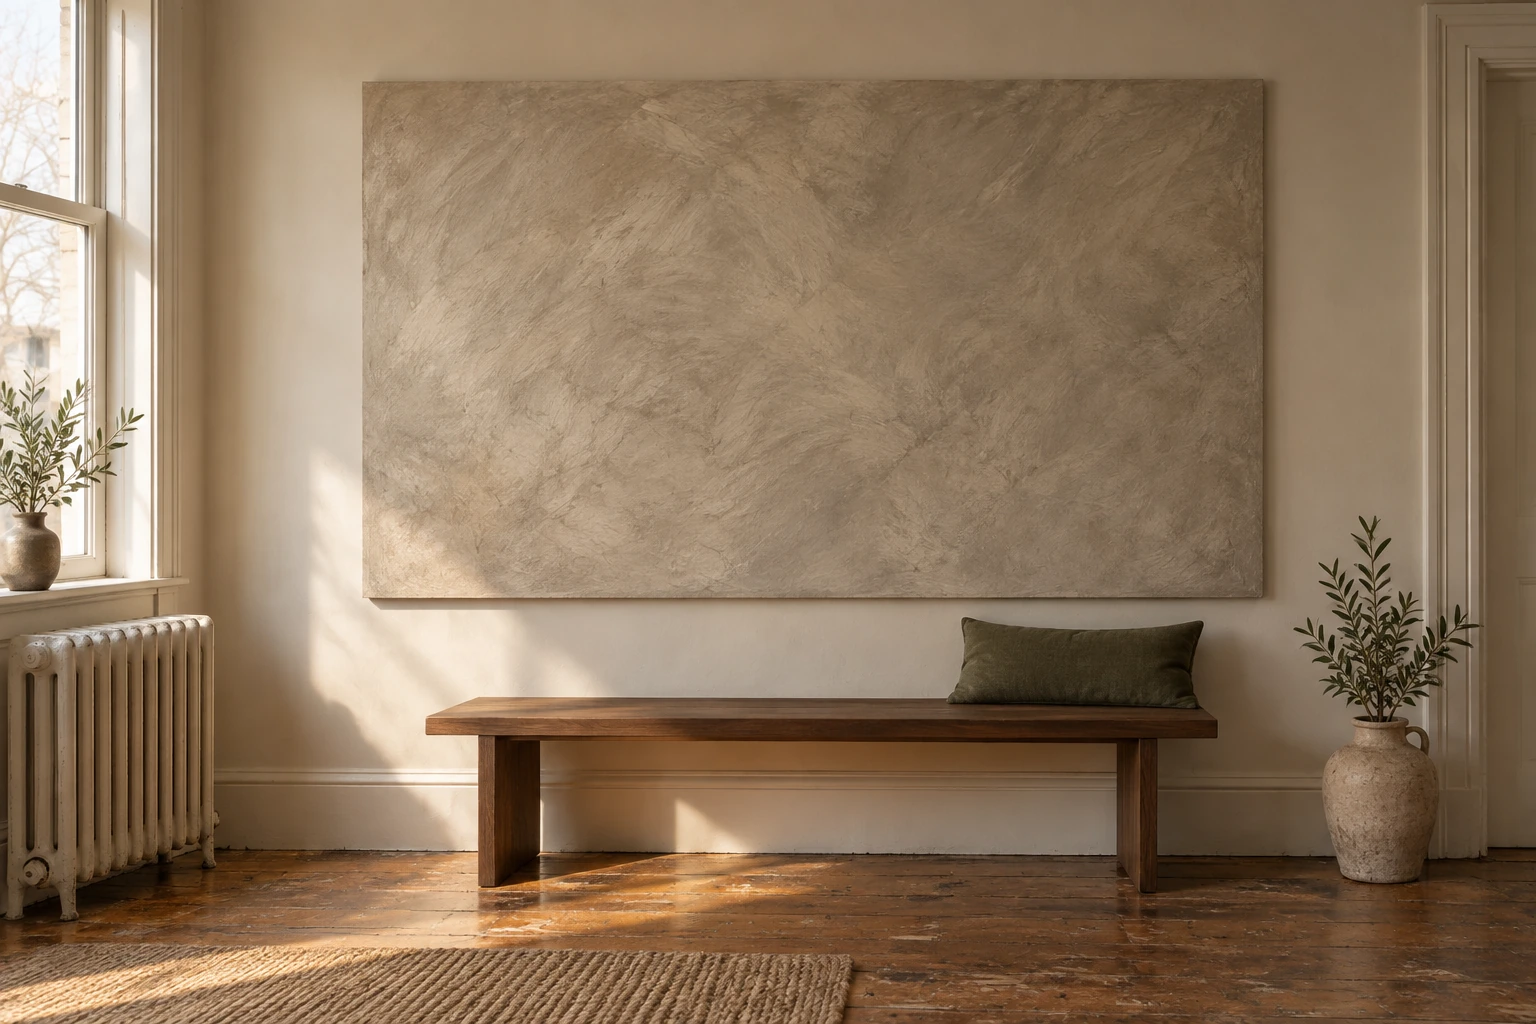
Center it between 57 and 60 in from the floor if it hangs on a bare wall, the starting point every piece of art on this site gets; over a bench you sit on, let the bench set the height. Keep it to two thirds or three quarters of the width of whatever sits underneath it. A panel narrower than the bench looks like a mistake nobody corrected. The eye level rule, with the drawing, or the guide that works it through if you want the whole case for 57 over anything else.
If it leans, the bench does the work. Set the foot of the panel six to eight inches out from the wall so it rests at a slight angle rather than balancing upright, and push the bench in front of it so nothing can walk into the bottom edge. That is the version I would choose in a rental even when the panel is small enough to hang.
How it comes off, and what is left behind
-
Time
20 minutes. Stretch each strip straight down until it releases, take the panel off the wall, done.
-
What you need
Your hands, and a second person if the panel is over three feet wide. Nothing to buy.
-
What is left
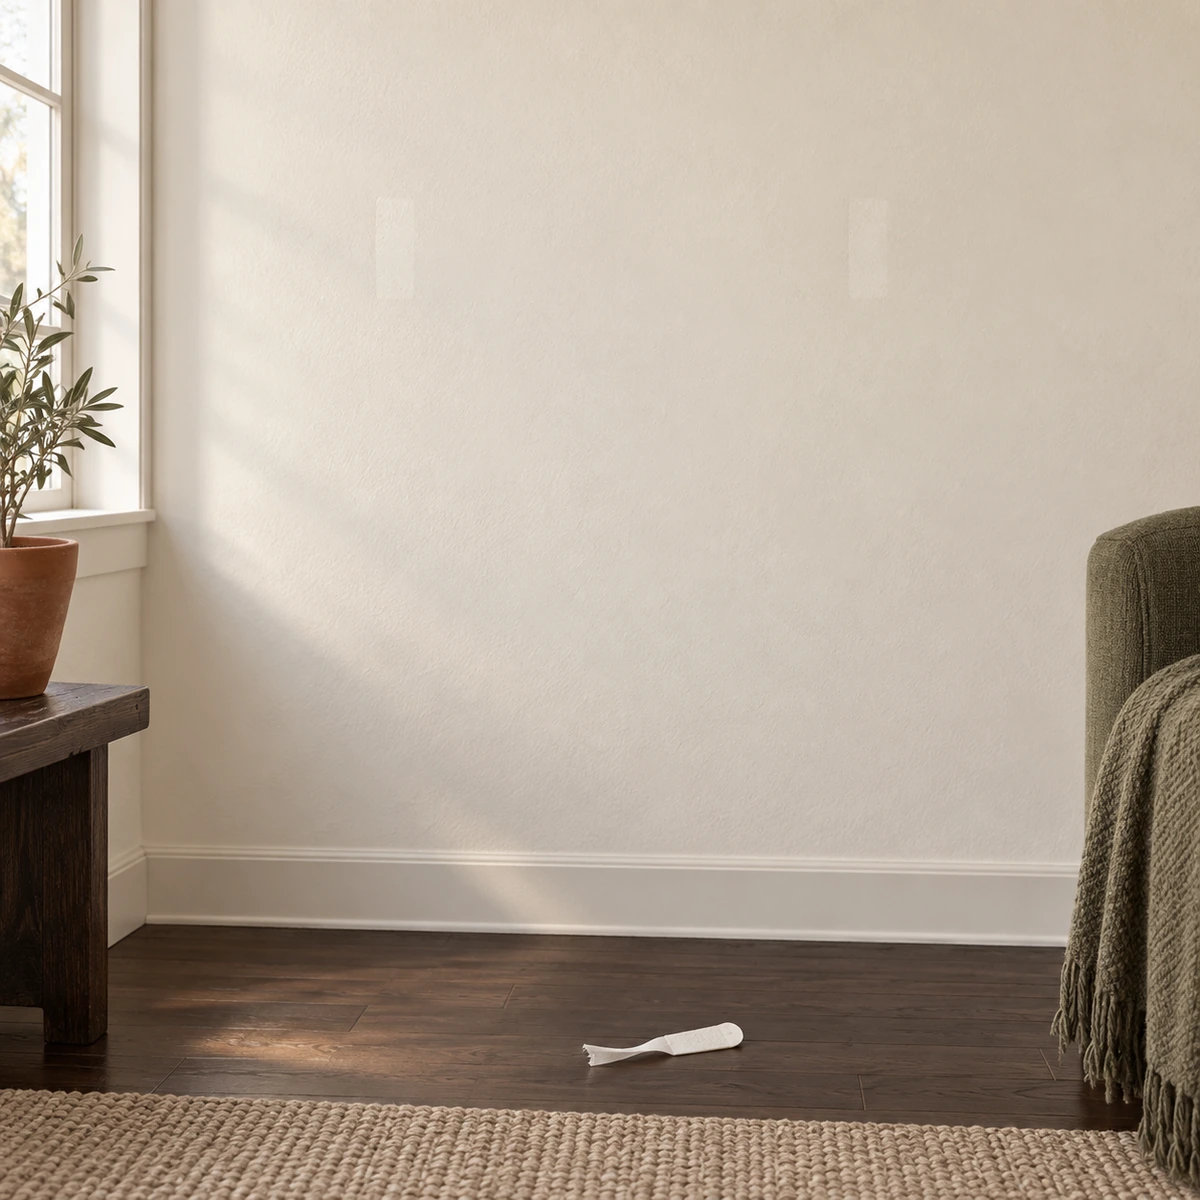
Two pale rectangles where the strips sat, and nothing else. No hole to fill or touch up, because no fastener ever went into the wall.
-
The one risk
Strips lift paint from a wall that was badly painted over old gloss. Pull slowly, straight down, and if the paint starts to come with it, stop and warm the strip with a hair dryer. In a building from before 1978, skip strips on the wall and lean the panel: old paint can carry lead.
Questions people type
Five things worth knowing before you start
Not the wall, in almost every lease. Limewash is a mineral finish that soaks into the surface rather than sitting on it, and painting back over it needs a specific primer, so a landlord is right to say no. Put the finish on a cut panel instead. The look is identical from two feet away, the panel leans or hangs on adhesive strips, and it leaves with you.
Anything porous and dead flat. Raw or primed plywood, hardboard, drywall, brick and plaster all work. What does not work is a surface with sheen in it, because lime needs to soak in to grip. Two rolled coats of flat primer turn a sheet of plywood into exactly the kind of thirsty surface it wants.
Either it is still wet, in which case wait, or you went back over a section that had started to set. Limewash blends only while the whole area is wet. Once a patch begins to dry, a second pass across it leaves a hard lap line that will not brush out. Work the entire panel in one continuous pass with crossing strokes and do not stop to admire it.
A properly thin coat on a porous base does not. A thick coat does, and so does any coat laid over a surface with sheen, because in both cases the lime never bonded to anything. If your panel powders on your sleeve, the fix is not a sealer, it is a flat primer and a thinner coat next time.
Two thirds to three quarters of the width of the furniture it sits behind, which for a standard bench or console usually means 36 to 48 in wide. Keep it to 24 by 36 in if you want to hang it on adhesive strips, because that size in quarter inch plywood lands near 4 lb painted and leaves real margin under a 15 lb rating.

Doing it this weekend?
Tick what you still need
Leave anything that is already in a drawer. The rest goes to your Amazon cart in one tap.
Amazon shows you the cart first; nothing is bought until you check out there. As an Amazon Associate I earn from qualifying purchases.
Where next