How to hang a gallery wall in a rental

By NoraLease and Layer · Checked Sep 15, 2026
Some links on this page go to Amazon. As an Amazon Associate I earn from qualifying purchases, which is how the site pays for itself. How this works
In this guide
The frames are not the hard part. The first hole is.
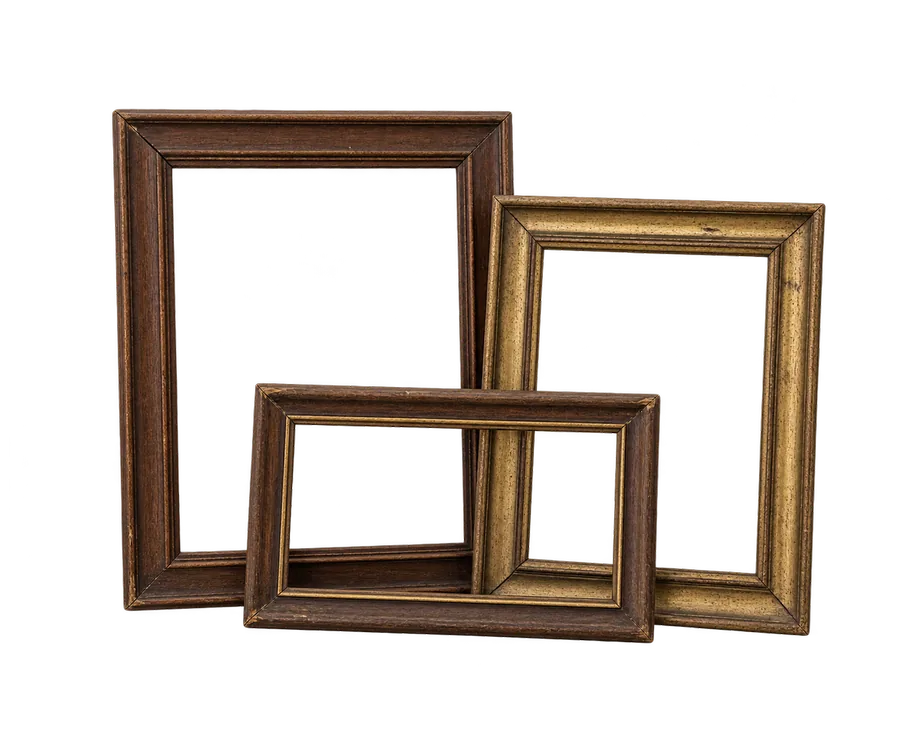
You bought the frames. They have been leaning against the wall in a neat little row for three months, and every weekend you look at them and decide today is not the day. That is a reasonable response to the fact that a hole in a rental wall feels permanent and a gallery wall feels like eleven of them.
So here is the good news, and it is the whole page: you can settle every decision before you touch the wall. Layout, spacing, height, which frame goes where. All of it gets settled on the floor and on paper. The wall is the last step and it takes about twenty minutes.
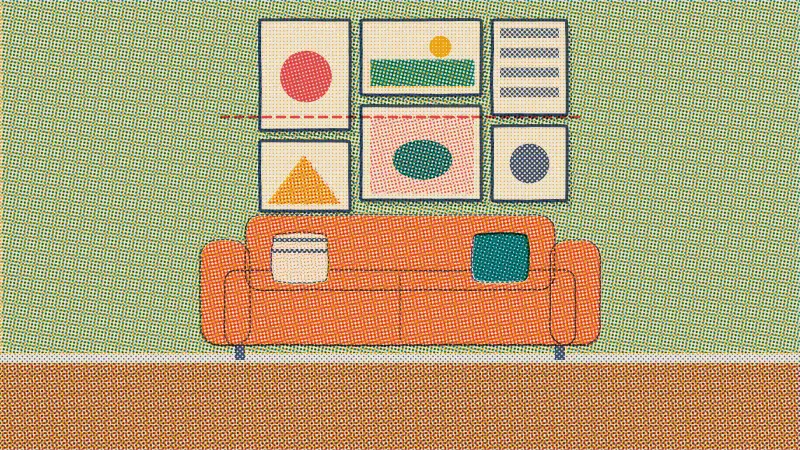
Three numbers run the job. The whole group gets centered at 57 to 60 in off the floor, not each frame separately. Frames sit 2 to 3 in apart, everywhere, on every side. Over a sofa or a console, the group hangs 6 to 8 in above the furniture and spans two thirds to three quarters of its width. Everything else on this page is those three numbers with the arithmetic done for you.
And the fourth thing, which is the one that costs people money: hardware gets picked by weight, not by how sturdy the frame looks. A framed 24 × 36 print with glass is not the same object as an 8 × 10, and one pair of adhesive strips does not care how nicely you asked. There is a weight table at the bottom with a row per frame, and it is the part of this page I would read first if I were you. If you have already done the rug measuring, none of this will surprise you: the tape measure is still the whole skill.
Start here
Build it on the floor, and photograph it
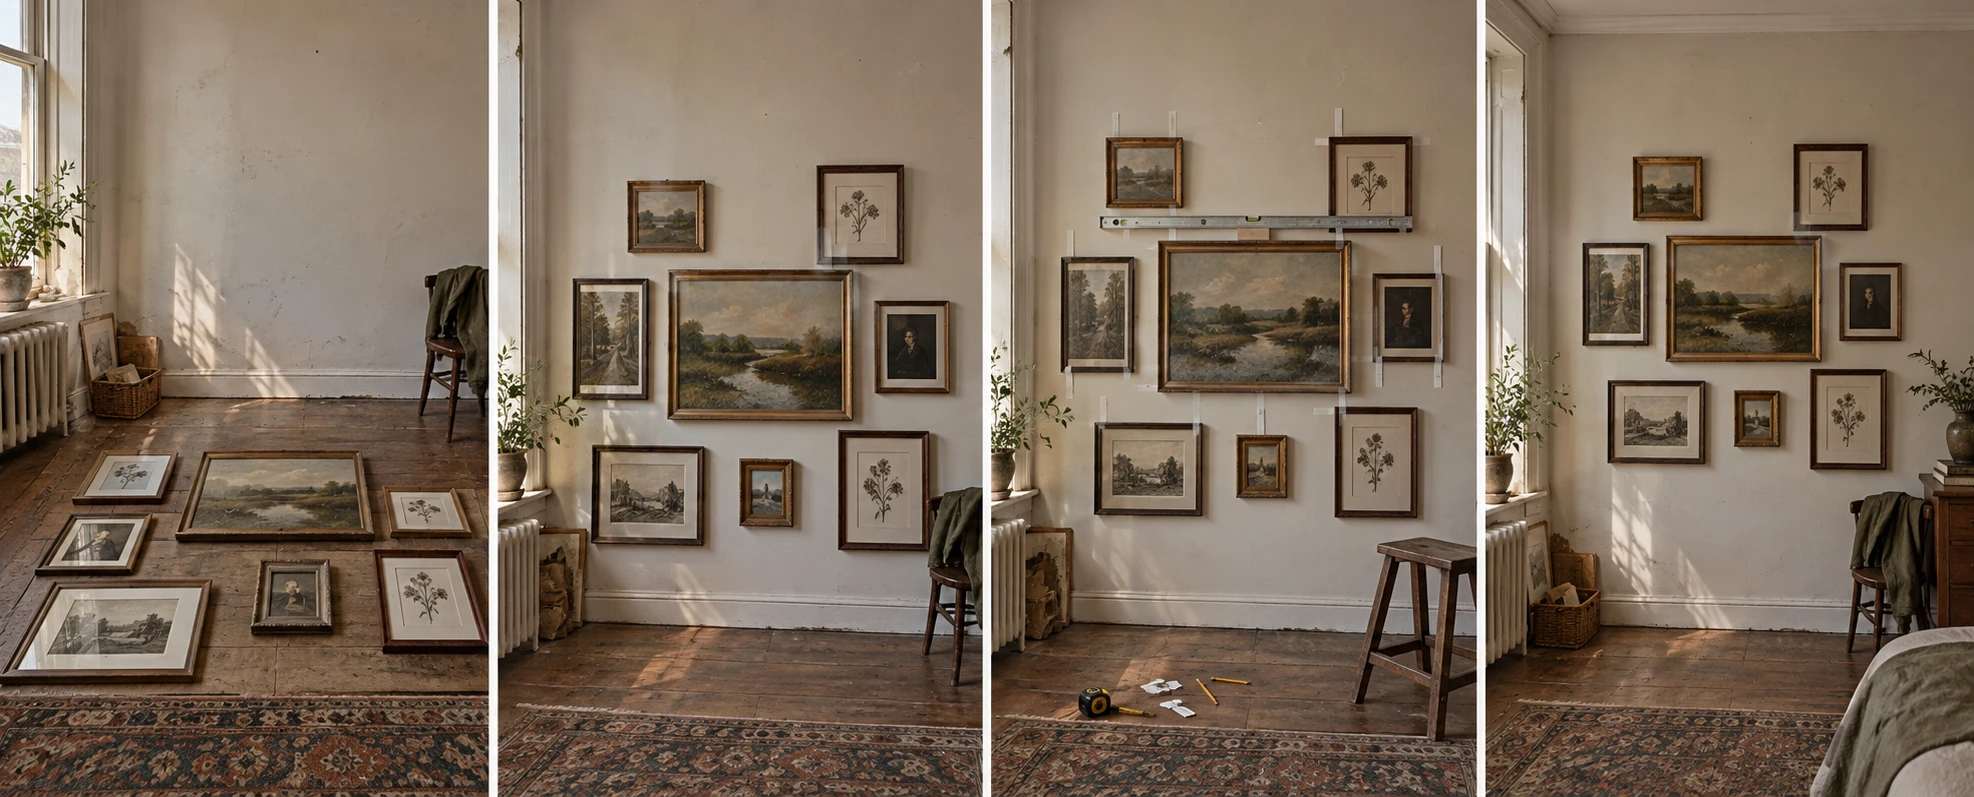
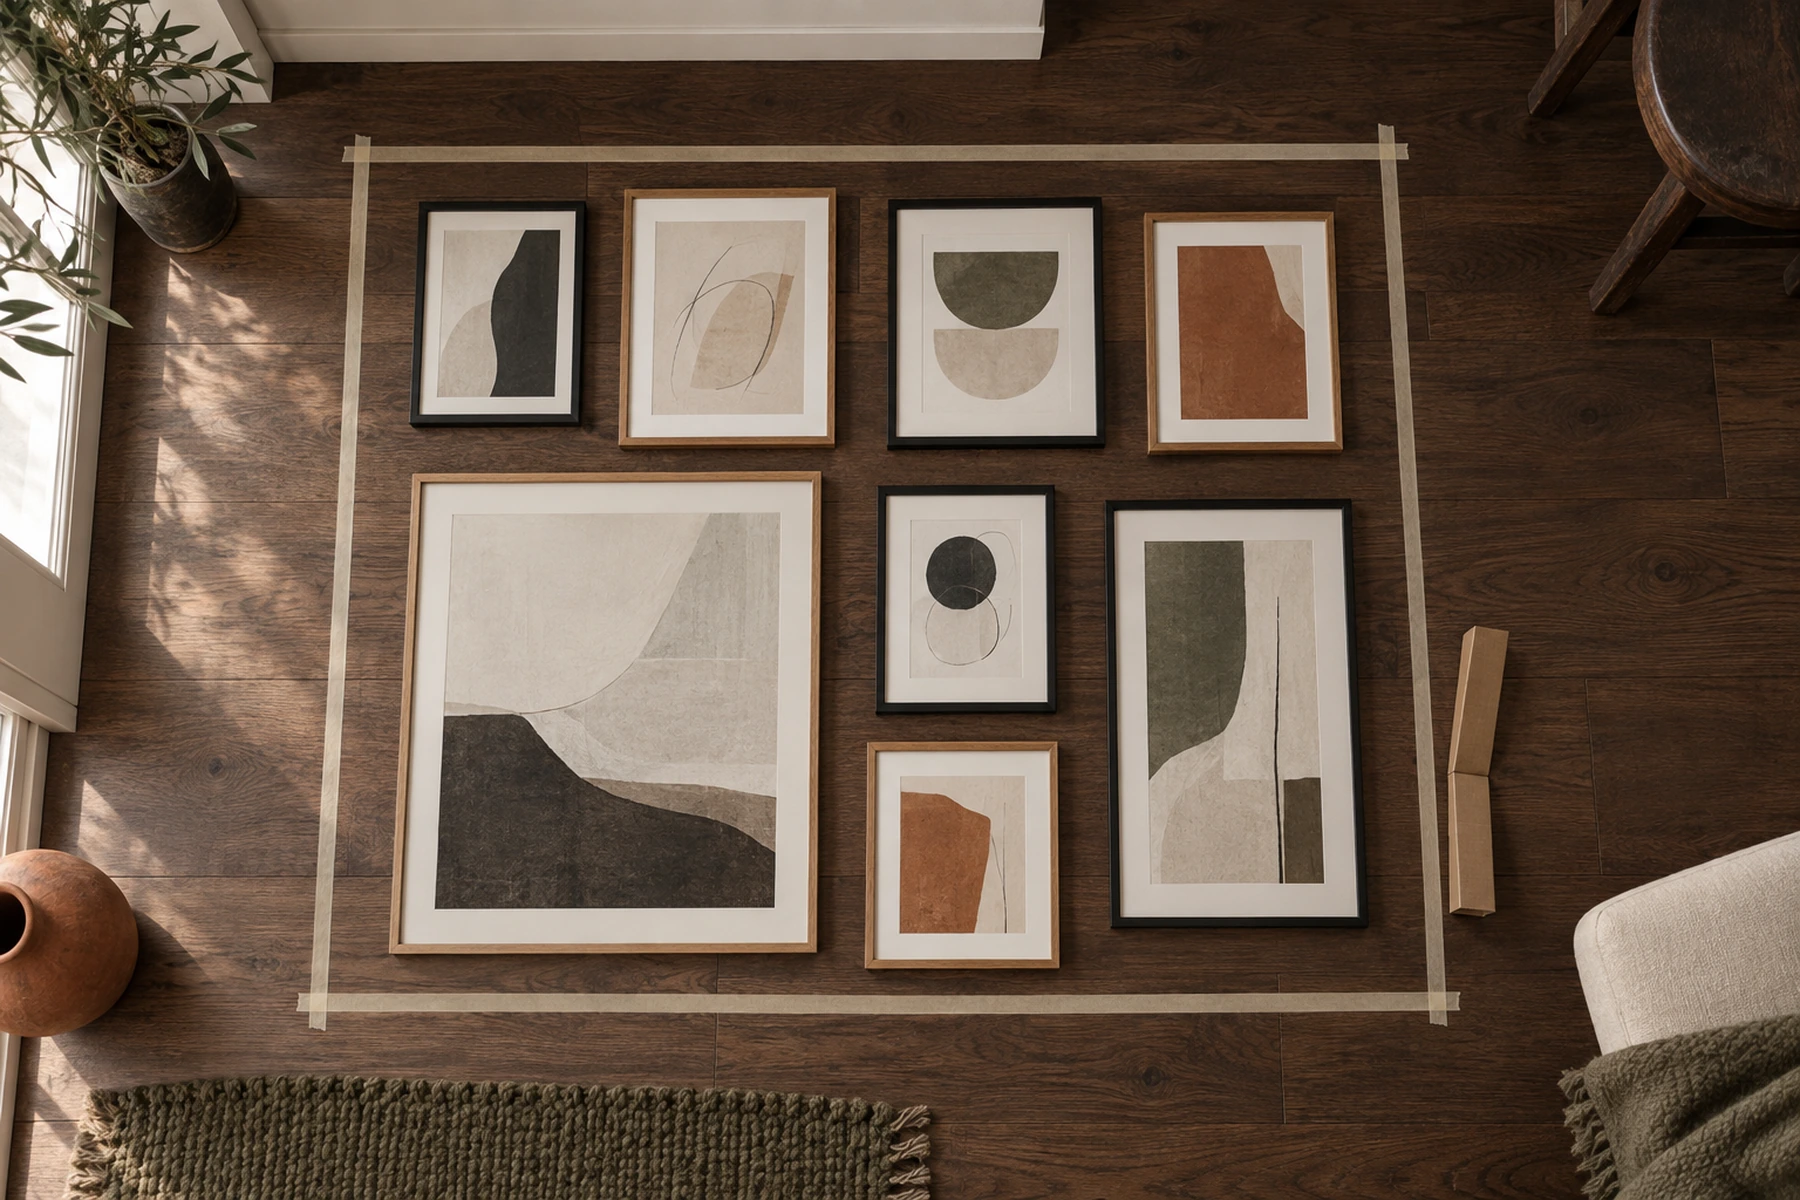
Clear a patch of floor roughly the size of the wall you are filling. Put the frames down the way you think they should go. Then move them. Then move them again. Nothing is at stake yet, which is exactly why this is the part where you get to be indecisive for free.
When it looks right, stand on a chair, hold the phone level and take a picture straight down. That photo is your plan. It is also the thing that saves you at the point, two hours later, where you have three frames on the wall and no memory of what the other five were doing.
Looking down at the floor, your eye corrects the perspective and forgives a lot. The camera does not. A group that reads as lopsided in a photo will read as lopsided on the wall, and you will see it every single day from the sofa.
-
Measure the wall, and mark the same rectangle on the floor
Painter’s tape, four strips, done. Now you are arranging inside the real boundary instead of guessing how much space you have. A group that spreads to fill an open floor is always wider than the wall it was meant for.
-
Put the biggest piece down first, off center
Everything else arranges around it. Dead center is the one position that makes a gallery wall look like a certificate display, and it is covered in the next section.
-
Fill outward, keeping the gaps equal
Same gap everywhere, top and bottom and both sides. This is the rule that decides whether the group reads as one piece, and the one nobody follows.
-
Photograph it. Then leave it alone until tomorrow
You will change one thing in the morning. One, not five. If you change five, the layout was never settled and the floor just saved you from finding that out with a hammer.
The anchor
One piece runs the wall, and it does not sit in the middle
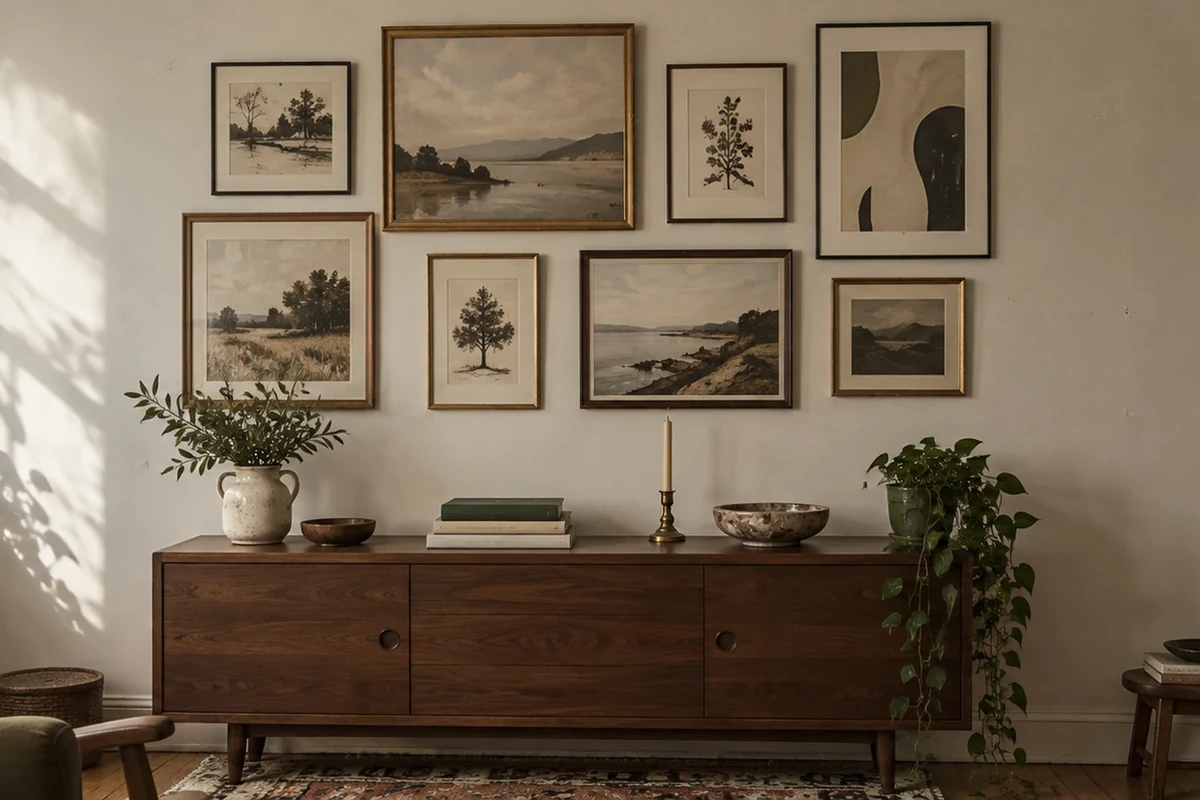
Every good gallery wall has a piece your eye lands on first. Usually it is the biggest one. Sometimes it is the darkest, or the only photograph in a group of prints, or the one with a mat so wide it reads as quiet. What matters is that there is one, and that the rest of the group clearly defers to it.
Then push it off center. Not by much: a third of the way in, or sitting low and left with the smaller frames climbing away from it. A large piece dead center with matching satellites is a symmetrical arrangement, and symmetry is a different look with different rules. It can be beautiful. It is also unforgiving, because every gap has to be perfect or the whole thing reads as a mistake rather than a style.
The anchor also solves the problem of what to buy. Instead of eight things of equal importance, you are shopping for one big piece and then filling around it, which is cheaper and easier to decide.
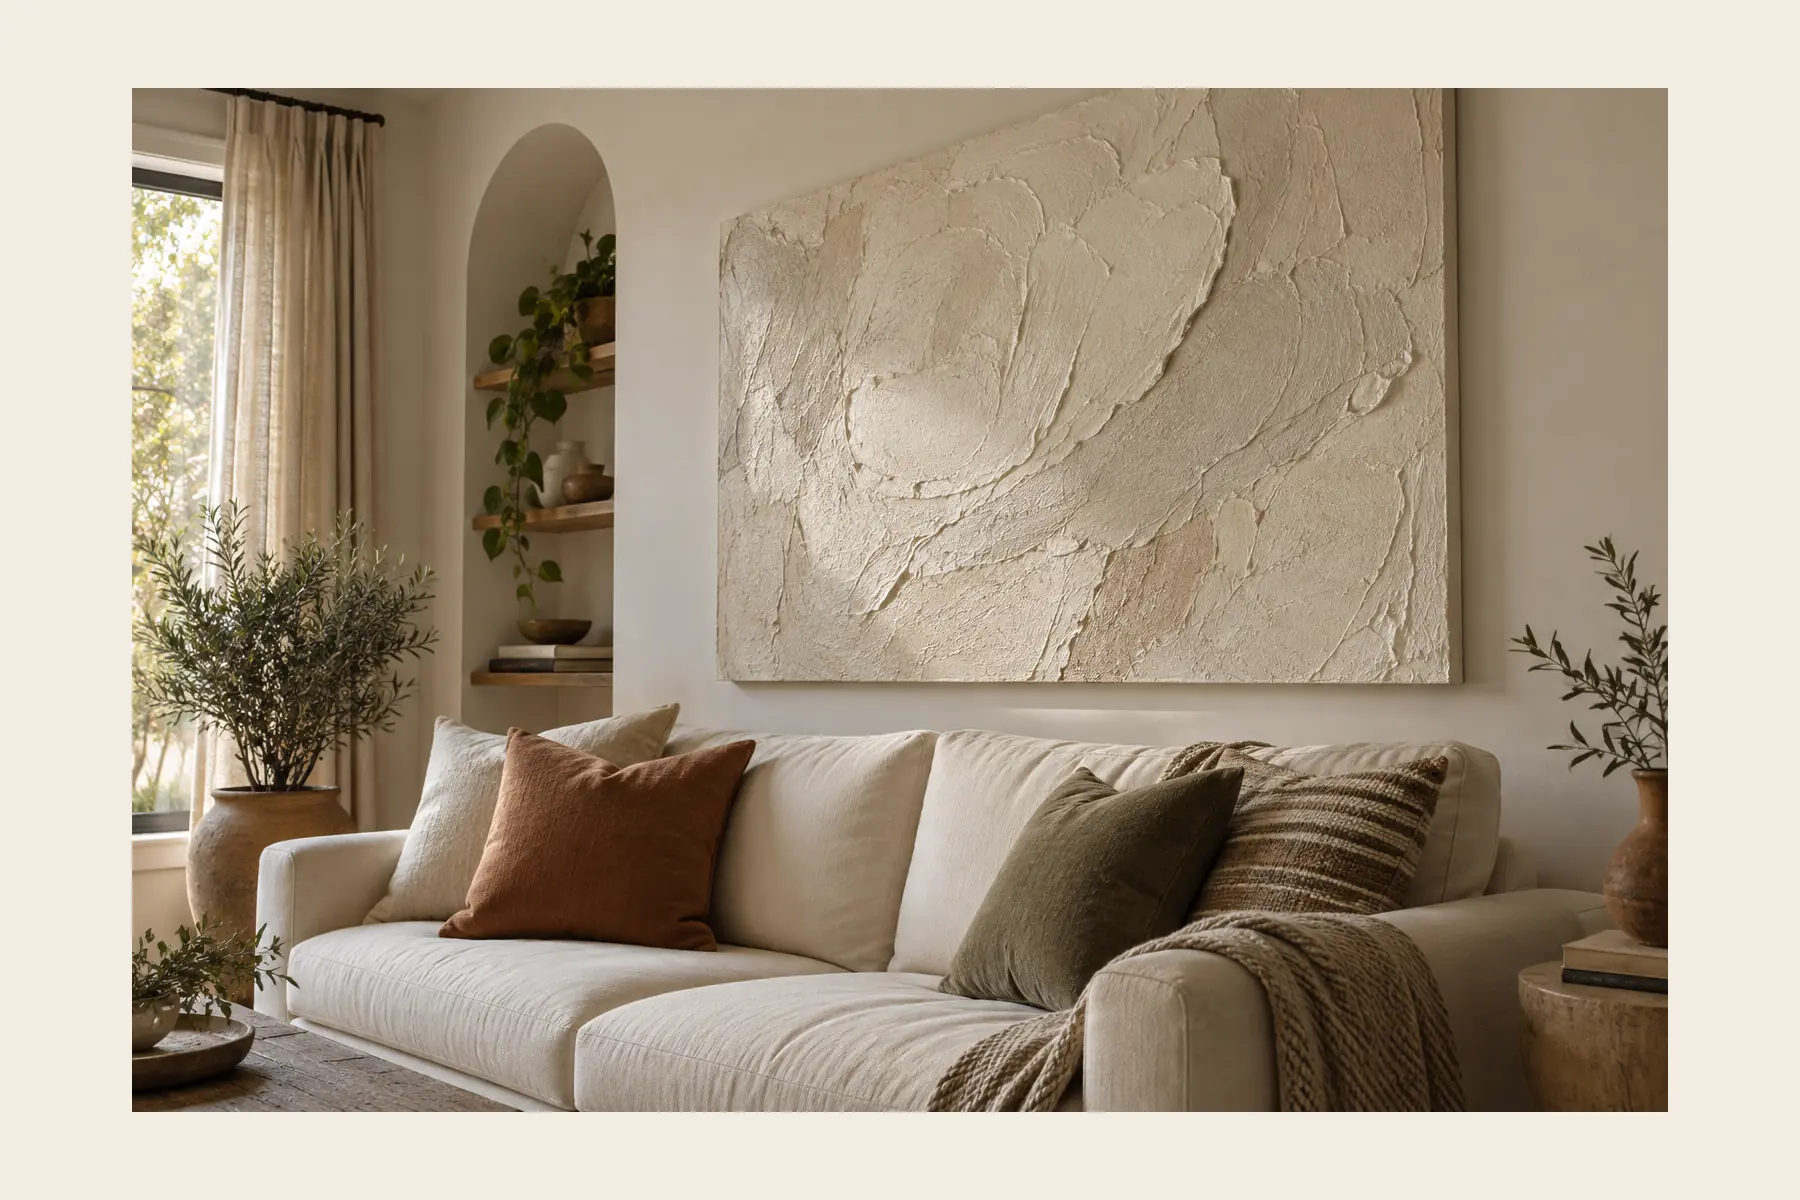
If that one piece is a painting rather than a print, it can do more than anchor the wall. Pull the room’s whole palette out of it before you buy a single cushion, because the anchor is already telling you which colors belong in the rest of the room.
Mixing sizes
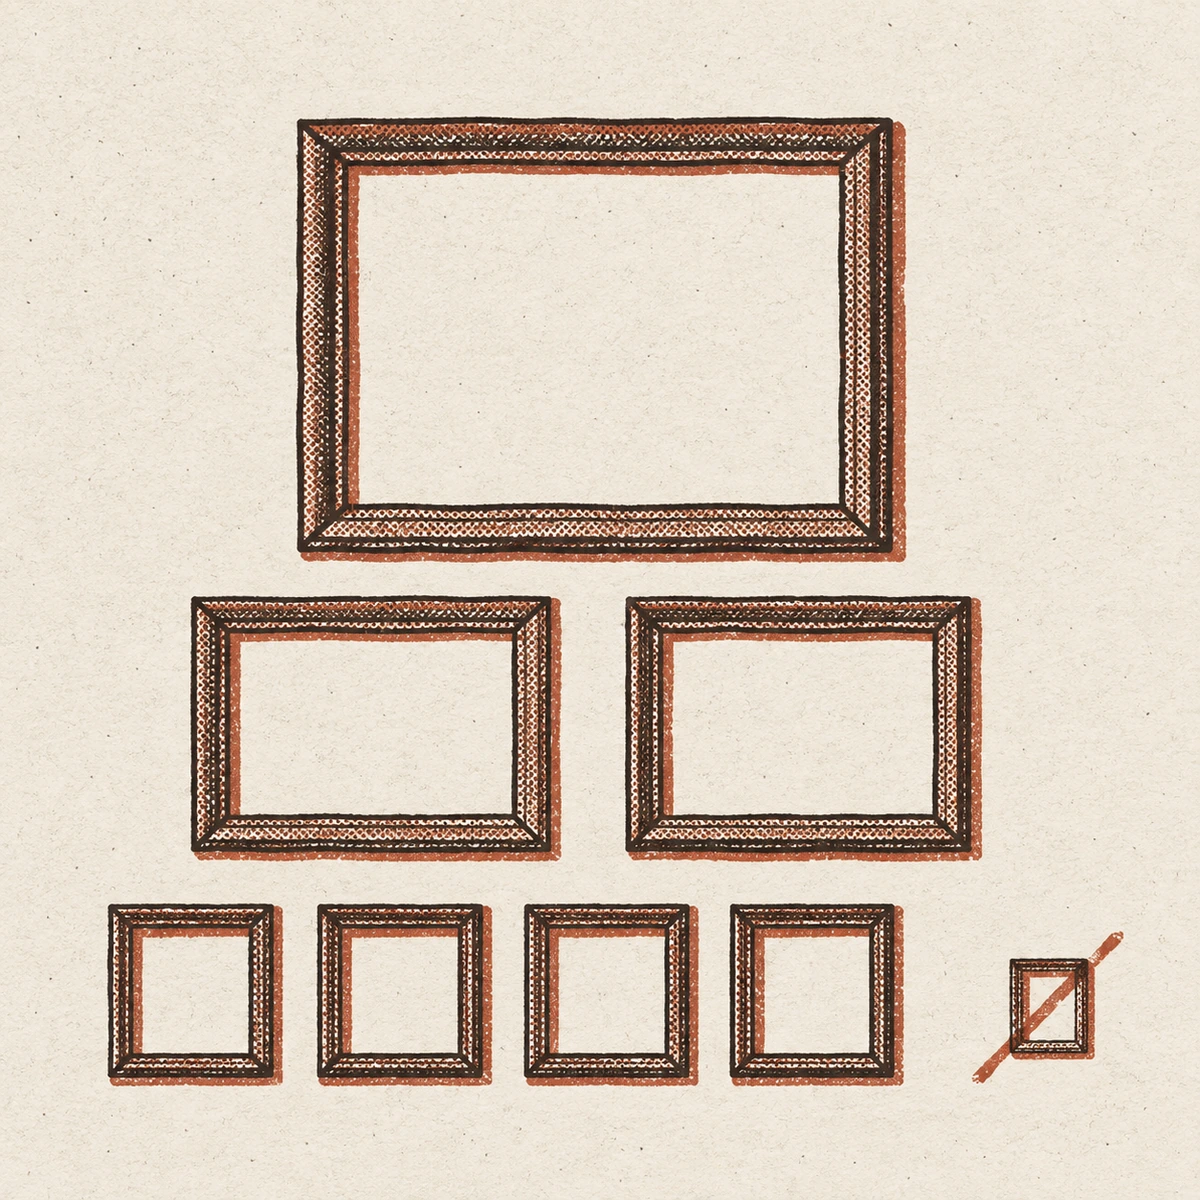
1 : 2 : 4One big, two medium, four small
Call it a starting ratio, and a good one, because it guarantees the thing a gallery wall needs and a grid of identical frames cannot give you: a clear order of importance. Eight frames of the same size hung in two rows is a schedule. The same eight in three sizes is a composition.
The proportions below are roughly what a seven piece group wants. Scale them up or down, keep the shape of the ratio, and the wall will hold together even if every print inside it is wrong.
The same ratio works on textiles: one dominant pattern, one medium, one small is the trick that keeps a stack of throw pillows from turning into visual noise.
-
One anchor
24 × 36, or 20 × 28 in a small room. This is the piece the wall is built around, so buy the frame before you decide anything else. A poster frame with plexiglass instead of glass also drops the weight by half, which the hardware section will thank you for.
-
Two mediums
11 × 14 is the workhorse, and it is better matted down to an 8 × 10, because the mat is what makes a cheap print read as framed art instead of a printout in a frame.
-
Four smalls
5 × 7 and 8 × 10, and this is the tier that carries the personal things: photographs, a ticket, something your kid drew.
-
Zero of these
Frames under 4 × 6. They disappear from three feet away, and every one you add is another gap to keep even for no visual return.
That is also the rule for the one frame that is old, the one with a hand-me-down mat or a finish that does not match anything. One old piece in a wall of five is what makes the rest look chosen, not stuck to whatever was on sale.
Try it on your wall
Pick a finish and see the whole wall first
The anchor and the set of ten come in the same finishes: black, white, gold, light wood and dark oak. Buy both in one, and the only variable left is the layout.
What goes in the frames
Twenty sets and ten big pieces, picked by the room they go in
A set of three is the fastest gallery wall there is: the sizes already agree, and the spacing is the only decision left. Hang them 2 to 3 in apart, center the set at 57 to 60 in, and you are done. Or skip the gallery and hang one big piece, which is one or two holes instead of eleven.
Almost all of these come in several sizes, and the size is the part people get wrong. The group wants two thirds to three quarters of the width of whatever it hangs over.
What does it hang over?
One big piece
Ten that run the wall alone
Made for this page. Not a photograph of these products.
-
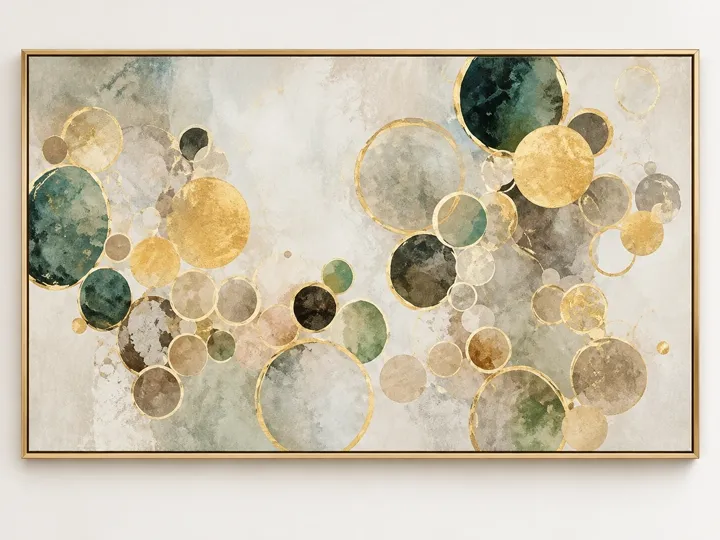
Illustration Canvas, gold frame
Green and gold circles
48 × 24 or 58 × 29 in, or as a set of three
The catch Gold frame and gold circles. Next to brass lamps it matches; next to black metal the two argue.
Hang it with Two Monkey Hooks, set to the hangers on the back. The listing gives 8.8 lb for the 58 × 29: light, but past the 24 × 36 that strips are rated for. The hook row ↓
-
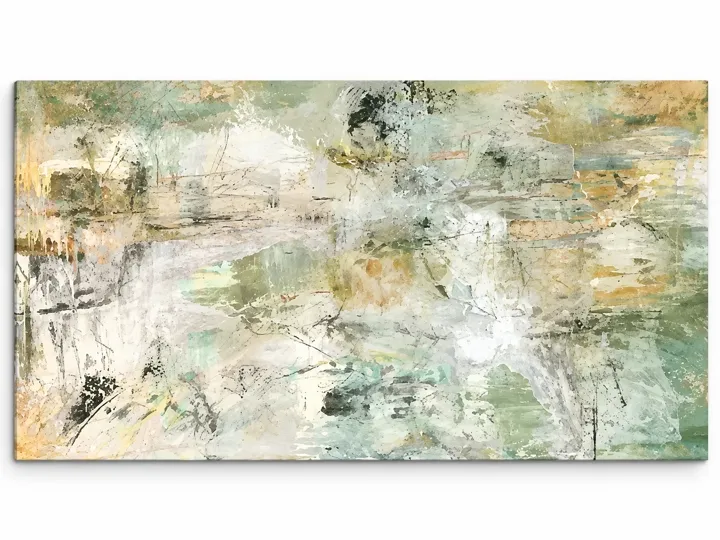
Illustration Canvas, no frame
Sage and ochre abstract
40 × 20, 48 × 24 or 58 × 29 in
The catch Canvas wrapped over the edges, no frame. Soft with linen and wood; next to a glossy black TV it looks unfinished.
Hang it with Two Monkey Hooks, set to the hangers on the back. The listing gives 4.2 lb for the 58 × 29, and the size, not the weight, is what rules out strips. The hook row ↓
-
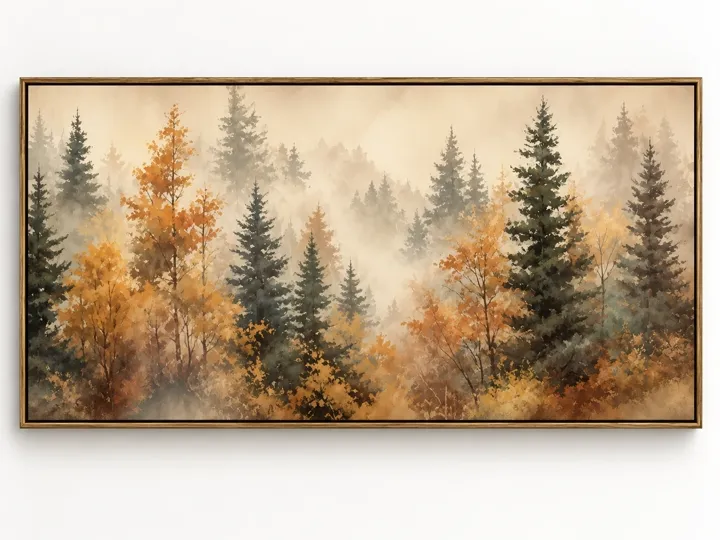
Illustration Canvas, wood frame
Fall forest in fog
36 × 12 or 40 × 20 in
The catch Tops out at 40 in wide, so it belongs over a console or a bed, not an 84 in sofa. Rust and pine read as autumn all year.
Hang it with Two Monkey Hooks instead of the nails in the box. The listing gives 6 lb for the 40 × 20, which is past the 24 × 36 that strips are rated for. The hook row ↓
-
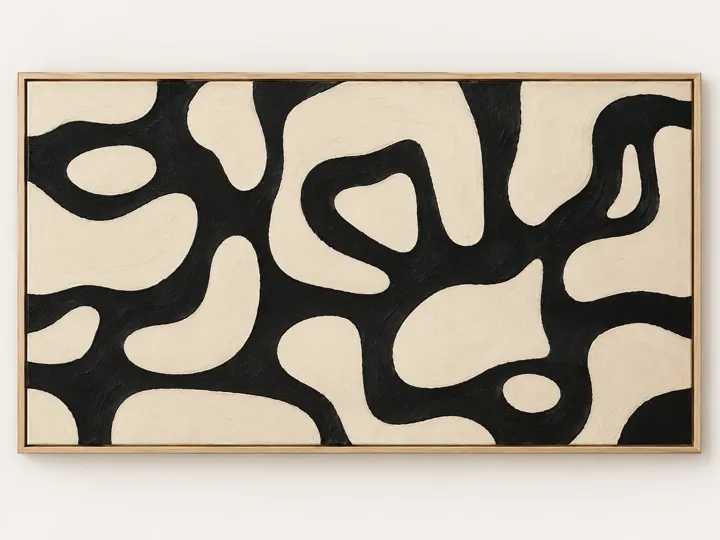
Illustration Textured canvas, oak frame
Black and cream shapes
40 × 20 up to 72 × 36 in
The catch The highest contrast piece here. It runs a white room alone; next to a patterned rug, one of the two has to go.
Hang it with Two Monkey Hooks, set to the hangers on the back. The listing gives 6 lb for the 60 × 30, far past the 24 × 36 that strips are rated for. The hook row ↓
-
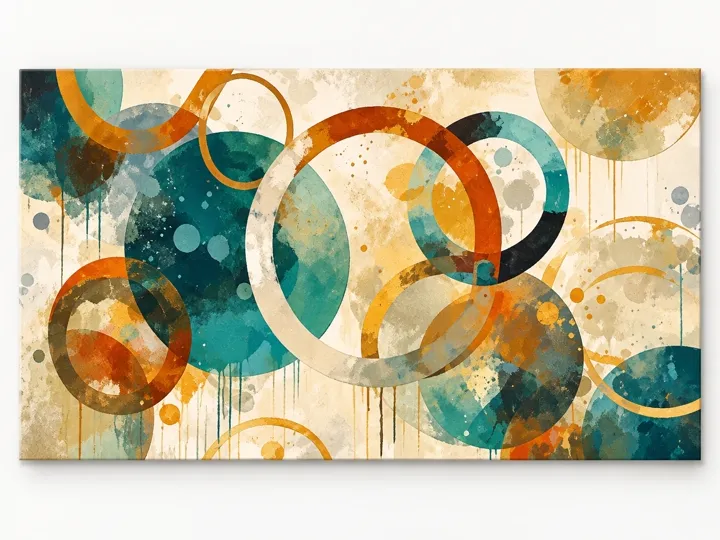
Illustration Canvas, no frame
Teal and rust circles
40 × 20 or 48 × 24 in
The catch Teal, rust and mustard. If the room already has an olive or terracotta pillow, this ties them together.
Hang it with Two Monkey Hooks, set to the hangers on the back. The listing gives no weight, so weigh it; at 40 in wide it is past strips either way. The hook row ↓
-
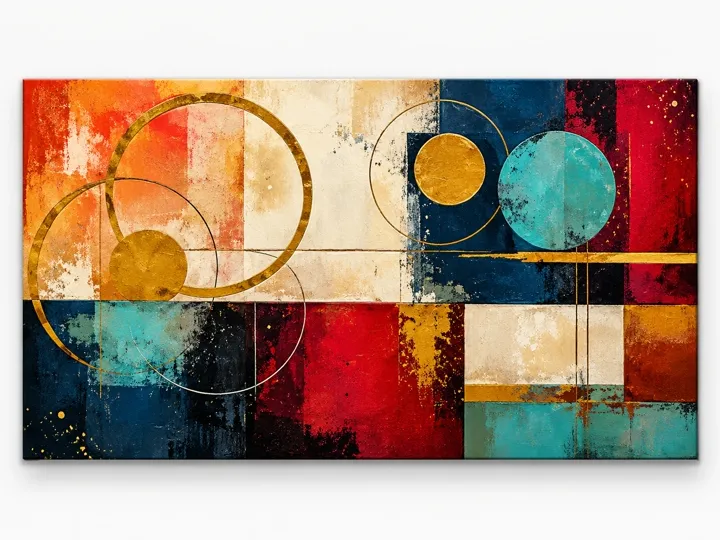
Illustration Canvas, no frame
Red, navy and gold blocks
40 × 20, 48 × 24 or 60 × 30 in
The catch Red is the loudest color a wall can hold. Good with dark wood and one red thing already in the room; with pastels it takes over.
Hang it with Two Monkey Hooks, set to the hangers on the back. The listing gives no weight, so weigh it; at 40 in wide or more it is past strips either way. The hook row ↓
-
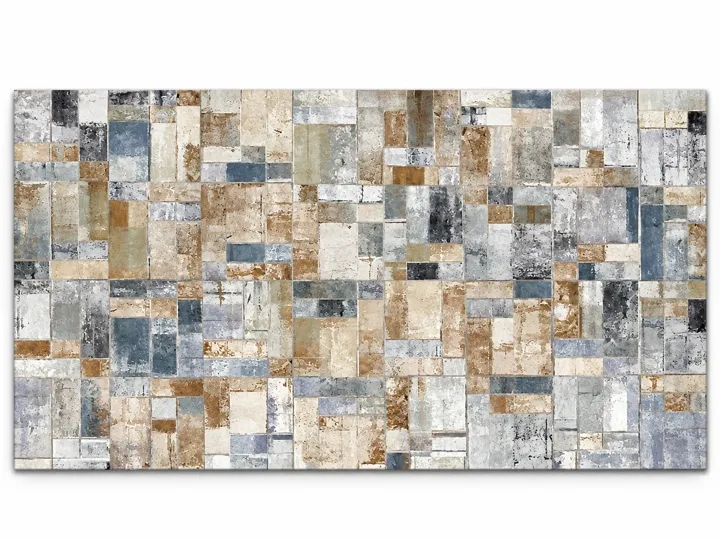
Illustration Canvas, no frame
Stone patchwork in rust and blue
40 × 20, 48 × 24 or 58 × 29 in
The catch Hundreds of small blocks. From the sofa it reads as one texture; up close it is busy.
Hang it with Two Monkey Hooks, set to the hangers on the back. The listing gives 2.5 lb for the 48 × 24: light, but past the 24 × 36 that strips are rated for. The hook row ↓
-
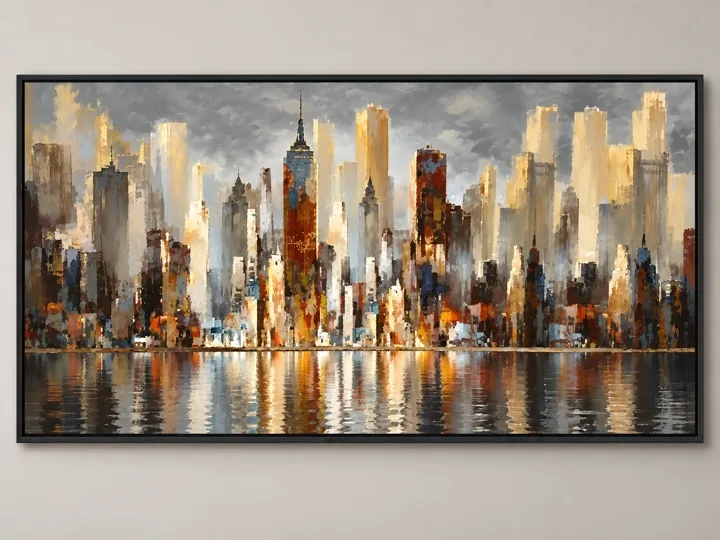
Illustration Canvas, black frame
City skyline in brown and gold
40 × 20 up to 87 × 40 in
The catch The only one here that goes past 80 in wide, so it can hold a sectional wall alone.
Hang it with Two Monkey Hooks for the smaller sizes. The listing gives no weight, so weigh it; at 87 × 40, past 35 lb, take the 50 lb pair. The hook rows ↓
-

Illustration Canvas, light wood frame
Orange and blue swirls
40 × 20 up to 70 × 31 in
The catch Orange and navy at full strength. Great over a cream sofa; with a patterned rug it gets loud fast.
Hang it with Two Monkey Hooks, set to the hangers on the back. The listing gives 9.5 lb for the 58 × 29, framed: past the 24 × 36 that strips are rated for. The hook row ↓
-
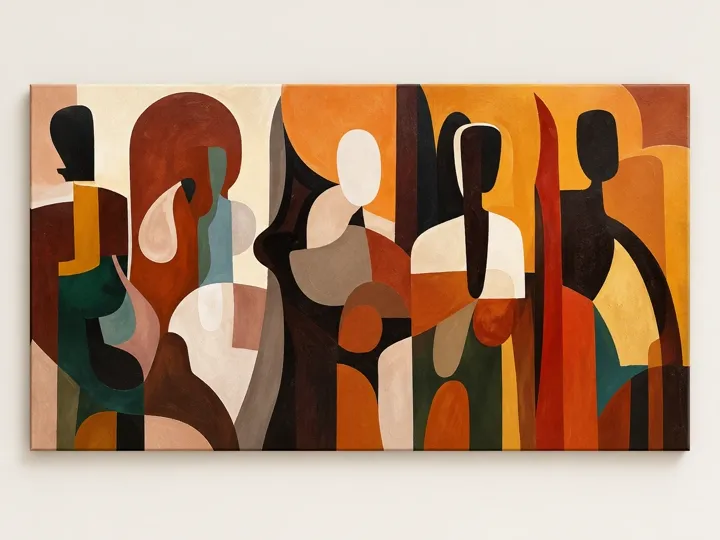
Illustration Canvas, no frame
Figures in rust and ochre
48 × 24 up to 70 × 32 in
The catch Warm and figurative, so it sets a mood more than it fills a gap. Friends with terracotta and dark green, not with cool gray.
Hang it with Two Monkey Hooks, set to the hangers on the back. The listing gives no weight, so weigh it; at 48 in wide it is past strips either way. The hook row ↓
Quiet neutrals
Six that stay calm on a white rental wall
Made for this page. Not a photograph of these products.
-
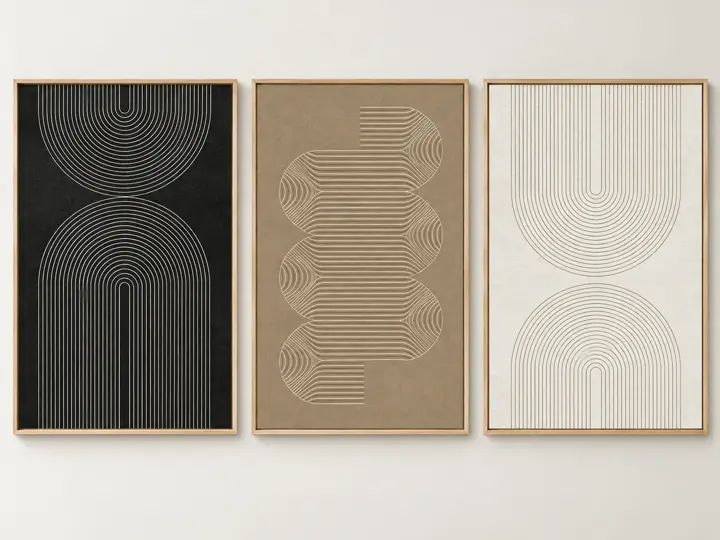
Illustration Raised line relief, oak frames
Line arches in black, taupe and cream
Sets of three, 16 × 24 to 24 × 36 in each, and single pieces
The catch The lines are raised, so light from the side throws small shadows. Next to a window that is the whole point.
-

Illustration Paper cut relief, black frames
Relief blocks in black, cream and clay
Sets of three, 16 × 24 to 24 × 36 in each
The catch Black frames and black blocks. In a pale room it anchors the wall; in a dark room it disappears.
-
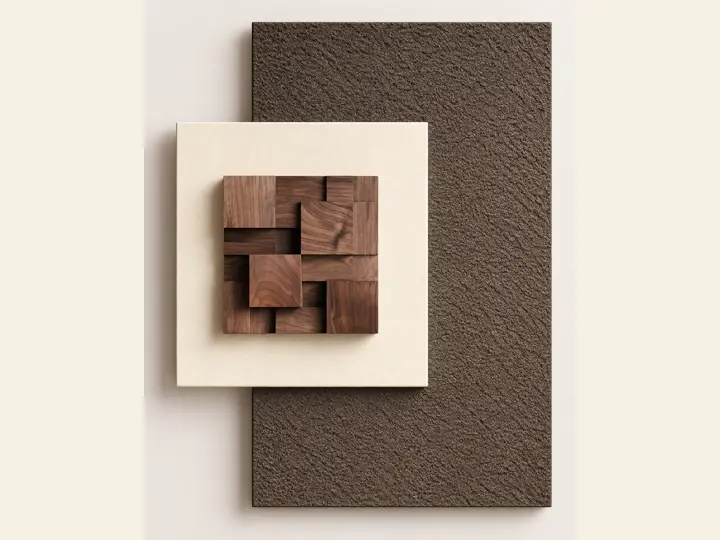
Illustration Wood block relief
Walnut blocks on texture
Sets of three, 16 × 24 to 24 × 36 in each, and single pieces
The catch The one here that can run a wall alone. Buy the single panel if the sofa wall is narrow.
-
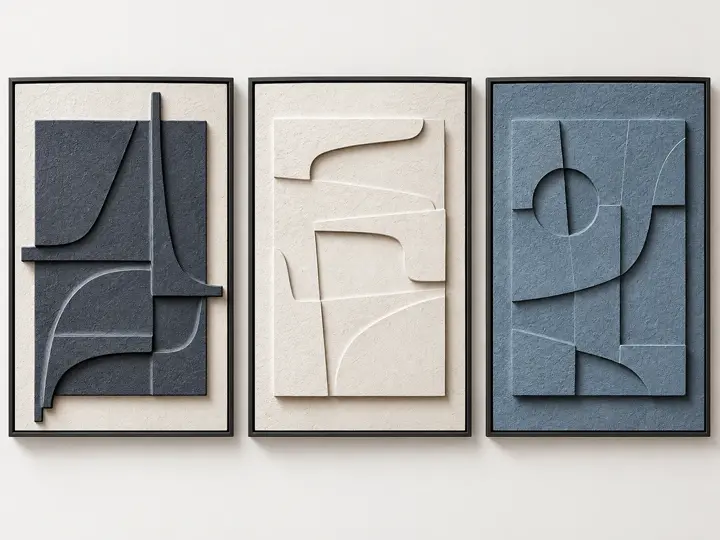
Illustration Textured relief, black frames
Relief shapes in navy, cream and blue
Sets of three, 16 × 24 to 24 × 36 in each, and single pieces
The catch The only blue in this tab. Take it if a pillow or the rug already has some navy in it.
-
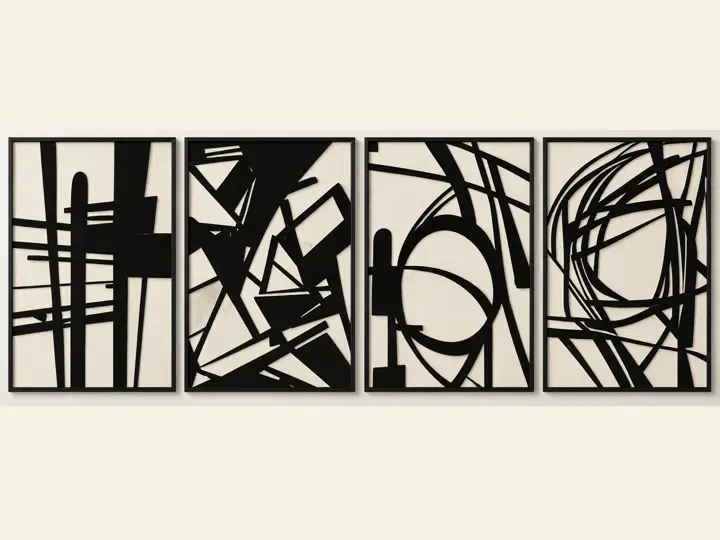
Illustration Metal cutouts, no frame
Black line art, four pieces
About 11 × 16 to 16 × 23 in each
The catch The wall shows through the metal. It looks sharp on a painted wall and a little lost on rental white.
-

Illustration Textured canvas, oak frames
Warm neutral abstract
Sets of three, 16 × 24 to 24 × 36 in each, and 20 × 40
The catch Beige on beige. On a white wall it glows; on a greige wall it vanishes.
Warm wood and boho
Six that bring the wood tones in
Made for this page. Not a photograph of these products.
-
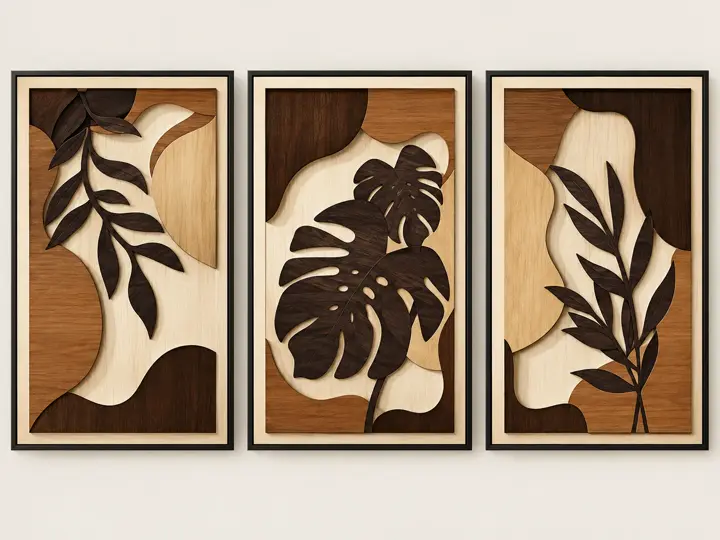
Illustration Layered wood leaves
Wood botanical, three panels
Sets of three, 16 × 24 to 24 × 36 in each
The catch Layered wood weighs more than canvas. Put it on the bathroom scale before you pick the strips.
-

Illustration Canvas in wood frames
Sage and terracotta arches
12 × 16, 16 × 24 or 24 × 36 in each
The catch It matches almost every olive pillow on this site, which is either perfect or a little too safe.
-

Illustration Canvas with a carved wood look
Sun and moon arches
Sets of three, 16 × 24 to 24 × 36 in each, and 20 × 40
The catch Printed, not carved. The grooves are part of the picture, so up close it reads flat.
-

Illustration Canvas with a wood inlay look
Sun, moon and waves
Sets of three, 16 × 24 to 24 × 36 in each
The catch Navy, rust and oak in one set. It pulls a rustic room together if you already own two of the three.
-

Illustration Painted landscape, oak frames
Meadow path
16 × 24 or 24 × 36 in each
The catch Soft and warm, and it asks nothing of the room. If the sofa wall needs a statement, this is not it.
-

Illustration Color block canvas
Mid century sun
16 × 24 to 24 × 36 in each, and 20 × 40
The catch Orange and teal are loud. They carry a colorful room; in a beige one they are all you will see.
Color and landscape
Eight with a view in them
Made for this page. Not a photograph of these products.
-

Illustration Soft watercolor, oak frames
Watercolor wildflower meadow
16 × 24 or 24 × 36 in each
The catch Pale enough to disappear on a white wall from across the room. Take the 24 × 36 or it reads as a smudge.
-

Illustration Painted canvas, oak frames
Moody wildflowers on dark green
12 × 16 or 16 × 24 in each
The catch Dark green wants a warm lamp at night; under a cool bulb it goes muddy.
-

Illustration Printed canvas, bright
Scandinavian flowers
12 × 16 or 16 × 24 in each
The catch The smallest set here. Lovely inside a gallery of mixed frames, too small to run a sofa wall on its own.
-

Illustration Bright painted canvas
Pink mountains and wildflowers
12 × 16 or 16 × 24 in each
The catch Pink, orange and pine green at full volume. Small sizes only, so it belongs in a bedroom or a hall, not over a long sofa.
-

Illustration Canvas with gold accents
Mountains and wildflowers
16 × 24 to 24 × 36 in each, and 20 × 40
The catch Very busy up close. At 24 × 36 across a sofa it works; small, it turns into noise.
-
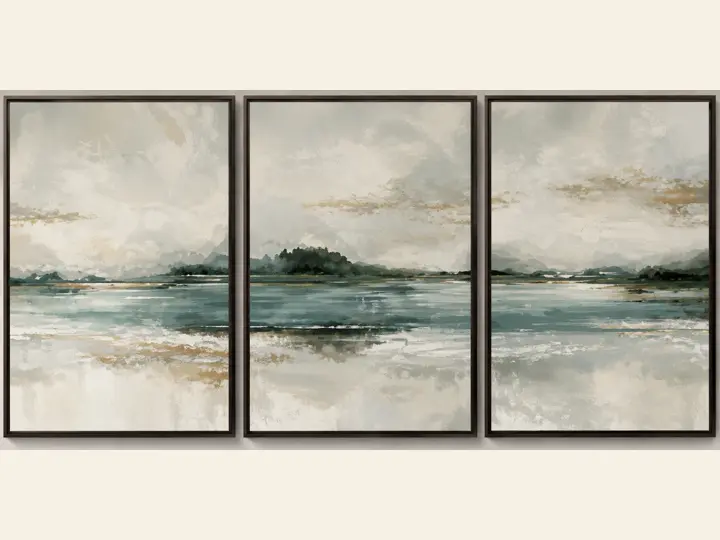
Illustration Landscape canvas, dark frames
Misty lake
Sets of three, 16 × 24 to 24 × 36 in each
The catch The quietest set in this tab. In a room that already has pattern, this is the one that calms it down.
-

Illustration Swirl canvas with gold
Blue and gold marble
16 × 24 to 24 × 36 in each
The catch The gold is printed, so it catches no light. Next to brass lamps it looks flat; next to wood it looks fine.
-

Illustration Abstract canvas, oak frames
Navy and beige brushstrokes
16 × 24 to 24 × 36 in each, and 20 × 40
The catch One big movement across three panels. Hang them 2 in apart or the stroke stops reading as one.
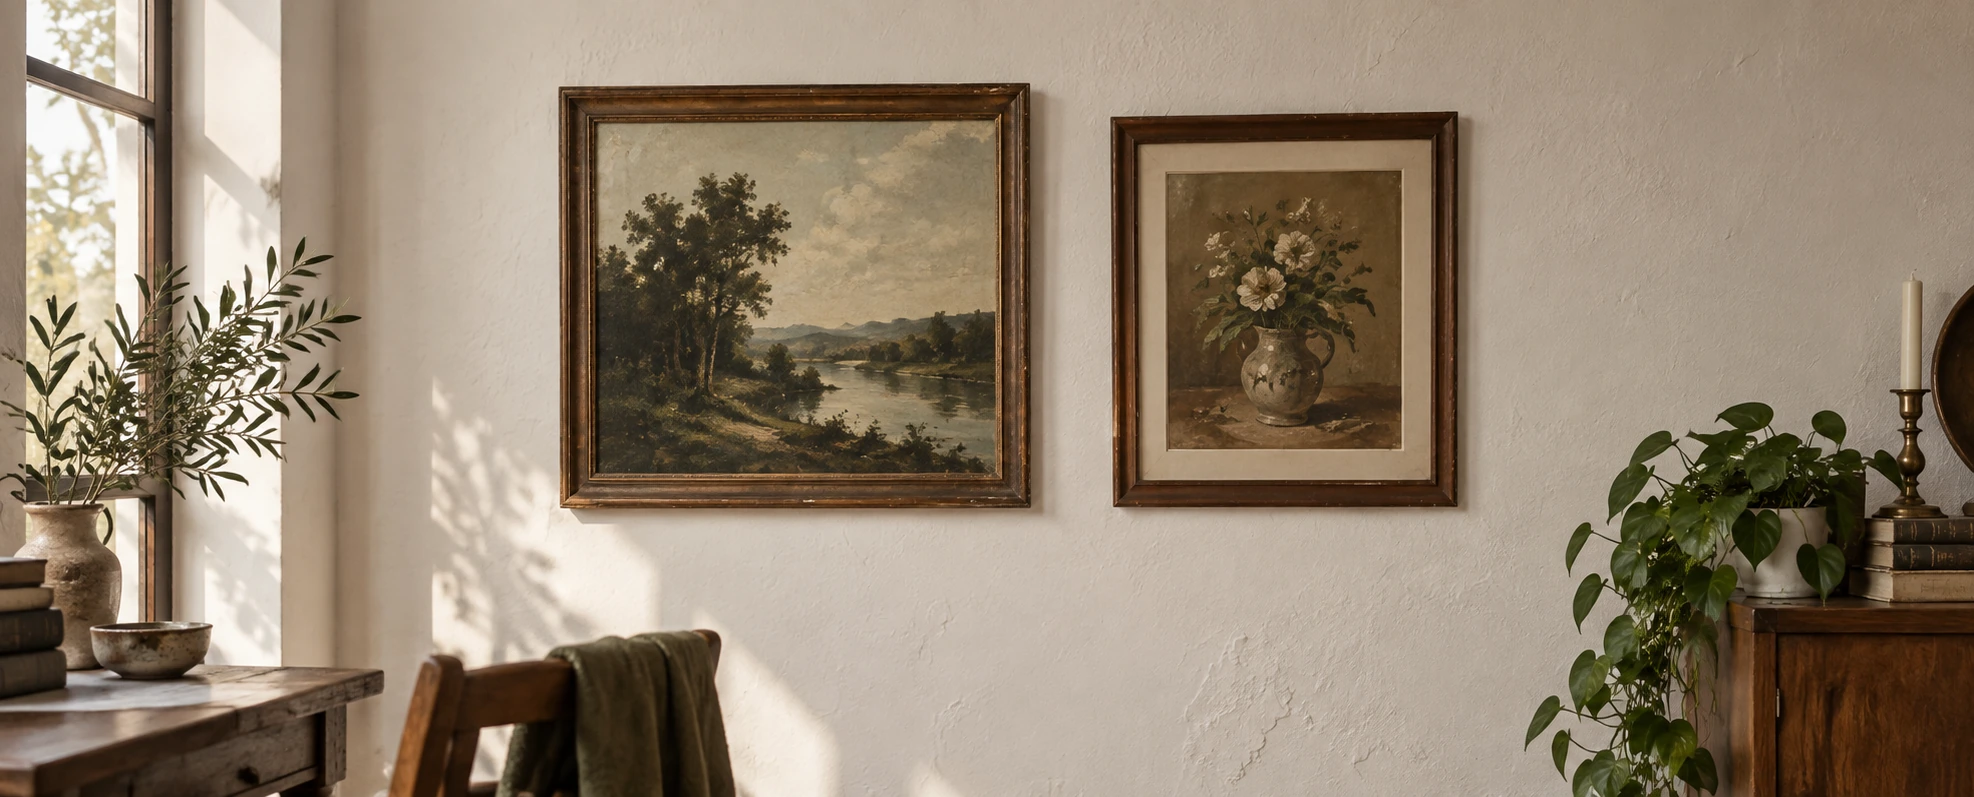
The spacing
2 to 3 inThis is the number that decides whether it worked
Between every frame, on every side, the same. Top, bottom, left, right. If you only take one thing from this page, take this one, because spacing is the difference between a gallery wall and some pictures that happened to land near each other.
At 2 in the group reads as a single object. Your eye takes in the whole rectangle and then goes looking at individual frames, which is the order you want. At 5 in the eye goes frame, gap, frame, gap, and the wall becomes a list instead of a picture.
Tight is also more forgiving. Small errors in a tight group read as texture. The same error stretched across a wide gap reads as a crooked frame, because there is nothing near it to compare against.
Go to 3 in when the frames are large, the wall is big, or the moldings are chunky. Stay at 2 in for small frames and short walls. Never mix the two in one group.
Cut a piece of cardboard and stop measuring
Cut a strip of cardboard exactly 2.5 in wide from whatever box is nearest. That strip is now your only spacing tool. Slide it between two frames, push them until both touch it, pull it out. Next gap.
Measuring every gap with a tape means reading a number twelve times and getting it right twelve times. A physical gauge means you cannot be wrong, because the cardboard is the same width on the twelfth gap as it was on the first, and it does not need you to concentrate. This is the single most useful thing on this page and it costs a box.
Cut two if the wall is wide, so you can hold a gap open on both sides of a frame while you press it on.
The height
57 to 60 inCenter the group, not the frames
This is the one almost everybody gets wrong, and the mistake almost always goes the same direction: too high. You hold the first frame up at a comfortable height for someone standing on a chair, you mark it there, and the whole arrangement ends up floating near the ceiling with a stripe of empty wall underneath it.
There is no museum rule that says 57 in; I looked. Two gallery guides I found say 58, or 58 or lower. Standing, an adult’s eyes are about 62 in up, so 57 sits a little below that and well above where your eyes are on a sofa. It works as a compromise between you standing up and you sitting down. Where you mostly sit, in a living room or a bedroom, go lower, around 50 to 54 in; in a hallway, where everyone is standing, 57 to 60 is fine. Under a tall ceiling, keep it there and go bigger or wider rather than higher.
With a group, that line runs through the center of the whole rectangle the group occupies. Not the center of the biggest frame. Not the middle row. The rectangle.
57" + half the group height = top edge
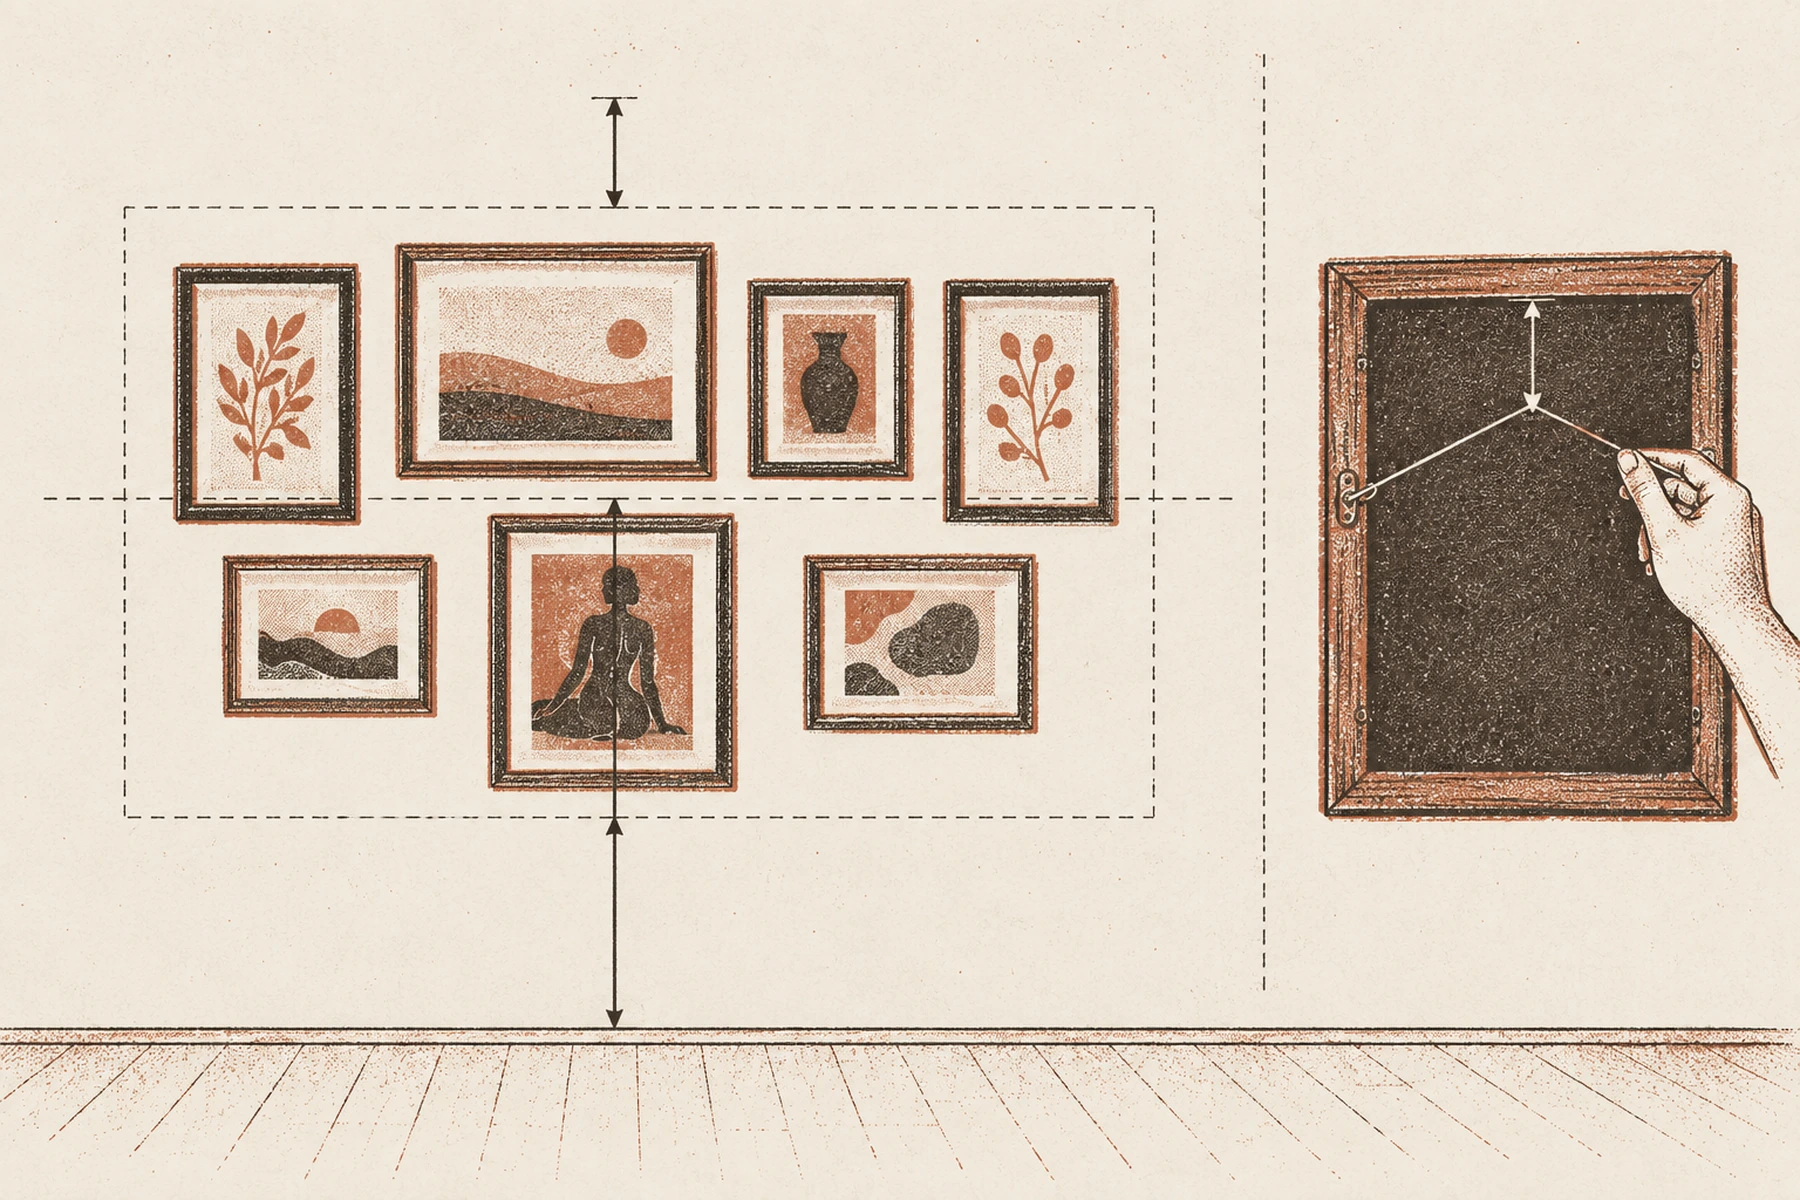
That is the entire calculation, and here it is with numbers in it. Your floor layout is 40 in tall from the top of the highest frame to the bottom of the lowest. Half of that is 20 in. So the top edge of the group goes at 77 in and the bottom edge lands at 37 in. Mark those two, and every frame in between has a home.
Then find the nail, which is not the top of the frame
-
Hook a finger under the wire and pull it taut, the way the wall will
Measure from that point to the top of the frame. On a wire it is usually 2 to 4 in. On a sawtooth hanger it is under half an inch, which is why sawtooth frames are much easier to place.
-
Subtract that from where the top of the frame goes
Frame top at 70 in and 3 in of slack means the nail goes at 67 in. Get this backwards and every frame hangs three inches low, which reads as sloppy rather than as a system.

One frame is crooked. She noticed before you did.
-
Do the subtraction for each frame before you start, on paper
Doing arithmetic on a stepladder with a pencil in your teeth is how an afternoon turns into a wall full of spare holes.
Over a sofa or a console
Now the furniture sets the height, not the floor
Hang the group 6 to 8 in above the back of the sofa, and make it two thirds to three quarters as wide as the piece underneath. Below 6 in the art looks like it is resting on the cushions. Above 10 in the gap becomes the loudest thing on the wall.
When the two rules disagree, the furniture wins. A high backed sofa pushes the group up past the 57 in center line, and that is correct: the group belongs to the sofa now, and nobody in the room is measuring from the floor.
The width rule is the one that saves you from the most common sofa wall failure, which is three small frames marooned in the middle of eight feet of upholstery. A 84 in sofa wants a group between 56 in and 63 in wide. That is usually one more frame than you were planning to hang.
The template
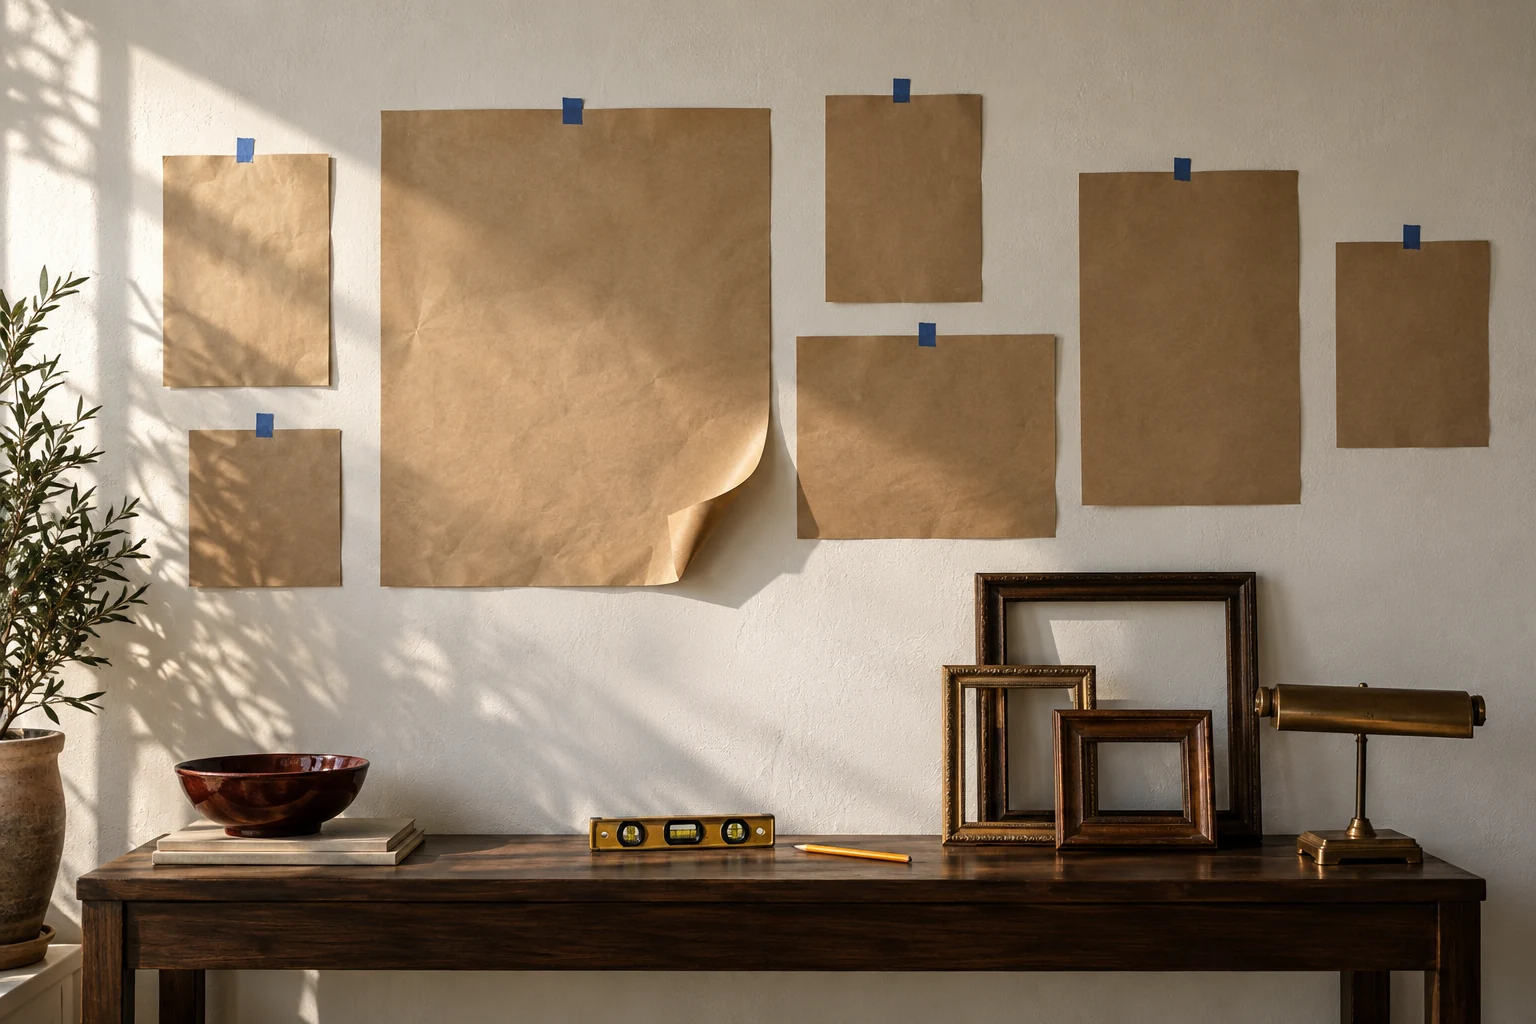
Trace the frames on paper, tape the paper up, nail through it
This is the trick that turns the scary part into an afternoon of moving paper around. What goes up first is drawings of the frames, in paper, held on with painter’s tape, and you move them as many times as you like.
Then, when it is right, you hammer the nail straight through the paper at the mark, and tear the paper off around it. The hole lands exactly where the paper said it would, the first time, on every frame.
Kraft paper is worth buying on a roll rather than improvising with newspaper or printer sheets taped together. It comes off the roll wider than any frame you own, it takes a pencil mark, and it does not curl off the wall while you are looking at something else.
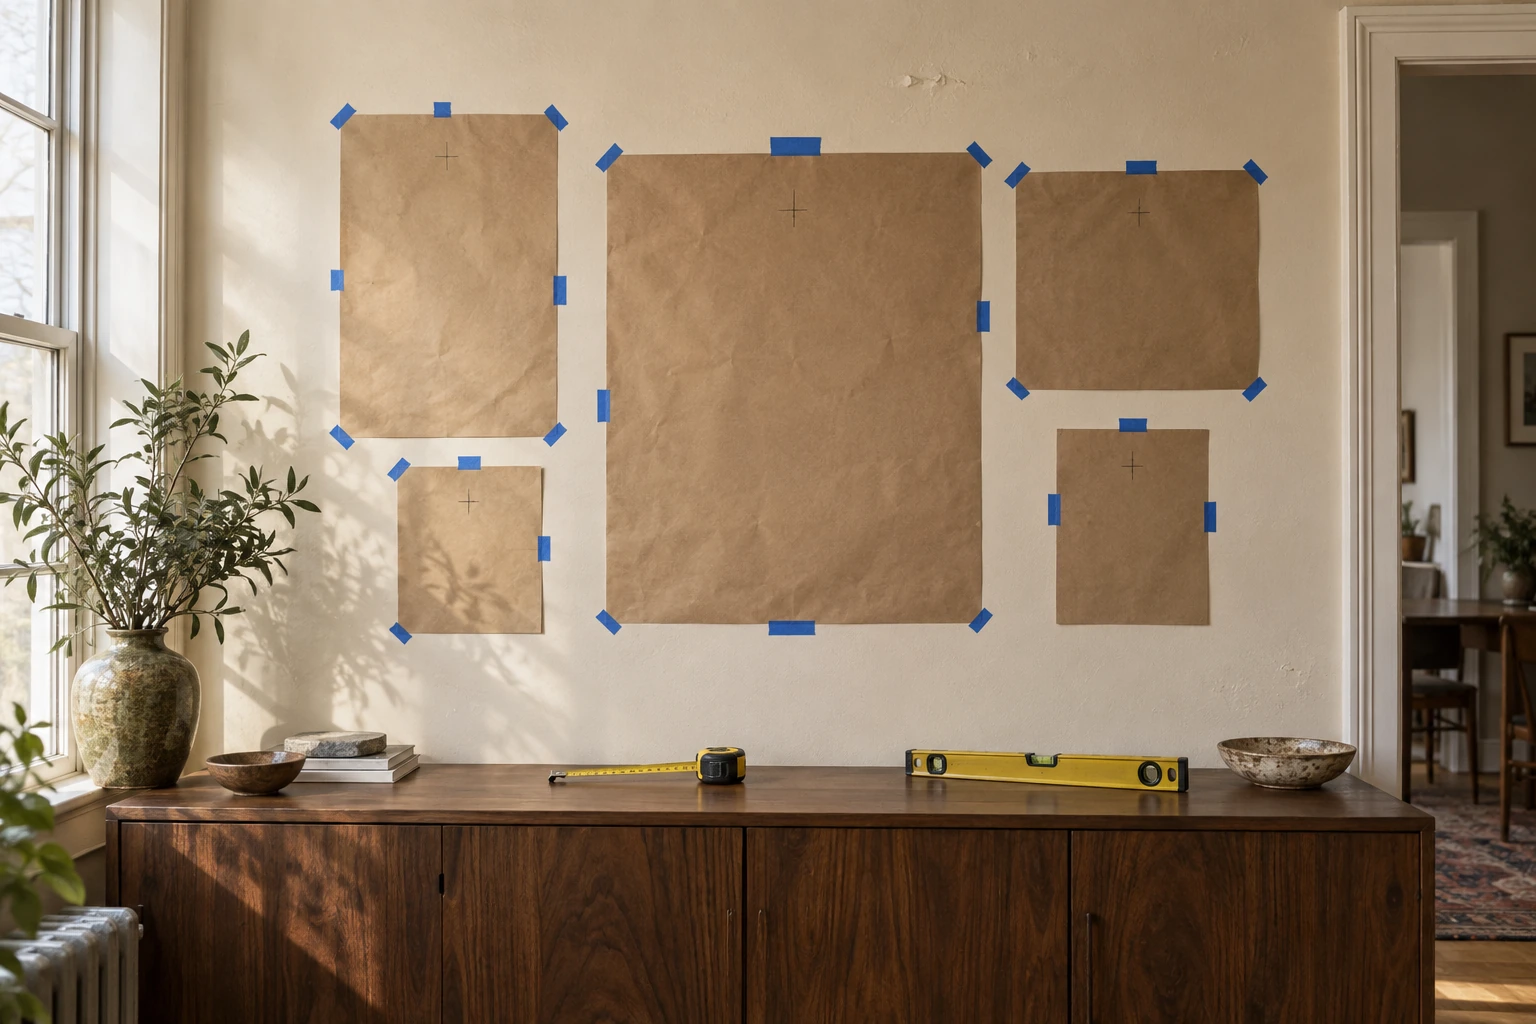
The dashed rectangle is the whole group. The center line runs through the middle of that rectangle at 57 in, not through the middle of the biggest sheet.
- 01Lay each frame face down on the kraft paper and trace around it. Cut just inside the pencil line.
- 02On each paper shape, mark the nail point: pull the wire taut, measure down from the top, transfer that distance to the paper.
- 03Tape the shapes up with painter’s tape, starting from the anchor. Use the cardboard gauge for every gap.
- 04Step back. Check the top and bottom edges against your two pencil marks. Move whatever bothers you, because right now moving things is free.
- 05Nail or press the hardware straight through the paper at each mark, then tear the paper away.
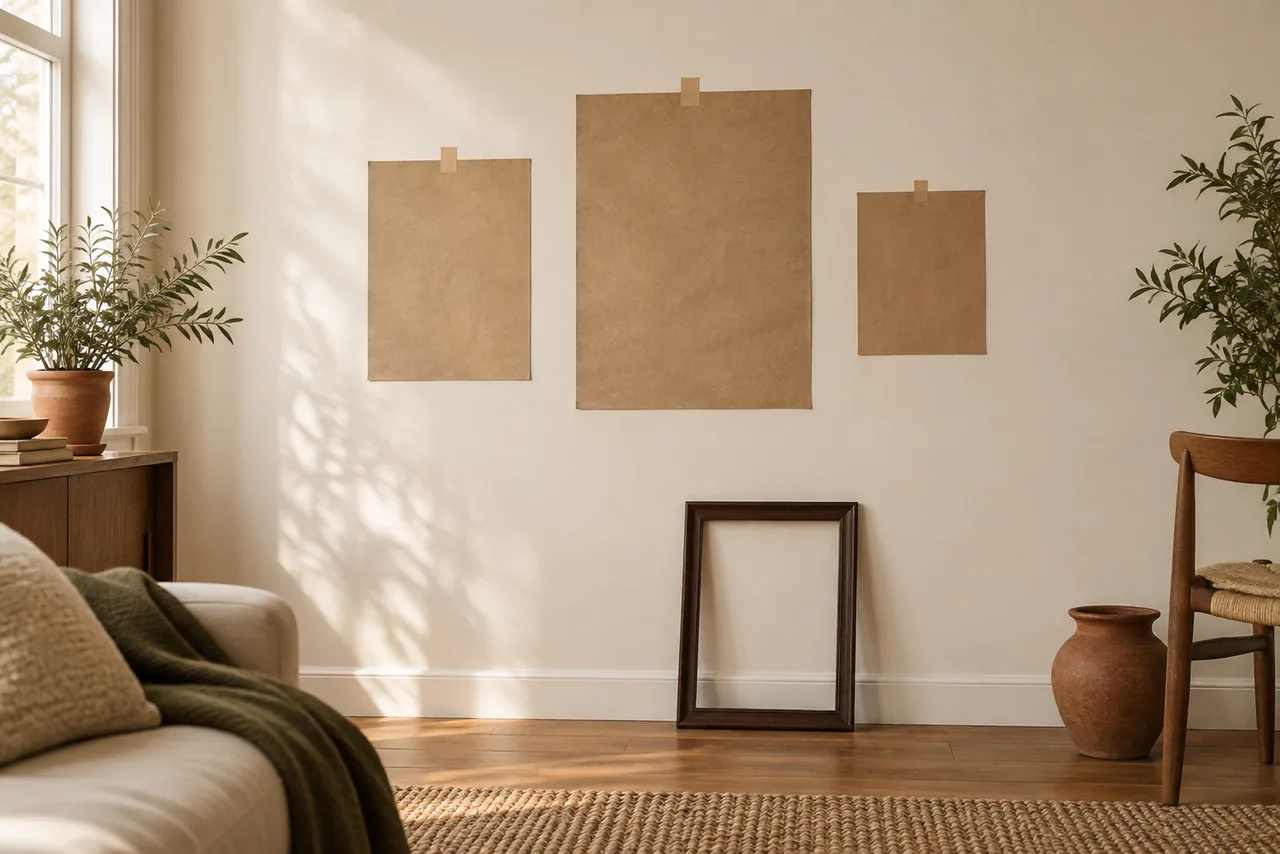
See the other renter project that lives or dies on painter’s tape →
Hanging it
Hardware is chosen by weight, and you have to weigh the thing
Everything above this line is composition. This part is physics, and it is the only part of a gallery wall that can end with glass on the floor. The good news is that the whole decision comes down to one number per frame, and you already own the machine that tells you what it is.
Do it with the print, the mat, the backing and the glass in place, because that is what is going on the wall. A 24 × 36 with real glass can run past 15 lb. The same frame with plexiglass is often under 7 lb, which is the difference between adhesive strips and a hole.
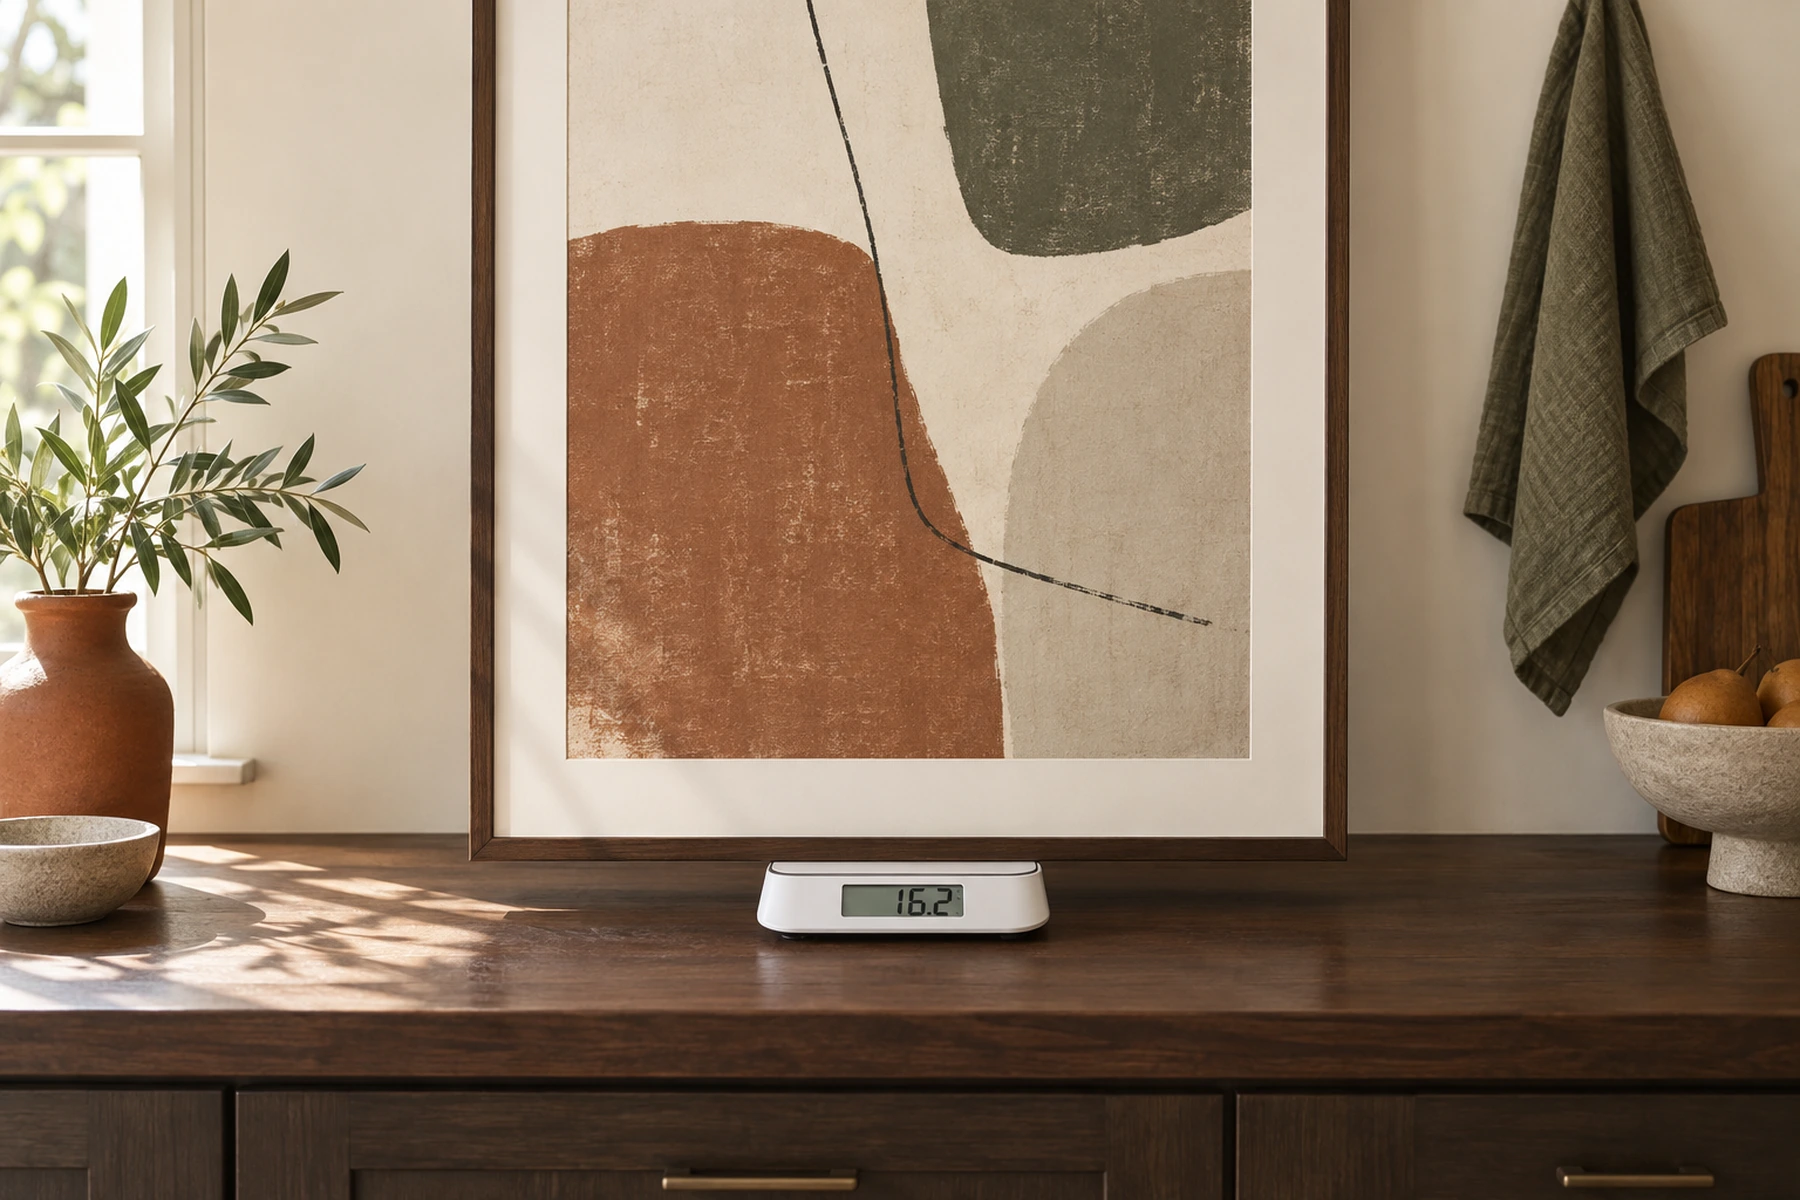
Then round up. The number in the left column below is the weight the hardware is rated to hold, not the weight it will hold on your particular wall on a warm day. If your frame is at the top of a row, take the row underneath.
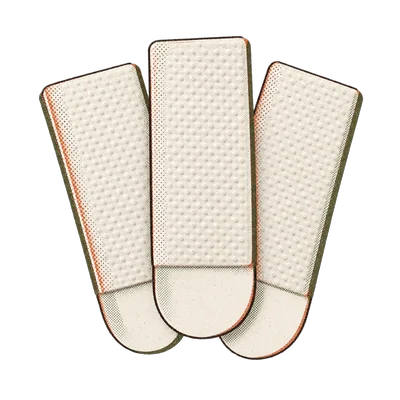
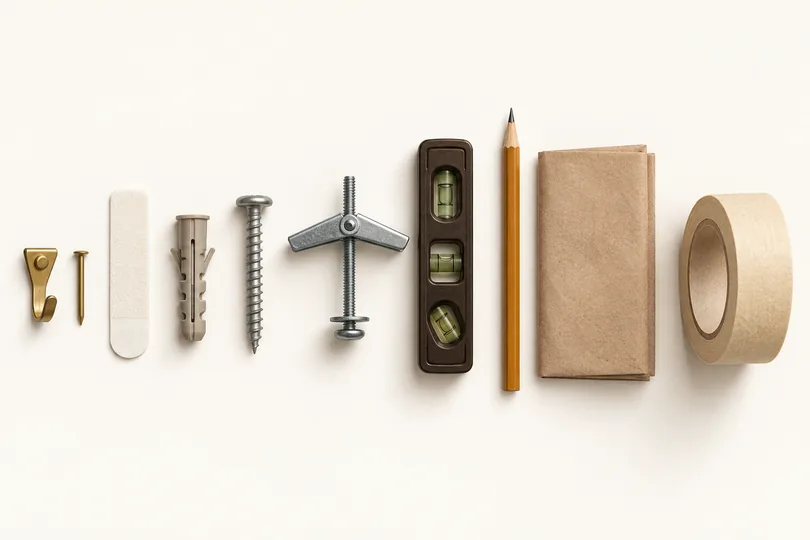
The part nobody selling adhesive strips will tell you
On old hollow plaster, on textured paint, and on anything painted recently, adhesive strips can take the paint with them when they come off. Not sometimes. Reliably enough that I will not pretend otherwise on a site about rentals.
3M says to wait seven days after painting before applying strips, and there is a reason for the number. Fresh paint has not finished curing, the adhesive bonds to the paint film instead of the wall, and the whole film comes off in a strip shaped exactly like the evidence.
So: stick one pair somewhere hidden, behind a door or low on the wall, press it for thirty seconds and leave it overnight. Pull it off the way the box says, which is straight down and slowly, never out. If it comes away clean, hang the wall. If it lifts paint, you have learned that for the price of one strip instead of eleven. In a building from before 1978, do not risk lifted paint at all: old paint can carry lead, so lean the frames on a ledge or a dresser instead.
And when you do move out, pull every tab straight down, slowly, stretching it well past a foot. Pulling outward is what cracks plaster and lifts paint, and it is what everyone does by instinct.

Your wall, in one cart
The art, the hardware for its weight, the paper
Pick what goes up; the strips or hooks follow its listed weight and size. If your scale says more, take the heavier row.
The 24 × 36 anchor lists at 4.6 lb and wants large strips; the ten small frames go on small strips.
Add 6 pieces to my Amazon cart
Amazon shows you the cart first; nothing is bought until you check out there. As an Amazon Associate I earn from qualifying purchases.
Chenille’s Box · One email a month from Nora, for when the sofa, rug or bed is next on your list. See what is inside →
One more thing
The frames have been on the floor for three months because the wall felt permanent. Put them on paper instead. Paper is not permanent, and by the time you pick up the hammer there is nothing left to decide.
Quick answers
The questions I get most
Center the whole group at 57 to 60 inches from the floor, not each frame separately. Measure the total height of your arrangement, halve it, and add that to 57 to find where the top edge goes. Above a sofa or a console the furniture takes over: hang the group 6 to 8 inches above it instead.
2 to 3 inches, the same on every side of every frame. Tight spacing makes the group read as one piece; 5 inches or more makes it read as scattered pictures. Use 2 inches for small frames and short walls, 3 inches for large frames and big walls, and never mix the two in one group.
Adhesive picture hanging strips, chosen by weight. Small strips hold up to 5 pounds and frames up to 8 by 10 inches, medium hold 10 pounds across four pairs up to 18 by 24 inches, large hold up to 15 pounds up to 24 by 36 inches. Above 15 pounds adhesive is finished and you want a hook. Weigh each frame on a bathroom scale first: stand on it holding the frame, stand on it without, subtract.
On the floor, before you touch the wall. Tape out the wall dimensions on the floor, put the biggest piece down off center, fill outward keeping every gap equal, then photograph the arrangement from directly above. Trace each frame onto kraft paper, tape the paper shapes to the wall with painter's tape, and hammer through the paper when it looks right.
6 to 8 inches above the back of the sofa, and the group should be two thirds to three quarters as wide as the sofa. An 84 inch sofa wants a group between 56 and 63 inches wide. Below 6 inches the art looks like it is resting on the cushions, and above 10 inches the empty gap becomes the loudest thing on the wall.
They can, on old hollow plaster, on textured paint, and on paint applied in the last week. 3M says to wait seven days after painting, because fresh paint has not cured and the adhesive bonds to the paint film instead of the wall. Test one pair in a hidden spot overnight before you commit the whole group, and remove every strip by pulling the tab straight down and slowly, never outward.