Paper one wall. Take the paper with you.
Nothing wet, nothing permanent, and one wall is the whole project.

By NoraRenter DIY · Checked Sep 15, 2026
Some links on this page go to Amazon. As an Amazon Associate I earn from qualifying purchases, which is how the site pays for itself. How this works


BeforeAfter
Weekend project 3 of 3 rolls
Renter DIY · deposit risk: none · drill: no
Materials
Three things, and you can talk yourself out of two
I checked every link on this page on Sep 15, 2026. Amazon does not let me show you prices or product photos without their API, so what you get is the name, the variant, why it is this one, and what is wrong with it.
-
NuWallpaper Charcoal Langston
20.5 in wide · 18 ft roll · texturedTexture rather than a print, which matters more than the color does. A seam between two strips of pattern is a line you will find every time you walk in. A seam between two strips of texture disappears from about four feet away, and four feet is where people stand.
It is also a true 20.5 in roll, which is the width the math below is built on. Plenty of sellers cut 17 in and 24 in rolls, and the strip count changes with the width.
The catchCharcoal on one wall in a room that gets an hour of sun reads as a hole in the room. If your window faces north, take the taupe version instead. And if it is the window that bothers you, a cafe curtain covers the part people can see into in twenty five minutes, for a lot less than three rolls of anything.
See the 18 ft roll on Amazon Opens Amazon in a new tab

the sock trick works. she has seen the sock trick work.
-
NEWISHTOOL wallpaper smoothing kit
Squeegee, felt scraper, tucking stick, craft knife and bladesThe two pieces that earn their keep are the felt edge and the snap-off blade. Felt pushes air out without burnishing a shine into the paper. A snap-off blade lets you break the tip every few cuts, and a dull blade drags peel-and-stick and tears the edge.
The catchYou do not need the smoothing tool. A credit card wrapped in a thin sock does the same job. The sock is the part that matters: bare plastic leaves a polished streak across a matte paper that you cannot buff out.
See the smoothing kit on Amazon Opens Amazon in a new tab -
Swanson 24 in lighted box beam level
24 in · aluminum box beam · magnetic · lit vialsYour ceiling is not level and your corner is not plumb. Neither is a line you can trust, and if you hang the first strip against the corner, every strip after it walks sideways until the last one is visibly crooked at the top. 24 in is the shortest length that still reads true over an eight foot drop.
The lit vials sound like a gimmick until you are working on the dim side of a room at seven in the evening, squinting at a bubble against a white wall.
The catchYou do not need this at all. Tie a key to a piece of string, tape it up near the ceiling, wait for it to stop swinging, and mark down the line. Gravity has a better record than any bubble, and it is free.
See the 24 in level on Amazon Opens Amazon in a new tab
What you do not need
A water tray, paste, a paste brush, a seam roller, a laser level, or a second person. This is the dry kind of wallpaper. If a guide tells you to soak it, that guide is about the other kind.
-
Materials
$110 to 190
Three rolls of peel-and-stick and a smoothing kit for a wall 12 ft wide. The tape measure you already own.
-
Hands-on time
3 hours
Half of it is the first strip. Every strip after that takes ten minutes.
-
To undo
20 min
One person, a hair dryer, and a shallow angle. Nothing stays on the wall.
One wall, not four. Four walls of peel-and-stick in a rental is a weekend and a seam problem, and it does not look better.
Before you start
The wall decides, not the wallpaper
Peel-and-stick is an adhesive, and an adhesive is only as good as the surface under it. This is the part of the job that happens before you buy anything, and it takes four minutes. Put your hand flat on the wall and drag it sideways.
If it is smooth, clean, dry, and painted in eggshell or satin that has been up for more than a month, you are fine. That is most rental living rooms and almost every bedroom.
Walls that will fight you
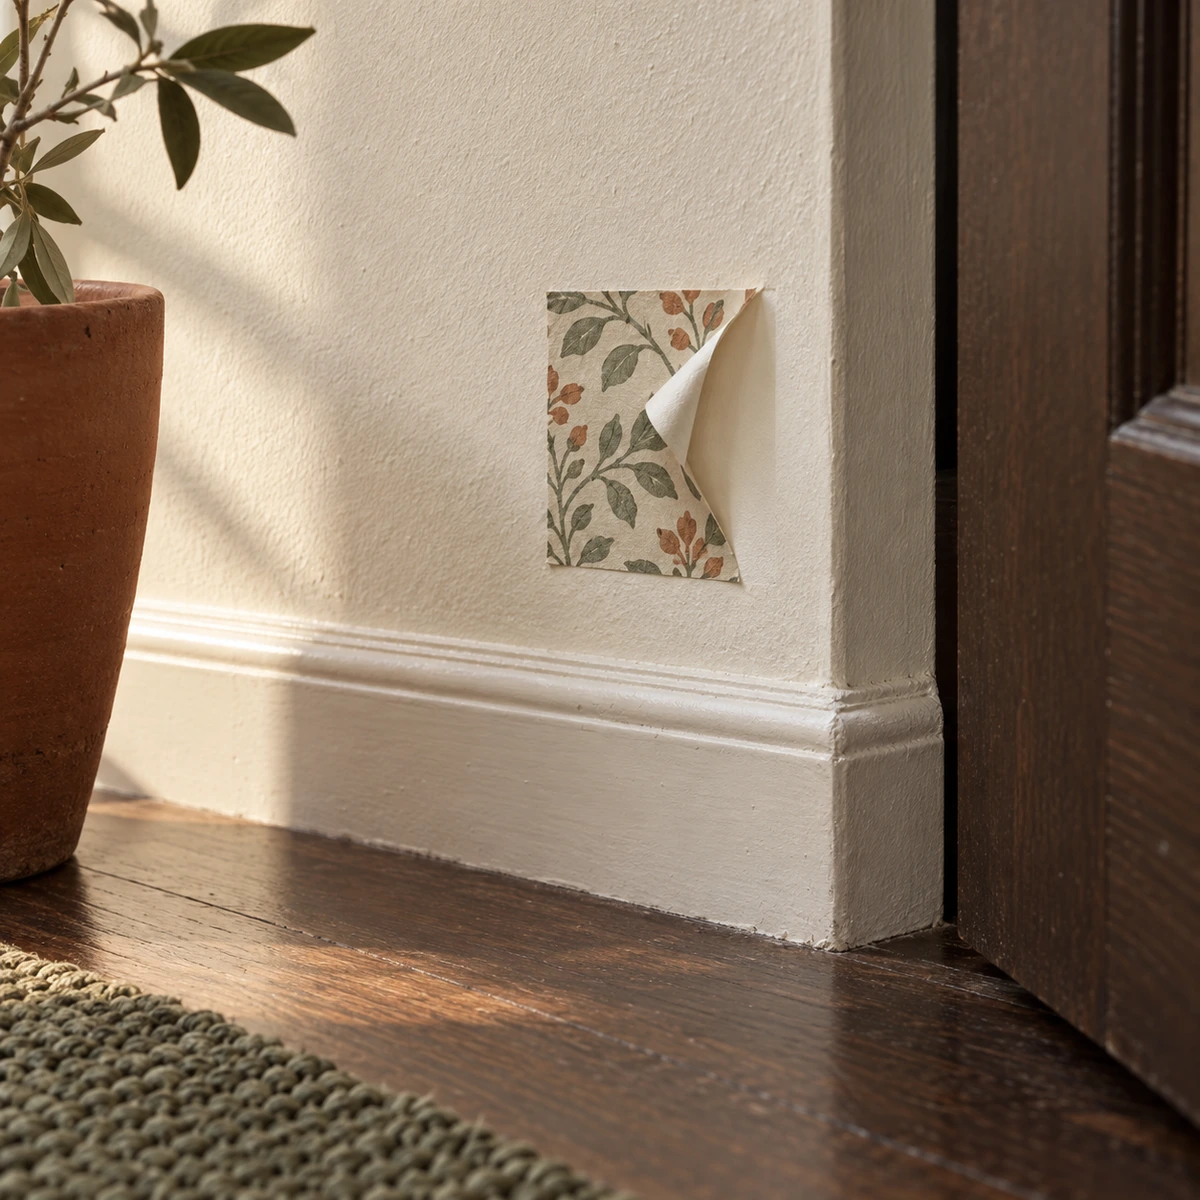
“It is peel-and-stick, it comes off clean, and I will show you the test corner.”
That is the landlord sentence. Say it in that order. The offer to show them a physical square of wall is what does the work, because it turns an argument about a category of product into a look at one corner of your living room. Ask by email if you can, so you have the yes in writing.
And if the answer is no, it is no. A wall you have to defend is not worth $110 to 190 and an afternoon. Light the room instead, which is a much shorter conversation.
The math
How many rolls
A 20.5 in roll gives you 20 in of usable width, because you lose half an inch trimming the edge straight at every seam. An 18 ft roll is 216 in long, and a standard 8 ft ceiling needs a 100 in drop once you add 4 in of trim at the top and bottom. Two drops per roll, with 16 in left over.
wall width ÷ 20" = strips · strips ÷ 2 = rolls
| Wall width | Strips at 20 in | Rolls, 8 ft ceiling | Rolls, 9 ft ceiling |
|---|---|---|---|
| 96 in | 5 | 3 | 5 |
| 120 in | 6 | 3 | 6 |
| 144 in | 8 | 4 | 8 |
| 168 in | 9 | 5 | 9 |
| 192 in | 10 | 5 | 10 |
The 9 ft column is not a typo. A 9 ft ceiling wants a 112 in drop, and 216 in of roll only gives you one of those, so the roll count doubles. That is the moment to measure your ceiling before you measure anything else.
Keep the offcuts. They are the patch kit, and a scrap the size of a postcard fixes the corner that lifts in month four.
Eight steps
The first strip is the project
Do it in daylight if you can. Every mistake in this job is a mistake you can see and cannot feel, and a phone flashlight held sideways along the wall finds all of them.
-
01
Empty the wall and wash it
Everything off, including the outlet covers and the switch plates. Put the screws in a cup. Wipe the wall with a barely damp cloth, then dry it, then leave it an hour. Dust is the number one reason a strip lifts at the bottom, and the bottom is where the dust lives.
What goes wrong here
People wash the wall and start ten minutes later. The paper sticks to the damp and lets go as it dries.
-
02
Measure and cut every drop before you peel anything
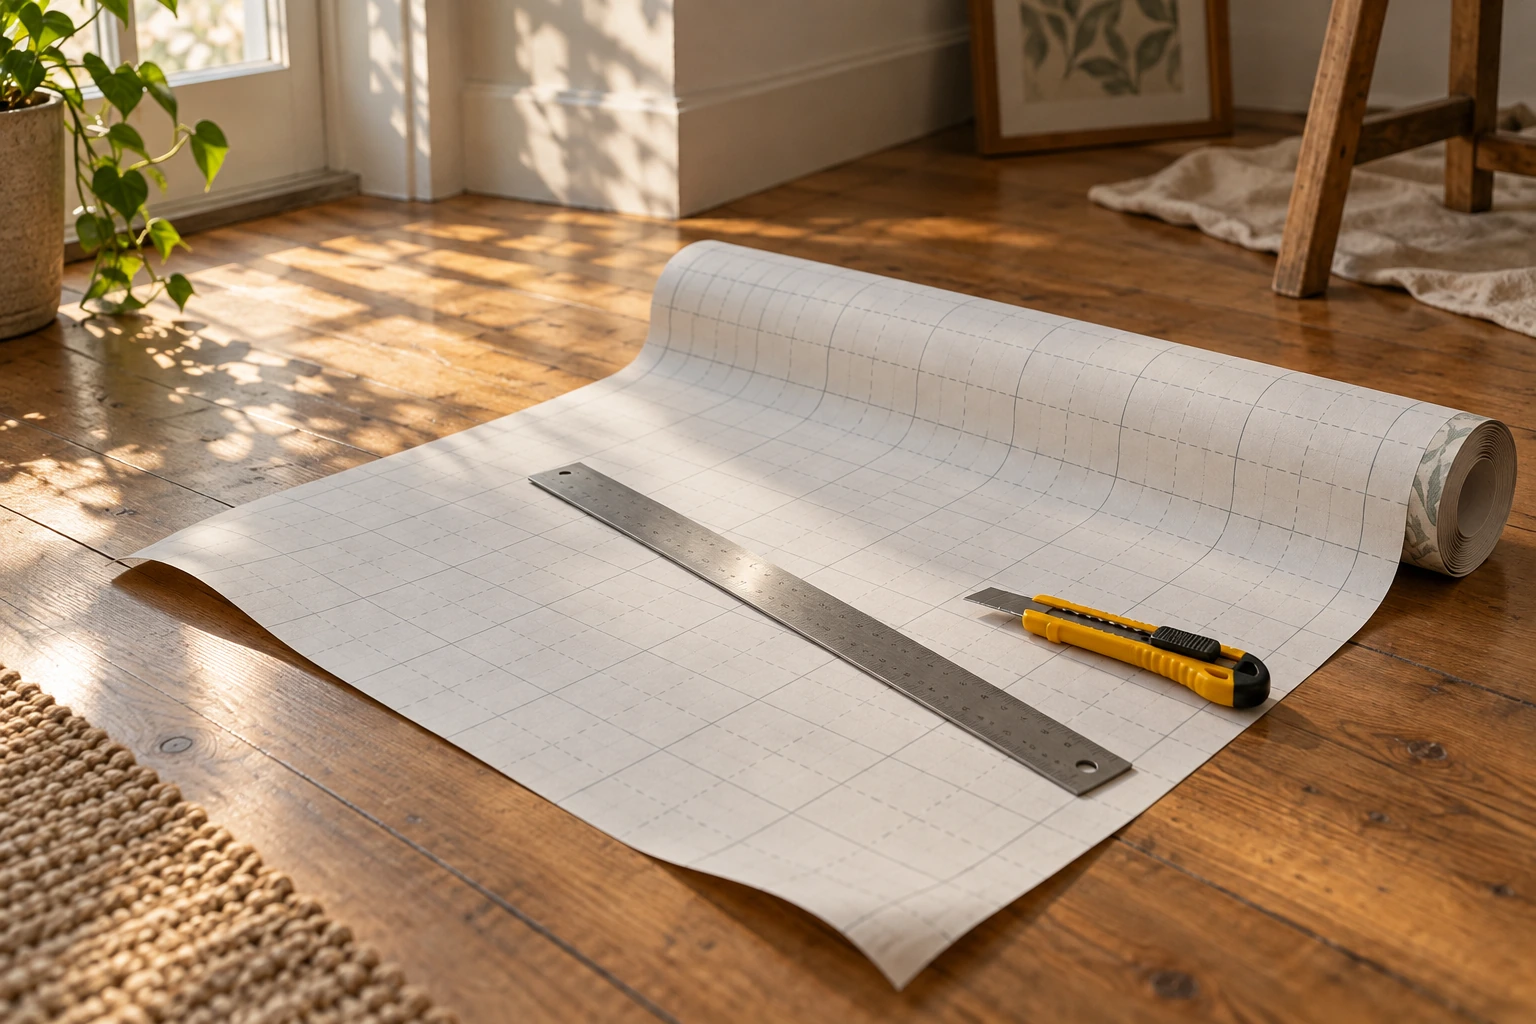
Ceiling height plus 4 in, cut on the floor with the paper face down, using the printed grid on the backing as your straight edge. Cut them all now. Number the back of each one in order with a pencil.
What goes wrong here
Cutting one strip at a time. You end up measuring with sticky paper in one hand, and the cut wanders.
-
03
Draw the plumb line for the first strip
Start about 19 in from the corner you want to end at, not from the corner itself, so your first strip is fully on the flat of the wall. Mark the line top to bottom in pencil with the level or the string. This line is the only thing keeping the last strip straight.
What goes wrong here
Trusting the corner. Rental corners are out of plumb by half an inch over eight feet, routinely, and the error stacks.
-
04
Peel 12 in of backing and hang from the top
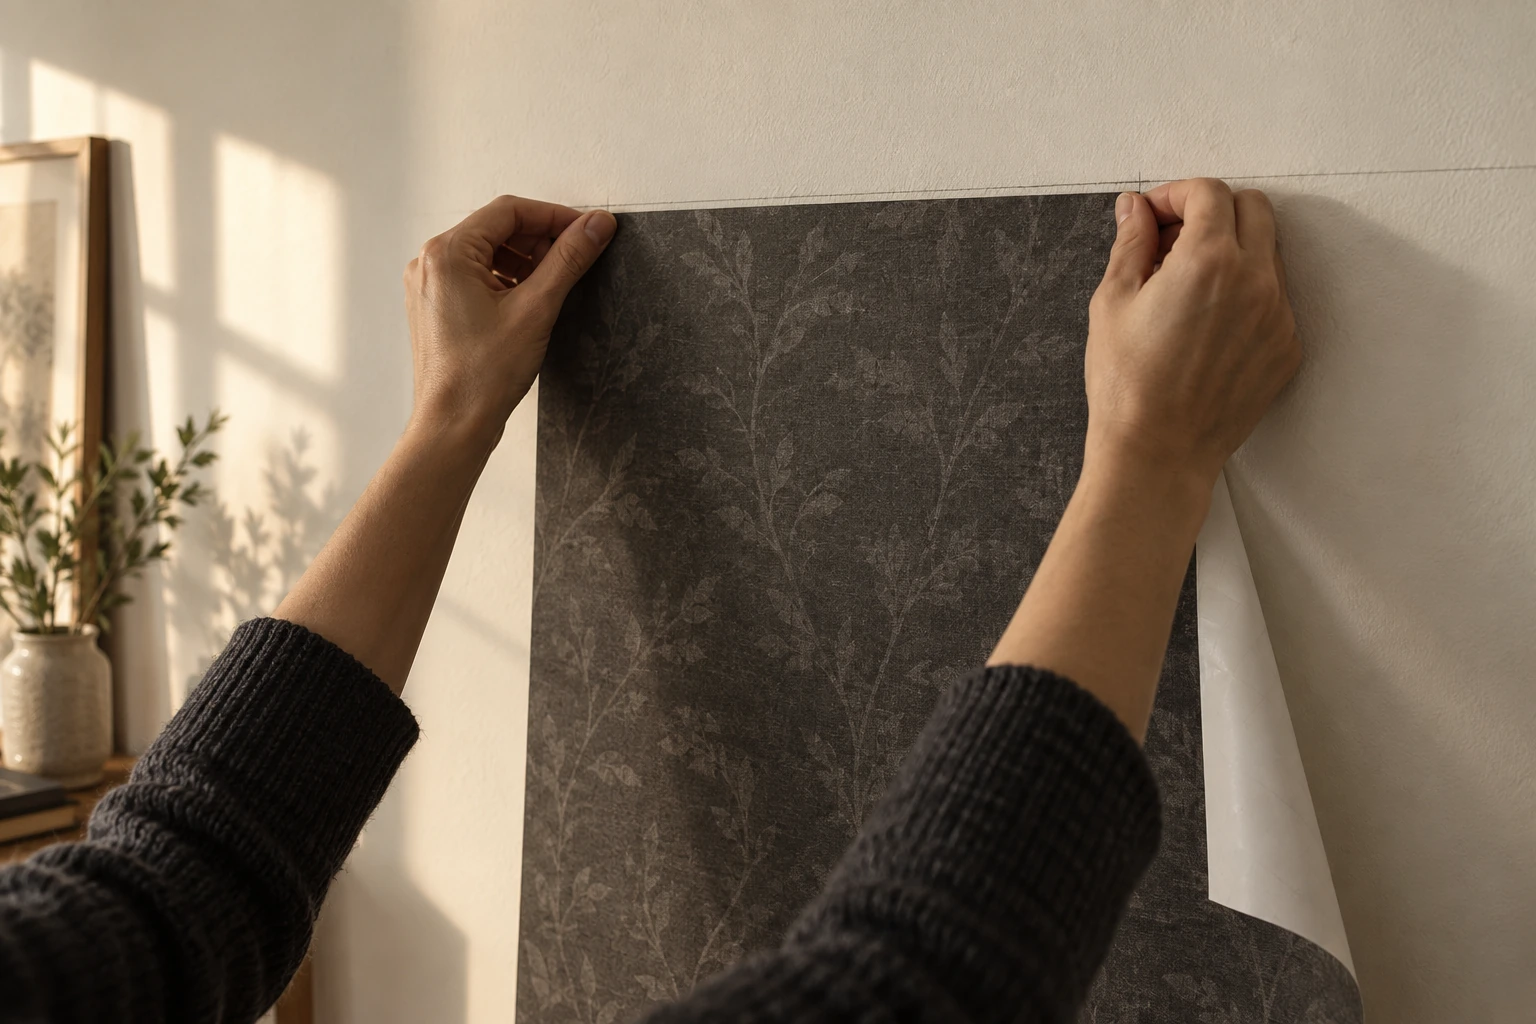
Only the top 12 in. Line the edge up with your pencil line, leave 2 in of overhang at the ceiling, and press just that band down with your palm. Now stand back and look at it before you commit to anything else.
What goes wrong here
Peeling the whole backing off first. The strip folds onto itself in mid air and that strip is finished.
-
05
Smooth down and outward, pulling the backing as you go
Center of the strip first, then out to each edge, in a fan, working down about a foot at a time. Air goes out sideways. If you smooth top to bottom down the middle only, you trap two long ridges at the edges and there is nowhere for them to go.
What goes wrong here
A bubble. Lift the paper back to above the bubble and lay it down again. Do not push a bubble to the edge, and do not pop it with the knife until the whole wall is done and it is still there tomorrow.
-
06
Butt the next strip, do not overlap
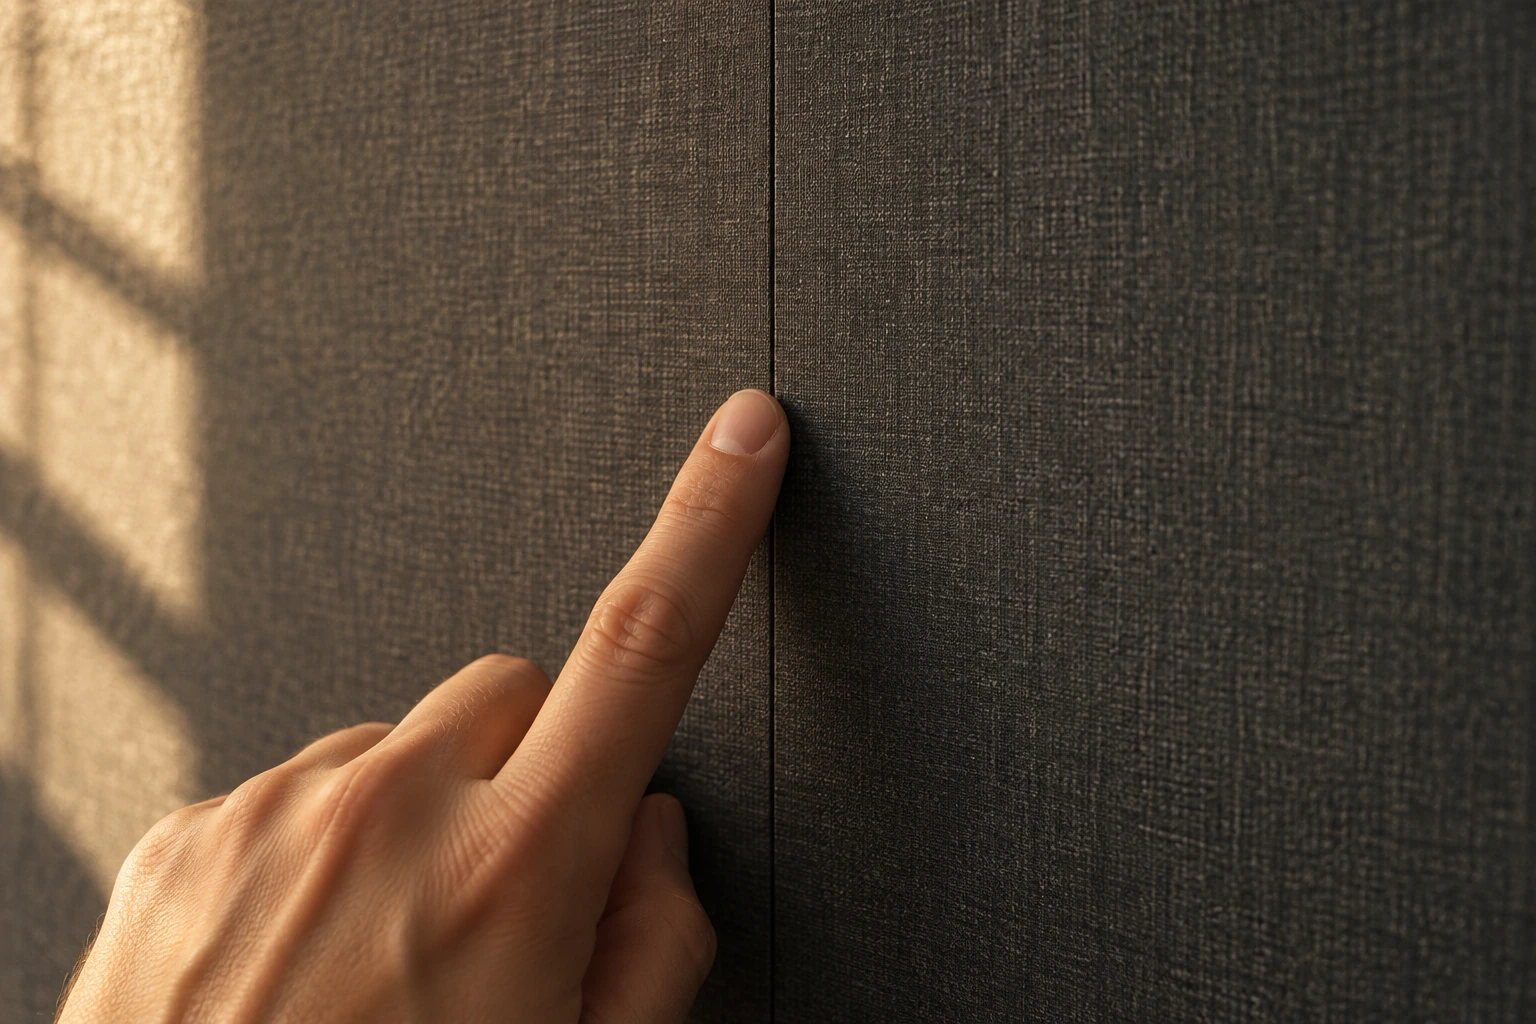
Edge to edge, touching, no gap and no overlap. Match the pattern at eye level rather than at the ceiling, because eye level is where anyone will check. If your paper is textured you can cheat a sixteenth of an inch and nobody alive will see it.
What goes wrong here
Overlapping “just to be safe.” An overlap casts a shadow line down the whole wall, and it is the first thing a guest sees.
-
07
Trim at the ceiling, the baseboard and the outlets
Press the paper into the corner with the tucking stick so you get a crisp crease, then cut along the crease holding the blade at a low angle. Snap the blade tip after every two or three cuts. For outlets, cut a cross over the opening and trim back to the box; the cover plate hides the rest.
What goes wrong here
Cutting with the blade upright. It catches, jumps the line, and you get a scallop you cannot unsee.
-
08
Walk away, come back in an hour, press every seam again
Adhesive relaxes as it warms to the room. Run your thumb down every seam and around the whole perimeter one more time, put the outlet covers back, and you are done. Check the bottom corners again in a week.
What goes wrong here
Finishing at midnight and never going back. The corner that was going to lift always announces itself in the first week.
Then hang something on it
Art goes at 57 to 60 in to the center of the piece, measured from the floor, on wallpaper exactly as on paint. Adhesive hanging strips stick to peel-and-stick fine, and they come off with it in one go at the end.
How to undo it
20 minOff in the time it takes to make coffee
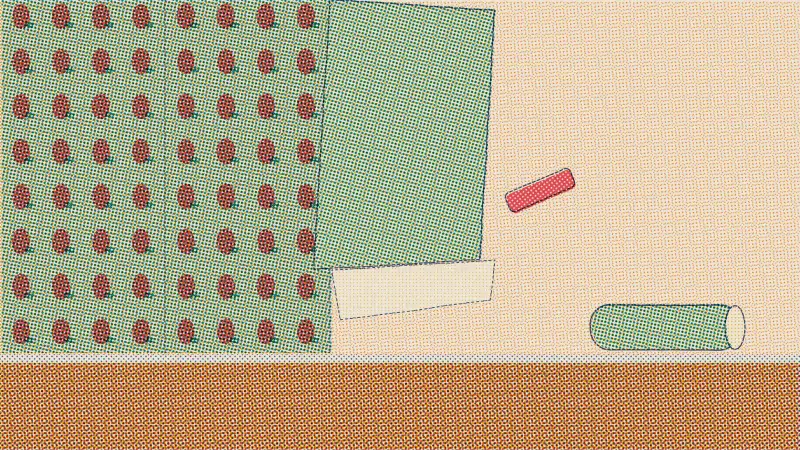
Above: the wall papered in charcoal, then the same wall in the off-white paint it had before any of it went up. Twenty minutes with a hair dryer is what gets you from the first photo back to the second.
Proof it comes off
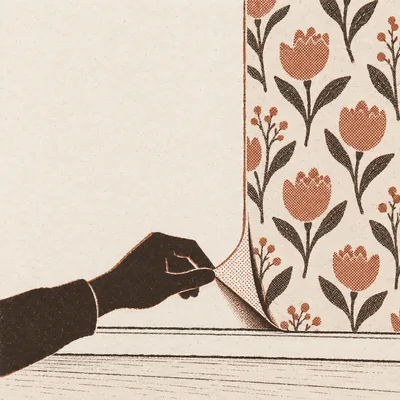
Start at a top corner. Warm it for twenty seconds with a hair dryer on low, held a hand span away, until the corner lifts with a fingernail. Then pull down, slowly, at a shallow angle so the paper is folding back against itself and traveling almost flat along the wall rather than out toward you.
Shallow and slow is the entire technique. Pulling straight out puts all the force on one line of paint. Pulling fast does the same thing, faster. A twelve foot wall is eight or nine strips and each one takes about two minutes once you have the angle.
- 01Hair dryer on low, twenty seconds per corner. Never hot, never close.
- 02Pull down at a shallow angle, one strip at a time, from the top
- 03Wipe any adhesive haze with warm water and a drop of dish soap
Do it before the cleaners come, not the morning of the walkthrough, so you have an hour in hand if a strip is stubborn. And keep the offcuts until the deposit is back.

three hours to put up. twenty minutes to regret
Quick answers
Six questions, answered before you buy
On a smooth wall painted in eggshell or satin, cured for at least a month, no. On flat or dead matte paint it can pull the paint off, because the adhesive grips the paint better than the paint grips the drywall. That is what the 24 hour test corner is for, and it takes one square of paper to find out.
Not for long. On orange peel or knockdown texture the adhesive only touches the high points, which is a fraction of the surface, and the strips start lifting at the edges within a week or two. If you can feel the texture with a flat palm, this is not your project.
Wall width in inches divided by 20 gives your number of strips. Divide that by 2 for an 8 ft ceiling, round up, and that is your roll count. A 12 ft wall is 8 strips and 4 rolls. On a 9 ft ceiling you only get one drop per roll, so a 12 ft wall becomes 8 rolls.
Wait 30 days. Latex paint is dry to the touch in hours and still curing for weeks, and adhesive on uncured paint is how you take a sheet of color off the wall in one piece. If your landlord painted between tenants, ask when.
Strip by strip, yes, if you warm the corner and pull down at a shallow angle. Tearing happens when you pull straight out or when you hurry. Twenty minutes for a standard accent wall is a realistic number.
Sometimes, and do not plan on it. Roll each strip back onto its backing sheet, face out, and store it flat rather than folded. It will go up again if the next wall is smaller and you are not precious about the edges. Treat a second life as a bonus.

Doing it this weekend?
Tick what you still need
Leave anything that is already in a drawer. The rest goes to your Amazon cart in one tap.
Amazon shows you the cart first; nothing is bought until you check out there. As an Amazon Associate I earn from qualifying purchases.
Where next