Replace drawer knobs with pulls without drilling new holes
Hook the tape in one hole, read the middle of the other. That number decides everything you are allowed to buy.

By NoraRenter DIY · Checked Sep 19, 2026
Some links on this page go to Amazon. As an Amazon Associate I earn from qualifying purchases, which is how the site pays for itself. How this works
Quick change 1 of 3 rolls
- Materials$20 to 70
- Takes40 minutes
- To undo15 minutes
- Deposit risk: none
- Drill: no
- Ladder: no
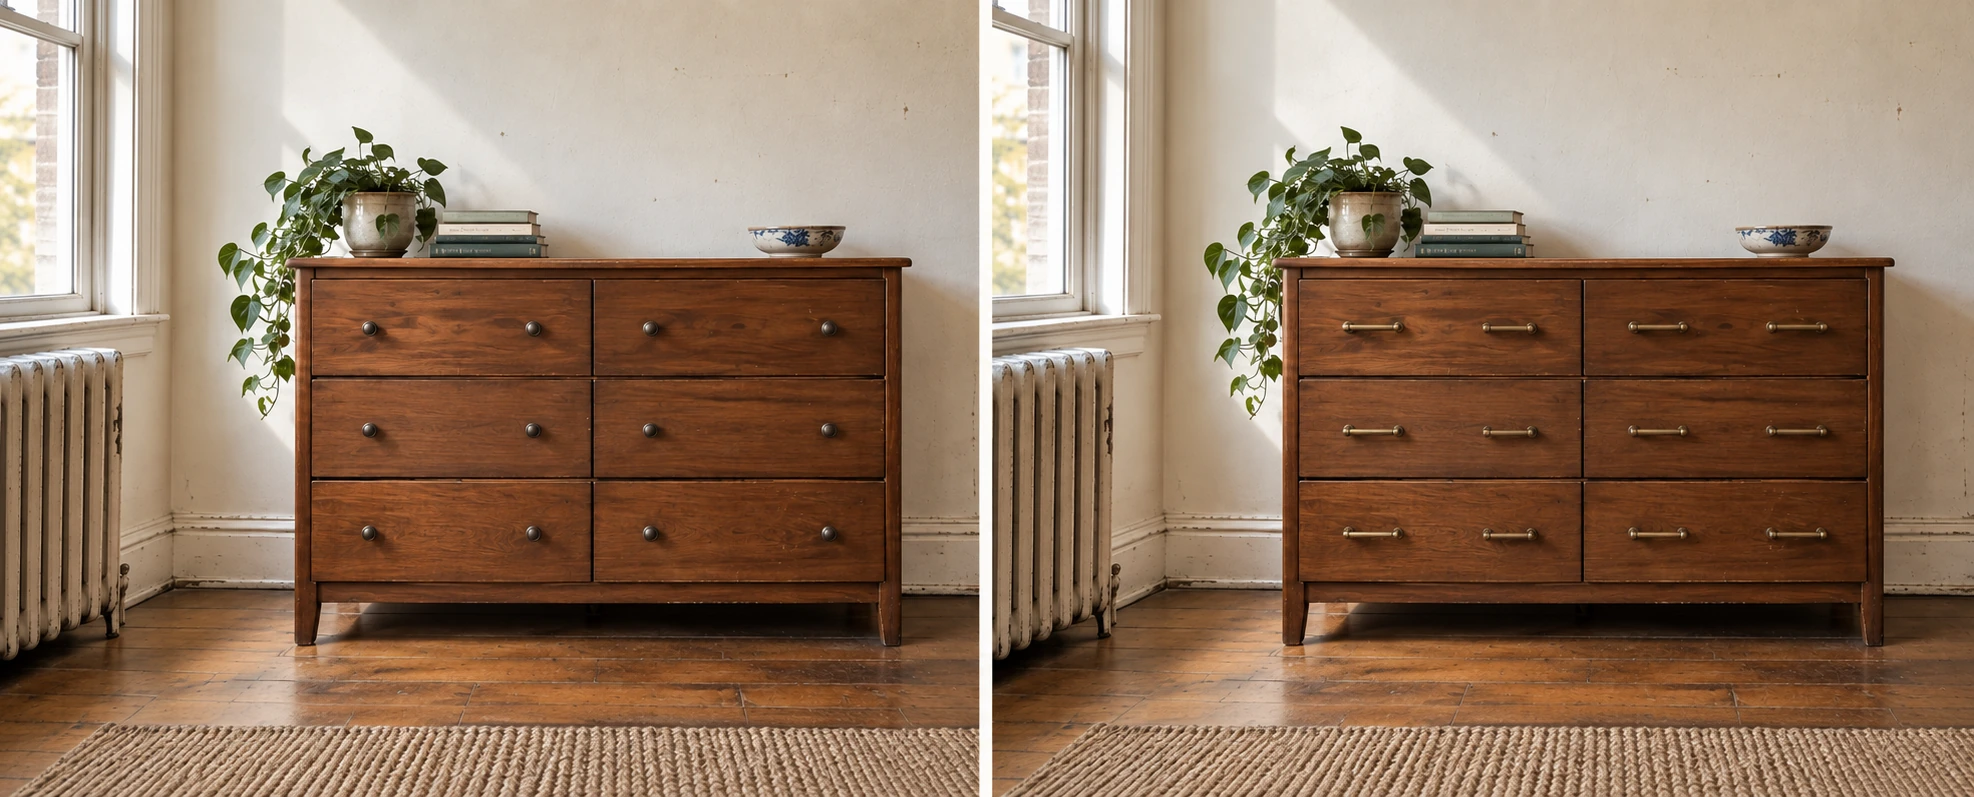
Most drawers already carry two holes at a standard spacing, and a bar pull made for that spacing drops straight into them. No filling, no drilling, no new marks in furniture you may not own. The knobs go in a labeled bag and come back out on moving day.
Renter DIY · deposit risk: none · drill: no
The kit
What you need, and what you can skip
Quantities are for a six drawer dresser with two holes per drawer. Scale the first line and nothing else changes.
-
6 to 8
Bar pulls in the spacing you measured
One per drawer, plus two spares, because the eighth one always arrives bent or you drop a screw down a floor vent. Buy by hole centers and ignore the overall length in the photograph. Three spacings cover nearly every drawer I have met in a rental.
See the 160 mm pulls See the 128 mm pulls See the 96 mm pulls
-
20
Longer screws, 8-32 thread, 1 1/4 in
Only if your drawer fronts measured thicker than 3/4 in. The thread is 8-32 on almost all cabinet hardware sold in the United States, so the ones that came in the box and these are interchangeable except for the length. Antique brass heads disappear against brass pulls; zinc ones glint.
See the 1 1/4 in screws -
1
A number two Phillips screwdriver
Not a drill. A drill driver has more torque than an eighty year old drawer front wants, and the whole project is six screws at a time.
Already have this? Then that is the tool list done.
-
1
A tape measure with a hooked end
The hook is what makes the measurement honest: it drops into the hole and gives you the center rather than the edge. A ruler cannot do that.
Already have this? Most people do. A sewing tape works too.
-
1
A zip bag, painter tape and a marker
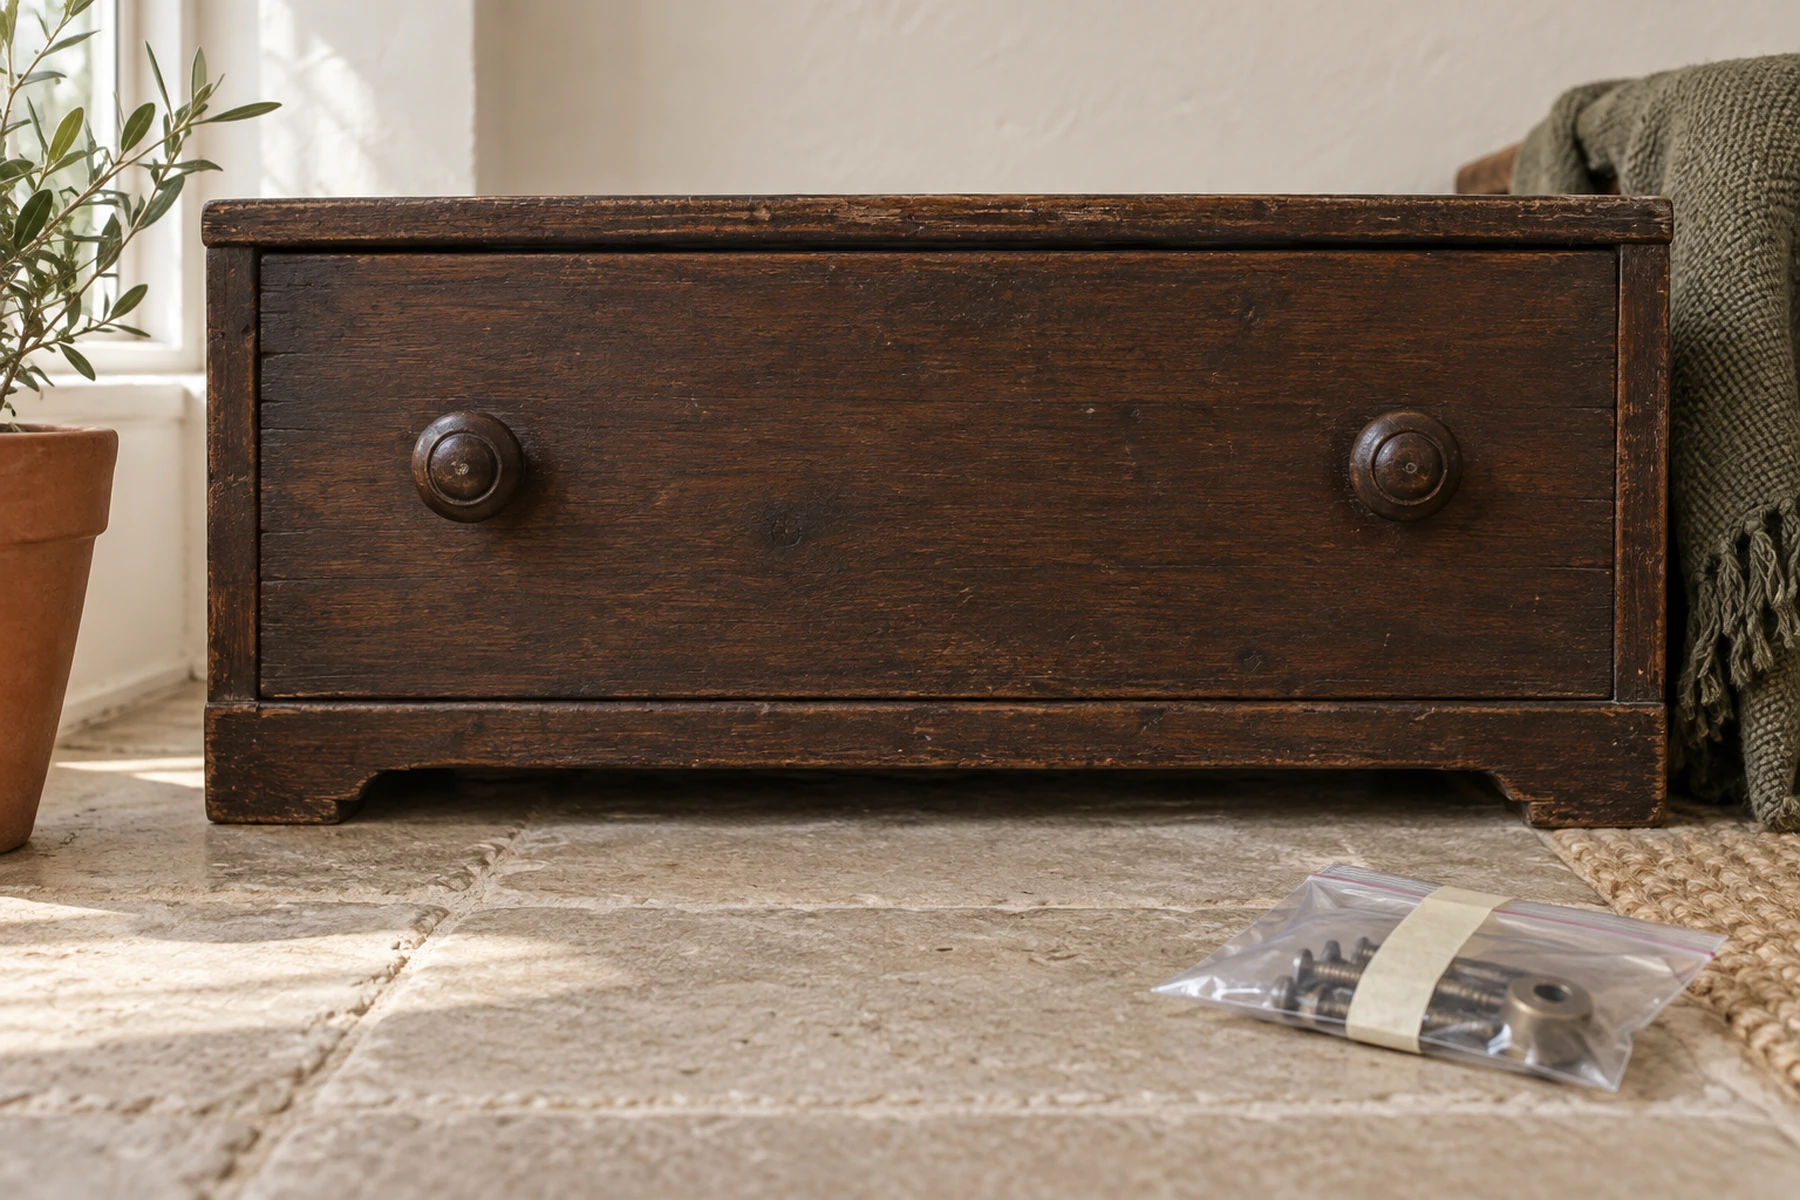
For the original hardware. Label it with the piece and the room, tape it inside the bottom drawer, and the landlord conversation never happens.
Already have this? Kitchen drawer, all three.
Skip this
Before you buy anything, take one knob to the sink. A lot of the dull brown hardware in old rentals is solid brass under sixty years of hand oil, and warm water, dish soap and a minute with an old toothbrush brings it back to the color you were about to pay for. If that is what happens, put it back on and keep your money. It is the cheapest hour in this entire section of the site, and it sells nothing.

that one was already loose, for the record
What goes wrong
You buy the pull you like instead of the spacing you have
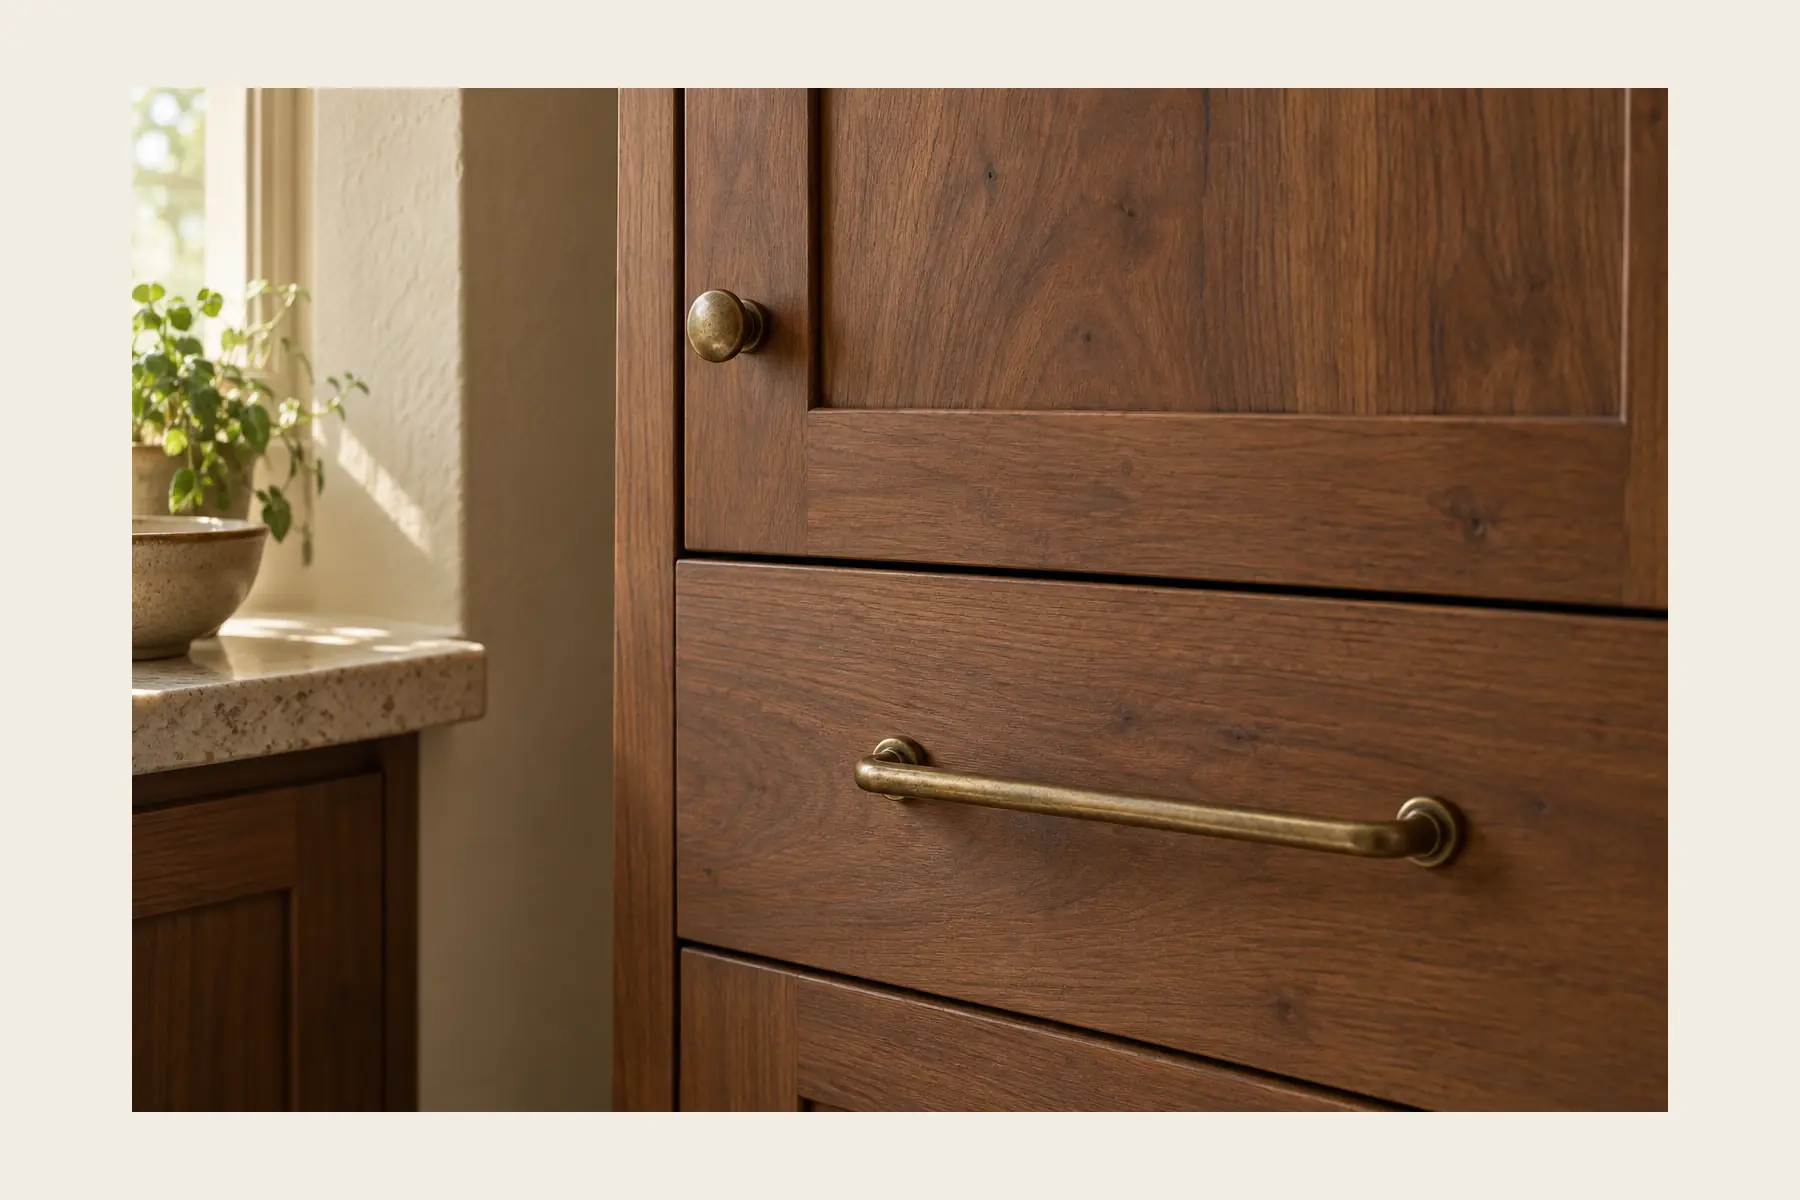
Cabinet and drawer pulls are sold by one number, and it is not the one your eye uses. It is the distance from the center of one screw hole to the center of the other. The overall length is always larger, sometimes by two full inches, so the handsome eight inch bar in the photo may well be a five inch pull with long decorative ends.
Order by the look and the screws land a quarter inch off the holes in your drawer. At that point you are standing over an open box with a drill in your hand, which is the exact thing this project exists to avoid. Measure first, then shop, and treat the spacing as the only filter.
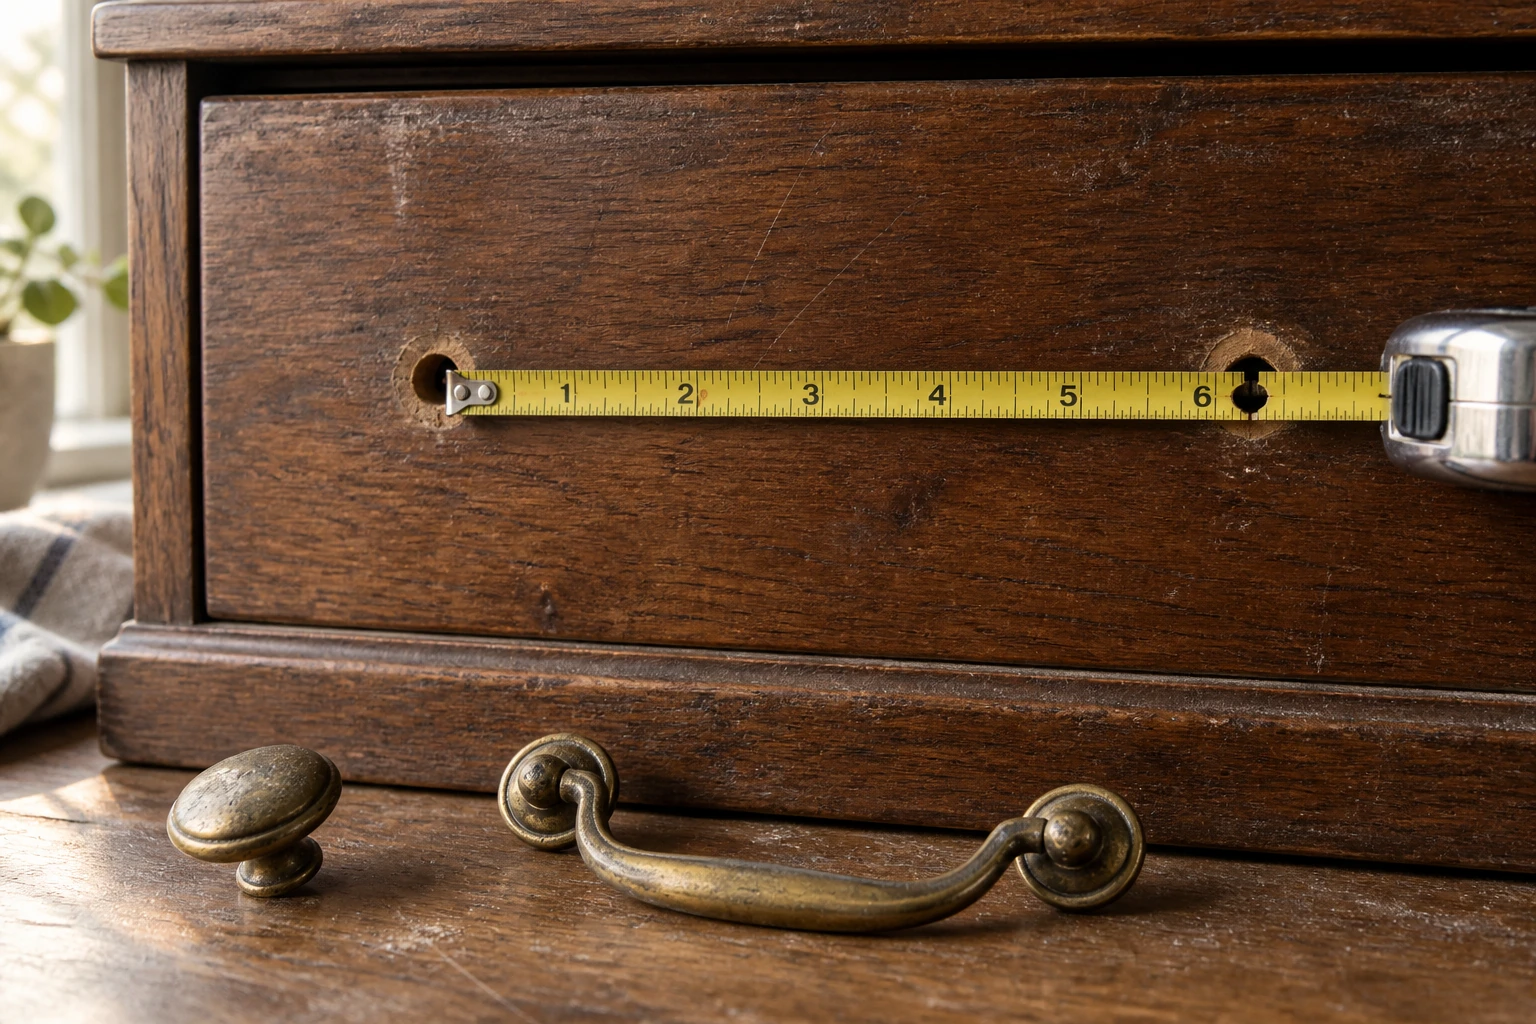
Almost every drawer in a rented apartment comes back as one of five numbers: 3 in (76 mm), 3 3/4 in (96 mm), 5 in (128 mm), 6 1/4 in (160 mm) or 8 in (203 mm). Write yours down in both units, because half the listings are metric and half are not, and 5 in is 128 mm rather than the 127 you would expect.
The whole swap
Five steps, and two of them happen before you buy anything
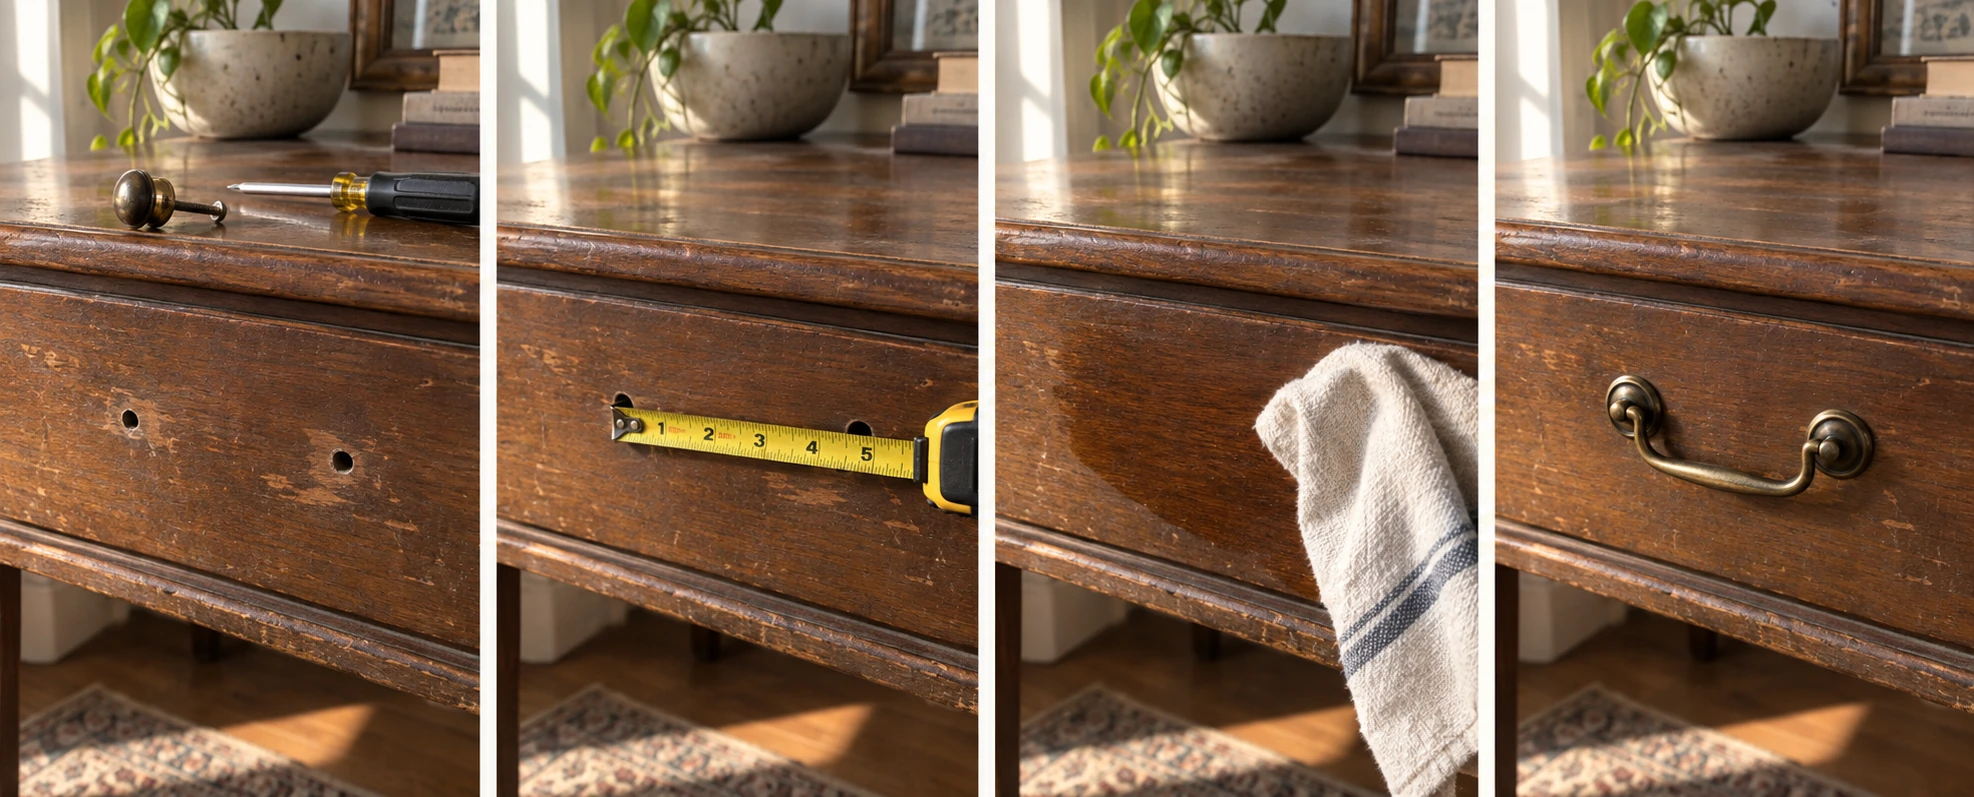
-
Take one off and keep it
Slide the drawer right out and lay it face up on the floor. The screws come out from the back of the drawer front, so a number two Phillips is the whole toolkit. Push each screw back through its own knob, drop the set into a zip bag, write the piece and the room on it, and tape the bag inside the bottom drawer. If the dresser came with the apartment, or these are kitchen cabinets, that bag is the difference between a swap and a deduction.
What goes wrong hereUnscrewing with the drawer still in the frame. The screw drops behind everything in it and turns up in April.
-
Measure center to center
Hook the tape inside the left hole, stretch it across, read the middle of the right hole. Do it on two different drawers, because a chest assembled by hand in 1968 is allowed to disagree with itself by a sixteenth. Write the number down in inches and in millimeters, since half the listings are metric and half are not.
What goes wrong hereMeasuring edge to edge. That reads short by about 3/16 in, which is enough to put you one size down and one size wrong.
-
Count the drawers, then order two spares
One bar pull replaces two knobs on the same drawer, so a six drawer dresser needs six pulls and you should buy eight. Measure the thickness of the drawer front while you are there. Anything over 3/4 in and you want longer screws in the same order, because a second shipping wait is how a forty minute project becomes two weeks.
What goes wrong hereThe screws in the box. New pulls ship with 1 in screws sized for modern doors, and a thick old drawer front swallows that inch.
-
Clean the halo
Knobs sit in one spot for decades and leave a ring of darker wax and hand oil around each hole. A slim bar pull does not cover it, and you will see two faint moons on every drawer in raking light. Damp cloth, one drop of dish soap, then dry it immediately.
What goes wrong hereLetting water sit on old shellac. A puddle left for a minute blooms white, and that mark is harder to remove than the halo was.
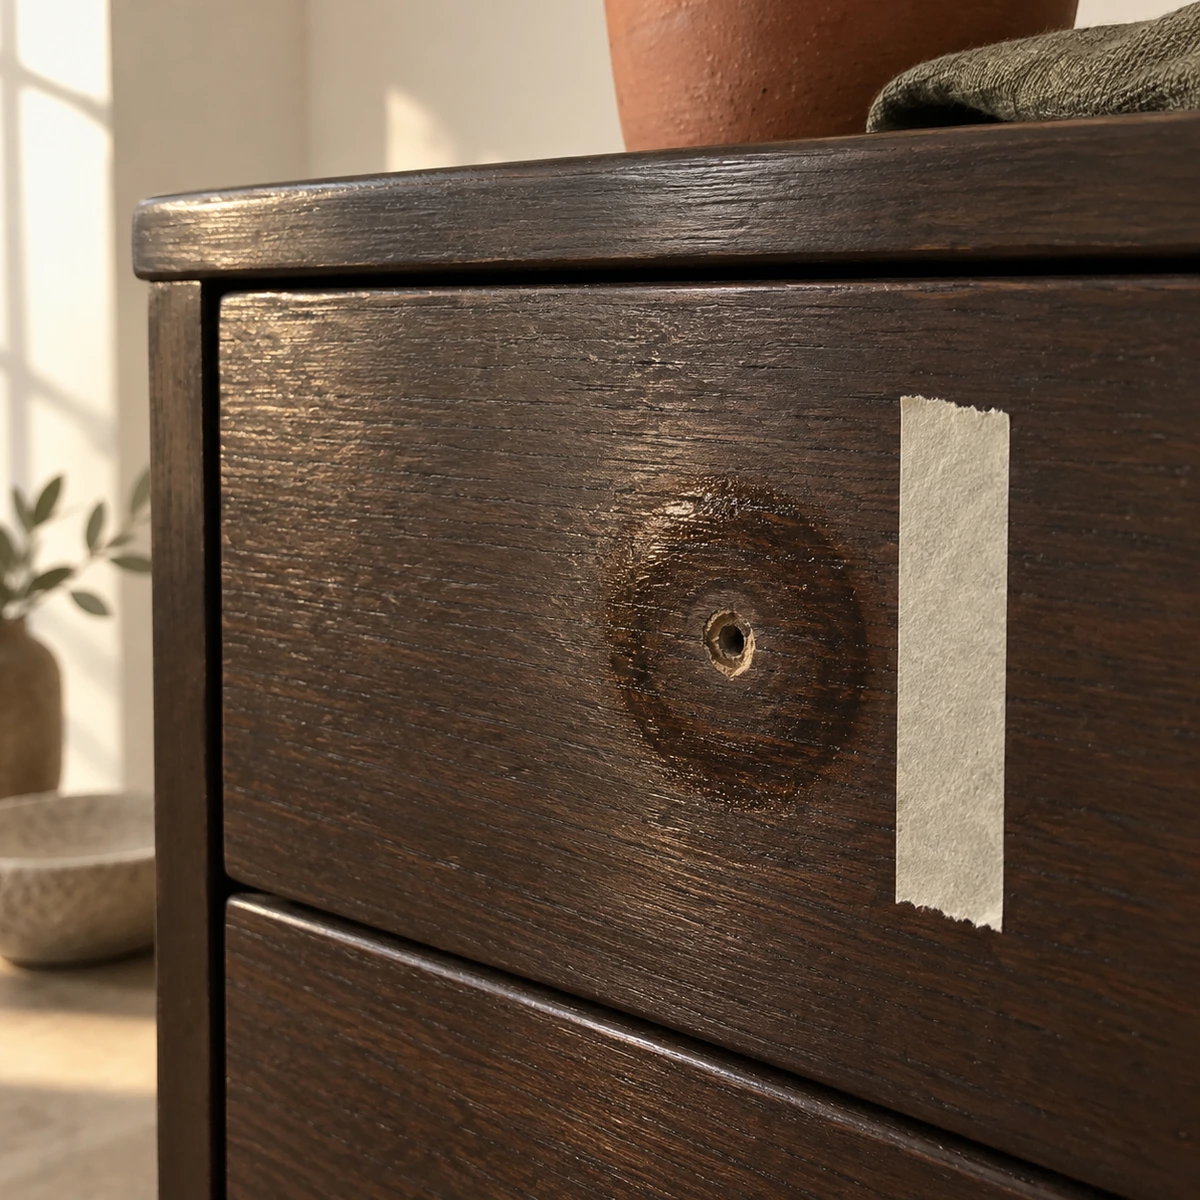
The tape is the width of a slim bar pull. The ring is wider, and side light finds it every time. -
Start both screws before you tighten either
Hold the pull against the front, thread both screws in loosely from inside the drawer, and only then take them up. Snug is the target. The pull should not rock, and that is all. Then close every drawer and look along the front from the side: six pulls that are level with each other read as furniture, and one that sits a degree off reads as a project.
What goes wrong hereThe last quarter turn. Old fronts are soft and often veneered, so overtightening leaves a dent under the plate or a hairline crack you cannot unsee.
Getting it back
How it comes off, and what is left behind
-
Time
15 minutes for six drawers, faster than putting them on, because you already know which screwdriver it is.
-
What you need
The screwdriver and the labeled bag. Nothing else, and nothing bought.
-
What is left
Nothing. The original knobs go back into the original holes, and no hole was ever made. The walls were never involved, and the wall above this dresser can make the same promise with a picture ledge on adhesive strips.
-
If the bag is gone
Then you need matching knobs and 8-32 screws in the right length, and it stops being free. Tape the bag down.
Questions people type
Five things worth knowing before you order
Measure from the center of one screw hole to the center of the other, which is the only number a pull is sold by. Hook a tape measure inside the left hole and read the middle of the right one. Nearly every drawer comes back as 3 in (76 mm), 3 3/4 in (96 mm), 5 in (128 mm), 6 1/4 in (160 mm) or 8 in (203 mm).
Yes, if the drawer has two knob holes and they sit at a standard spacing, which is the case on most older chests. A bar pull bridges the pair and hides both. A drawer with a single center knob needs either a one hole pull or a backplate wide enough to cover the hole, because otherwise you are drilling.
In most leases yes, as long as it goes back. Nothing is drilled, nothing is filled and nothing is painted, so the only risk is losing the originals. Take the old handles off, bag them with their own screws, label the bag and tape it inside a cabinet you do not use.
Almost all United States cabinet hardware uses an 8-32 machine screw, usually 1 in long, sized for a 3/4 in door. A thick antique drawer front or a false front with a lip needs 1 1/4 or 1 1/2 in. Same thread, longer body, so you can buy them separately and keep the pulls you wanted.
The holes do not, because the pull posts sit in them. The halo does. Decades of hand oil leave a darker ring around each hole that a narrow bar does not cover, and it shows up in side light. A damp cloth with one drop of dish soap, dried straight away, takes most of it off before the new hardware goes on.

tape the bag shut. i have plans for it

Doing it this weekend?
Tick what you still need
Leave anything that is already in a drawer. The rest goes to your Amazon cart in one tap.
Amazon shows you the cart first; nothing is bought until you check out there. As an Amazon Associate I earn from qualifying purchases.
Where next